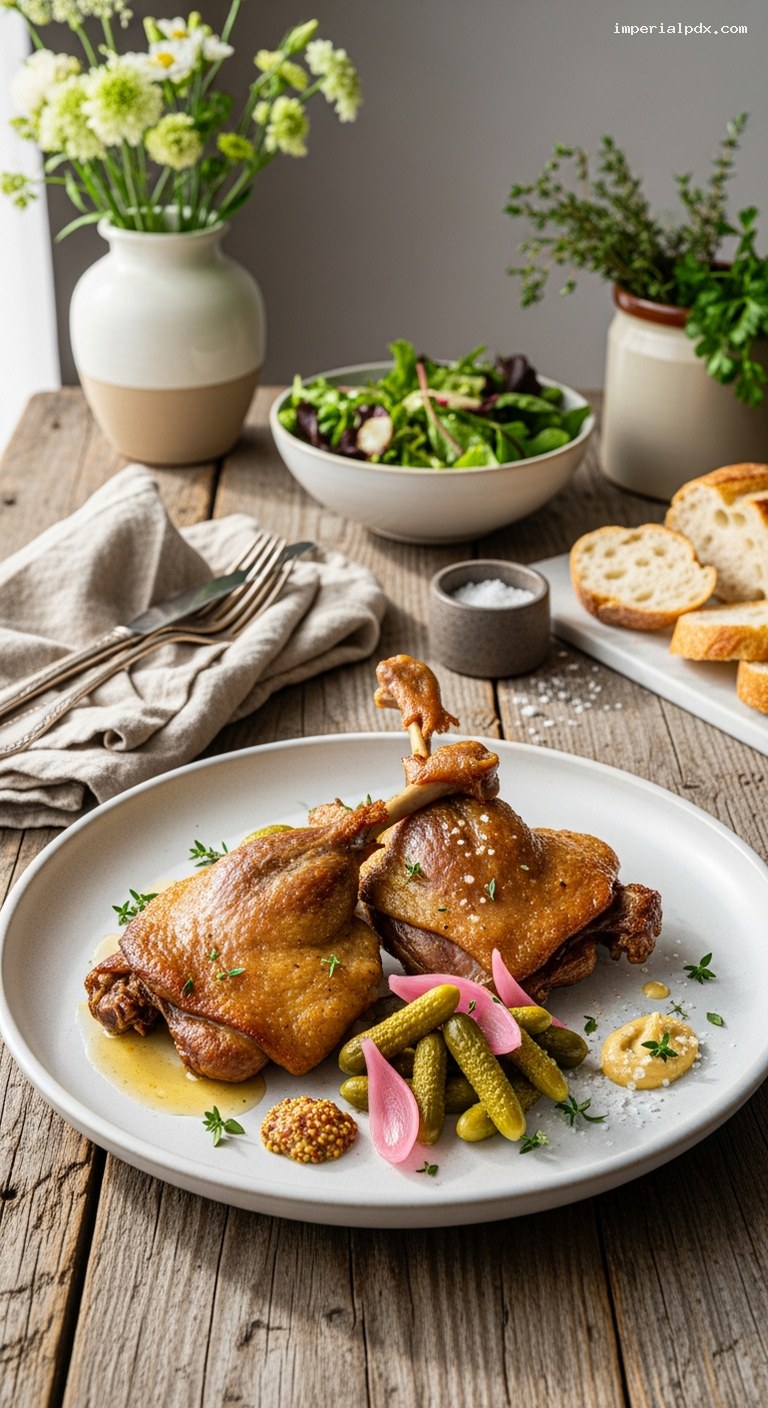
Quick Recipe Version (TL;DR)
Quick Ingredients
- 4 duck legs, bone-in, skin-on (about 2–2.5 lb / 900 g–1.1 kg total)
- 3 tbsp (27 g) coarse kosher salt
- 4 garlic cloves, smashed
- 2 small shallots, sliced
- 2 tsp black peppercorns, lightly crushed
- 1 tsp dried thyme or 4 fresh thyme sprigs
- 2 bay leaves, crumbled
- 4–5 cups (950–1200 ml) duck fat, enough to fully submerge legs
- Cornichons or dill pickles, to serve
- Optional: crusty bread, Dijon mustard, simple green salad
Do This
- 1) Pat duck legs dry. Trim excess flaps of fat and skin; save trimmings. Mix salt, thyme, bay, garlic, shallots, and pepper.
- 2) Rub cure all over duck. Place in a snug dish, skin-side up, sprinkle remaining cure on top. Cover and refrigerate 12–24 hours.
- 3) Rinse cure off briefly under cold water. Pat very dry. Preheat oven to 250°F (120°C).
- 4) Put duck legs in a heavy oven-safe pot. Add duck fat (plus trimmed fat, if using) to fully cover. Warm on stove until fat is clear and just starting to shimmer.
- 5) Cover and cook in oven 2½–3 hours, until meat is very tender and pulls away from the bone easily.
- 6) Cool duck in fat to room temperature, then refrigerate submerged in fat at least overnight (up to 1 month).
- 7) To serve, remove legs from fat, wipe off excess. Crisp in a hot skillet or 425°F (220°C) oven until skin is deep golden and crackling. Serve with plenty of pickles.
Why You’ll Love This Recipe
- Restaurant-level duck confit made entirely at home with simple, clear steps.
- Meltingly tender meat with shatteringly crisp skin, thanks to slow cooking in luxurious duck fat.
- Perfect make-ahead main: the duck keeps beautifully in the fridge for weeks under its fat.
- A little bit fancy, but very forgiving and surprisingly hands-off once it is in the oven.
Grocery List
- Produce: Garlic, shallots, fresh thyme (or use dried), optional lemon, salad greens, fresh herbs for garnish (parsley, chives)
- Dairy: None required (optional: a small knob of butter for searing, if desired)
- Pantry: Duck legs, duck fat, kosher salt, black peppercorns, bay leaves, dried thyme (if not using fresh), cornichons or dill pickles, Dijon mustard, crusty bread, optional vinegar or oil for salad
Full Ingredients
For the Duck Confit
- 4 duck legs, bone-in, skin-on (about 2–2.5 lb / 900 g–1.1 kg total)
- 3 tbsp (27 g) coarse kosher salt (if using Morton kosher salt, use 2 tbsp / 18 g)
- 4 garlic cloves, peeled and lightly smashed
- 2 small shallots (or 1 medium), thinly sliced
- 2 tsp black peppercorns, lightly crushed
- 1 tsp dried thyme or 4 fresh thyme sprigs
- 2 bay leaves, crumbled
- Optional but nice: 4 crushed juniper berries, or a 2-inch (5 cm) strip of orange zest
For Cooking & Storing
- 4–5 cups (950–1200 ml) duck fat, enough to fully submerge the legs in your pot
- Any trimmed duck fat/skin pieces from your duck legs (to render into extra fat, optional)
For Serving
- 1 cup (about 120 g) cornichons or other tart, crunchy pickles
- Optional: extra pickled vegetables (pickled onions, carrots, or radishes)
- Crusty bread or roasted potatoes, for serving
- Dijon or whole-grain mustard
- Simple green salad with a sharp vinaigrette (optional but highly recommended)
- Fresh herbs (parsley, chives, or thyme leaves) for garnish
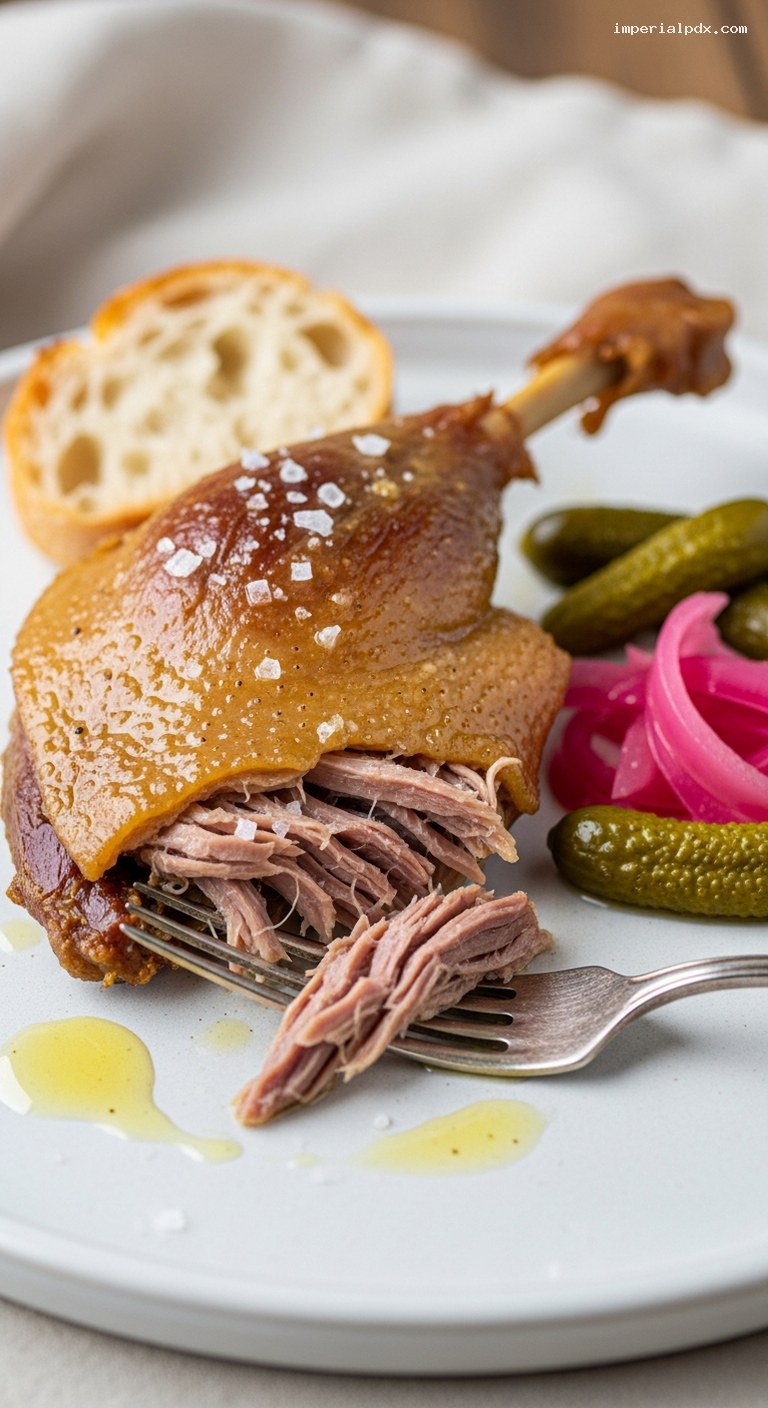
Step-by-Step Instructions
Step 1: Trim and dry the duck legs
Pat the duck legs very dry with paper towels. This helps the cure cling and later helps you get crisp skin.
Look for any large flaps of fat or loose skin around the edges. Trim these off with a sharp knife and set the trimmings aside. You can add them to the pot later to render extra fat and boost flavor.
Step 2: Make the cure and season the duck
In a small bowl, combine the kosher salt, black peppercorns, thyme (dried or fresh sprigs), crumbled bay leaves, and any optional flavorings like juniper berries or a strip of orange zest. Add the smashed garlic cloves and sliced shallots.
Place the duck legs on a plate or in a shallow dish. Rub the salt mixture all over the duck, coating both sides and tucking some garlic and shallot slices under and around the legs. Arrange the legs in a snug single layer, skin-side up, in a nonreactive baking dish or container.
Step 3: Cure the duck (12–24 hours)
Sprinkle any remaining cure and aromatics over the top of the duck. Cover the dish tightly with plastic wrap or a lid.
Refrigerate for at least 12 hours and up to 24 hours. This curing step seasons the meat all the way through and begins to firm up the texture. If your fridge is very cold, 18–24 hours is ideal. If you know you are sensitive to salt, aim for the shorter curing time.
Step 4: Rinse, dry, and arrange for cooking
When you are ready to cook, preheat your oven to 250°F (120°C).
Remove the duck legs from the cure. Rinse them briefly but thoroughly under cold running water to remove excess surface salt and aromatics. Pat the legs completely dry with paper towels—this is important so they do not steam under the fat.
Place the legs, skin-side up, in a heavy, oven-safe pot or snug Dutch oven. They should fit in a single layer without too much extra space; this helps them stay covered by fat. Add the trimmed duck fat/skin pieces, if using.
Step 5: Cover with fat and slow-cook
Pour the duck fat over the legs. Add just enough to fully submerge the meat, with at least 0.5 inch (1 cm) of fat above the top of the legs. If you are a little short, you can top up with a mild oil like neutral vegetable oil, but aim for mostly duck fat for the best flavor.
Set the pot over low heat on the stovetop and warm gently until the fat is melted, clear, and just starting to shimmer, but not bubbling. You do not want a boil—just a very gentle movement in the fat.
Once the fat is warm, cover the pot with a lid or tightly with foil and transfer it to the preheated 250°F (120°C) oven. Cook for 2½–3 hours, until the duck is very tender. The meat should pull away from the bone easily when prodded with a fork, but it should not be falling completely apart.
Step 6: Cool, store, and let the flavors develop
When the duck is tender, carefully remove the pot from the oven and let it cool at room temperature until it is just warm to the touch. Do not stir or disturb the legs more than necessary; leaving them nestled in the fat protects the meat.
Once cooled, ensure the legs are fully submerged in the fat, topping up with a little extra melted fat if needed. Cover the pot and refrigerate for at least 12 hours and up to 1 month. During this time, the flavors deepen and the meat becomes even more silky. As the fat solidifies, it seals the duck and keeps it beautifully preserved.
Step 7: Crisp the duck and serve with pickles
When you are ready to eat, carefully dig the duck legs out of the solidified fat. A spoon works well. Let excess fat drip back into the pot, then gently wipe off most of the clinging fat with a paper towel—this prevents flare-ups and helps the skin crisp.
You can crisp the duck one of two ways:
Skillet method (best for ultra-crisp skin): Place a large skillet (nonstick or cast iron) over medium heat. Add the duck legs, skin-side down, with no extra oil (they have plenty of fat). Cook for 8–10 minutes, until the skin is deep golden brown and crisp. Flip and warm the meat side for 3–5 minutes more, just until heated through.
Oven method (hands-off and great for a crowd): Preheat the oven to 425°F (220°C). Place the legs, skin-side up, on a foil-lined baking sheet or in a roasting pan. Roast for 20–25 minutes, until the skin is blistered and crisp and the meat is hot.
Serve the crisp duck confit immediately with a generous handful of cornichons or other tangy pickles, some crusty bread or potatoes, mustard on the side, and a bright green salad. Garnish with fresh herbs if you like.
Pro Tips
- Choose the right pot: Use the smallest heavy, oven-safe pot that fits the duck in a single layer. Less empty space means less fat needed to fully submerge the legs.
- Keep the heat gentle: The fat should never vigorously boil. Low and slow—at around 250°F (120°C)—keeps the meat silky instead of stringy.
- Do not oversalt: Stick to the recommended salt amount and curing time. If in doubt, cure on the shorter side (12–16 hours) the first time you make it.
- Strain and save the fat: After removing the duck, strain the cooled fat through a fine sieve and store it in the fridge or freezer. It is fantastic for roasting potatoes and vegetables.
- Make it ahead: Duck confit is actually better after a few days in the fridge. If you can, cook it earlier in the week and simply crisp the legs right before serving.
Variations
- Orange and spice confit: Add strips of orange zest, a cinnamon stick, and a few star anise pods to the cure for a subtle, aromatic twist that pairs beautifully with winter salads and braised greens.
- Garlic-herb overload: Double the garlic and thyme, and add a few sprigs of rosemary or sage. Serve with creamy white beans or lentils to soak up the herbal duck fat.
- Chicken leg confit: Substitute bone-in, skin-on chicken legs for duck. Reduce the oven cooking time to 1¾–2 hours. You will get similarly luxurious, fall-apart tender meat at a lower price point.
Storage & Make-Ahead
Once the duck is cooked and cooled in its fat, it can be stored in the refrigerator for up to 1 month, as long as the meat stays fully submerged in solid fat and the pot remains covered. For longer storage, transfer individual legs into smaller containers, cover completely with strained duck fat, and freeze for up to 3 months. To use, thaw overnight in the fridge, then crisp as directed.
Leftover crisped duck can be shredded and refrigerated (tightly covered) for 3–4 days. Rewarm gently in a skillet with a spoonful of duck fat, or toss into warm potatoes, pasta, or salads. Always cool the fat, strain out any browned bits, and store it in a clean jar in the fridge (up to several weeks) or freezer (several months).
Nutrition (per serving)
Approximate values per serving (1 duck leg with skin, including some clinging fat, without sides): about 550–650 calories; 45–55 g fat (15–18 g saturated); 0–2 g carbohydrates; 35–40 g protein; 800–1000 mg sodium. Actual values will vary based on the size of the duck legs, curing time, how much fat remains on the portion, and what you serve alongside.