Quick Recipe Version (TL;DR)
Quick Ingredients
- 2 cups heavy cream, divided
- 1 cup whole milk
- 3/4 cup granulated sugar
- 2 whole vanilla beans, split lengthwise and scraped
- 5 large egg yolks
- 1/4 teaspoon fine sea salt
- 1 teaspoon pure vanilla extract, optional
Do This
- 1. Freeze the ice cream maker bowl for at least 24 hours if your machine requires it.
- 2. Warm 1 cup cream, milk, sugar, salt, vanilla bean seeds, and pods to 170°F, then steep for 30 minutes.
- 3. Whisk egg yolks in a bowl, then slowly temper with the warm dairy mixture.
- 4. Cook the custard over medium-low heat, stirring constantly, until it reaches 170°F to 175°F and coats a spoon.
- 5. Strain into the remaining 1 cup cold cream, chill over an ice bath, then refrigerate for at least 6 hours.
- 6. Churn the cold custard for 20 to 25 minutes, until thick and soft-serve-like.
- 7. Transfer to a freezer-safe container, cover tightly, and freeze for at least 4 hours before scooping.
Why You’ll Love This Recipe
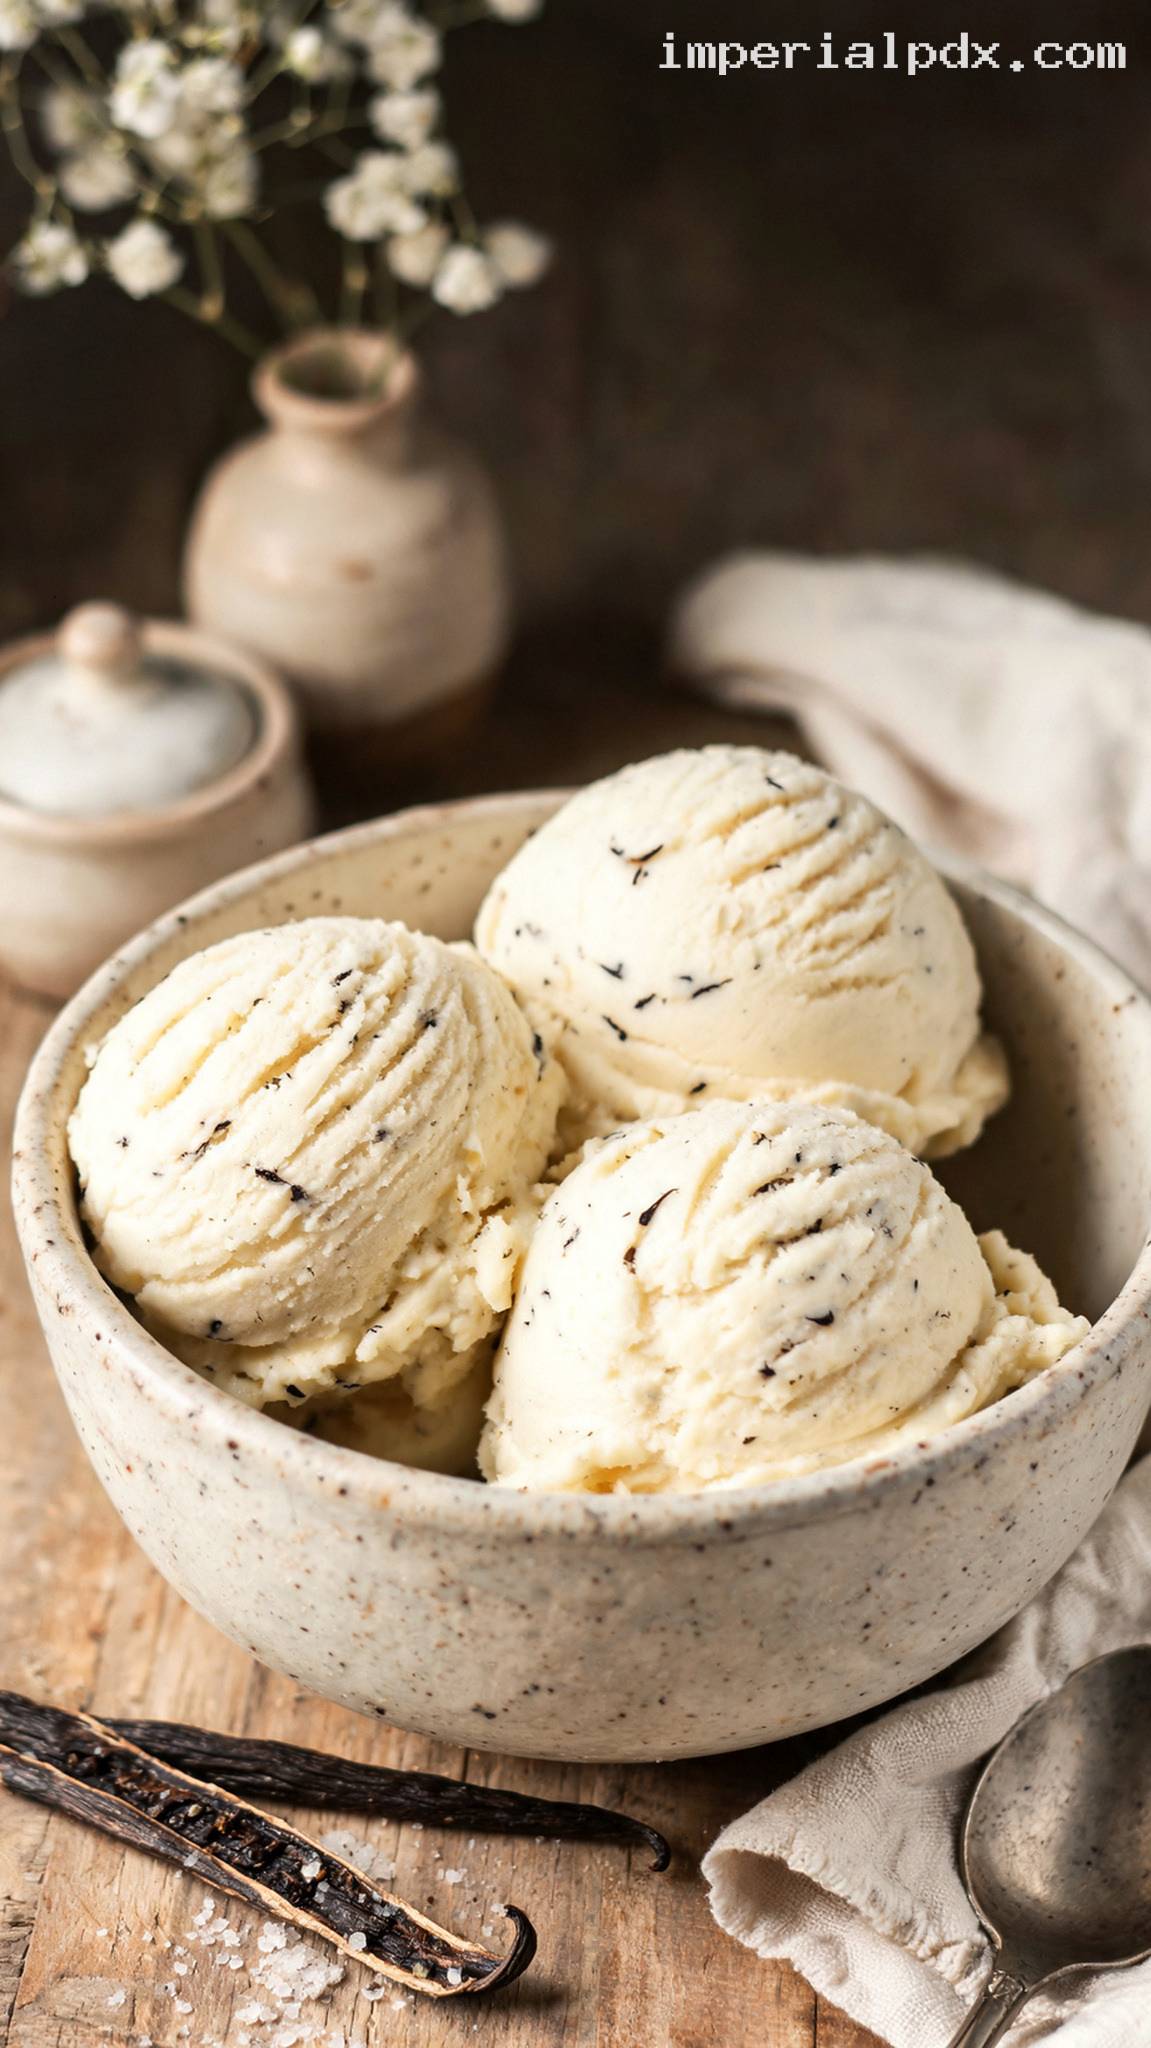
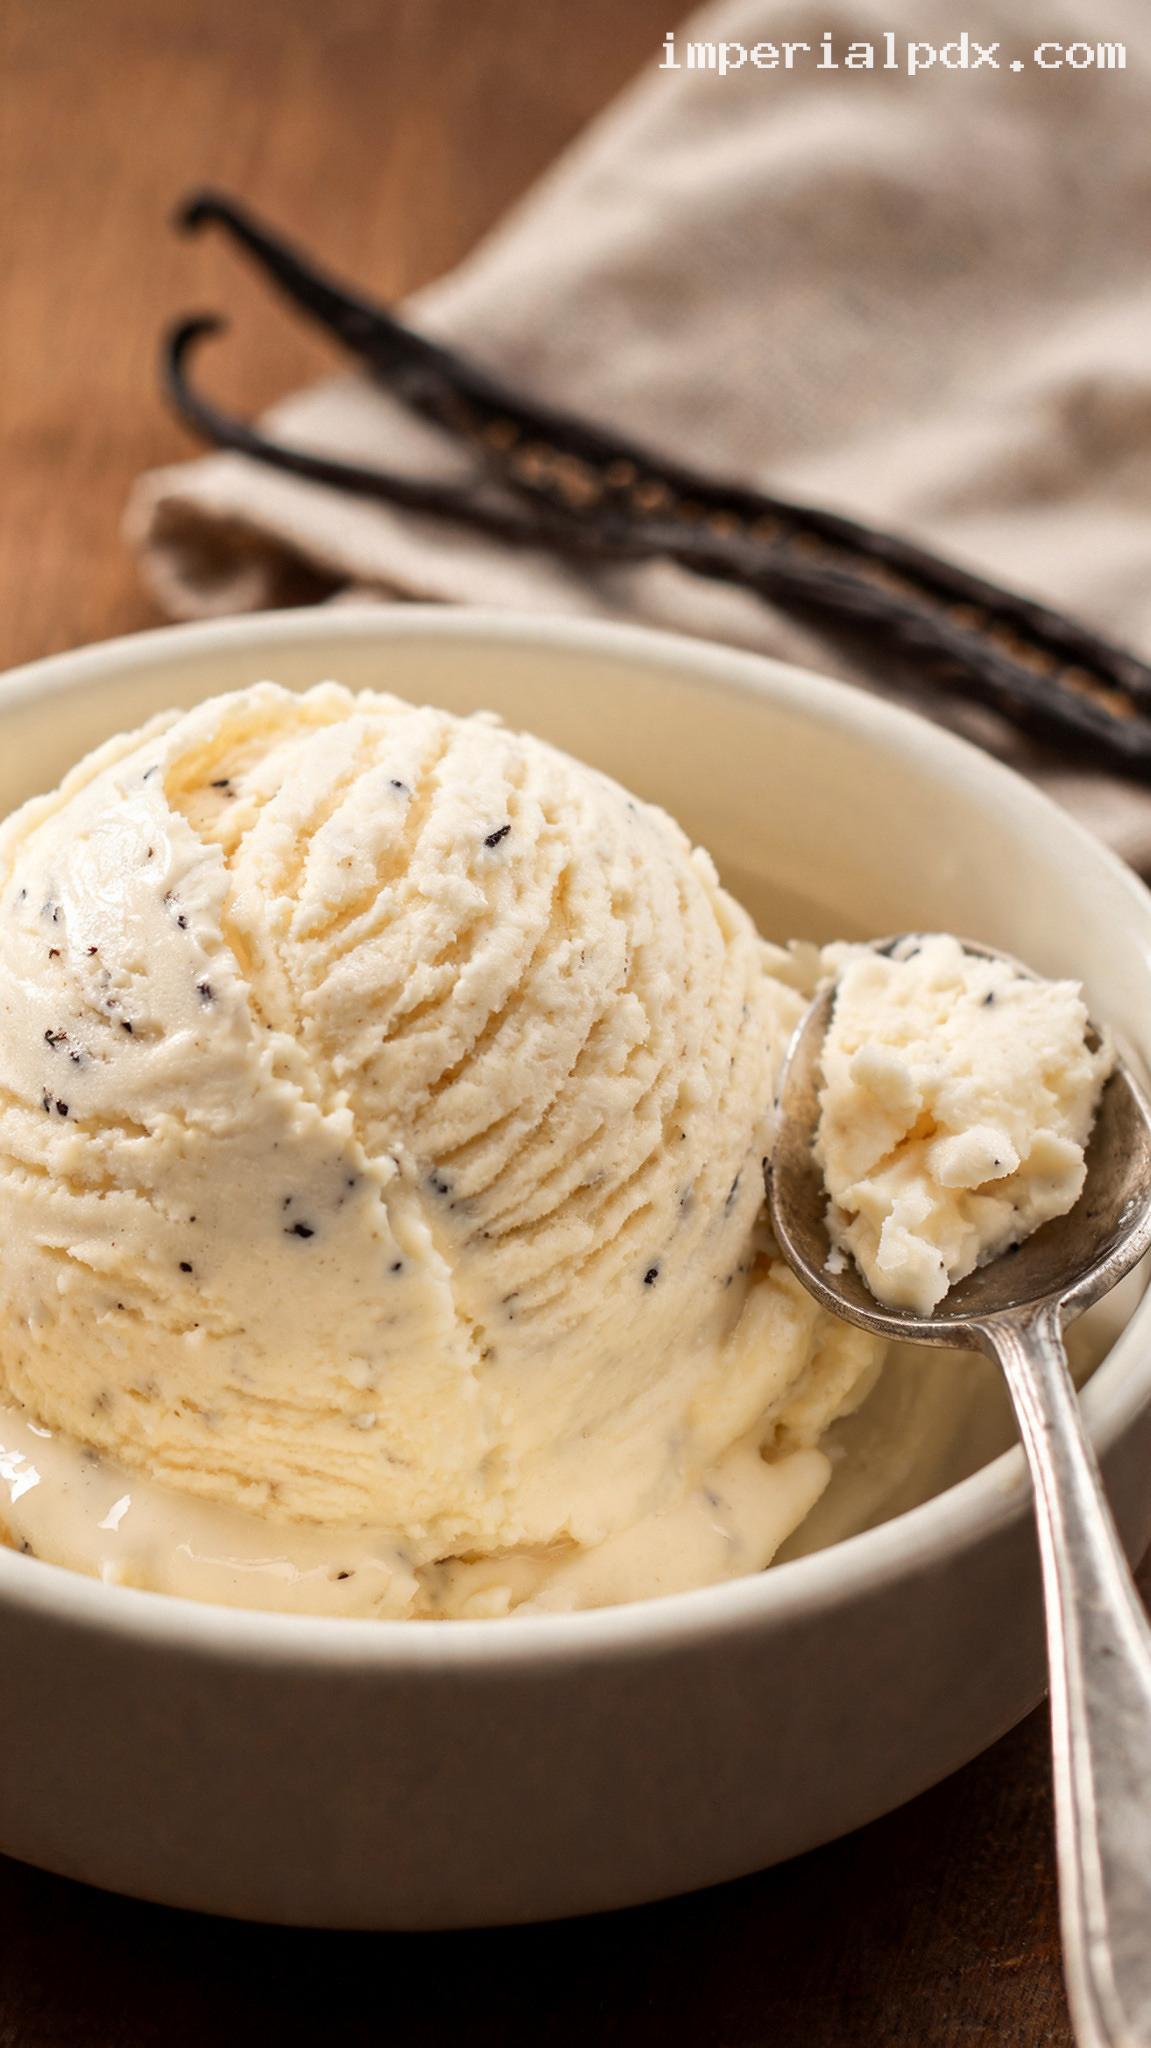
- Deep real vanilla flavor: Two whole vanilla beans give the custard tiny aromatic specks and a naturally floral, creamy flavor.
- Exceptionally smooth texture: Egg yolks, cream, and careful low-temperature cooking create a rich custard base that churns beautifully.
- Classic and versatile: Serve it on its own, with pie, over brownies, or alongside fresh berries.
- Make-ahead friendly: The custard can be prepared the day before, then churned when you are ready.
Grocery List
- Produce: Fresh berries or mint for serving, optional
- Dairy: Heavy cream, whole milk, large eggs
- Pantry: Granulated sugar, fine sea salt, whole vanilla beans, pure vanilla extract if using
Full Ingredients
Vanilla Bean Custard Base
- 2 cups heavy cream, divided
- 1 cup whole milk
- 3/4 cup granulated sugar
- 2 whole vanilla beans, split lengthwise and scraped
- 5 large egg yolks
- 1/4 teaspoon fine sea salt
- 1 teaspoon pure vanilla extract, optional, added after cooking for an extra rounded vanilla finish
For Churning and Freezing
- 1 pre-frozen ice cream maker bowl, frozen for at least 24 hours if required by your machine
- 1 chilled freezer-safe storage container, preferably shallow and airtight
- 1 small piece of parchment paper or plastic wrap to press directly on the surface before freezing
Optional Serving Ideas
- Fresh strawberries, raspberries, or blueberries
- Warm fruit pie, crisp, cobbler, or brownies
- Toasted almonds, shortbread crumbs, or a drizzle of caramel sauce
Step-by-Step Instructions
Step 1: Prepare your equipment
If your ice cream maker uses a freezer bowl, place the bowl in the freezer for at least 24 hours before churning. The bowl should be completely frozen solid; when you shake it, you should not hear any liquid sloshing inside. Place a shallow freezer-safe container in the freezer as well so the churned ice cream goes into a very cold dish.
Set a fine-mesh strainer over a large heatproof bowl. Pour 1 cup of the heavy cream into that bowl and set it near the stove. This cold cream will help stop the cooking quickly once the custard is finished.
Step 2: Infuse the dairy with vanilla beans
Pour the remaining 1 cup heavy cream and 1 cup whole milk into a medium heavy-bottomed saucepan. Add 3/4 cup granulated sugar and 1/4 teaspoon fine sea salt. Split the 2 vanilla beans lengthwise with a small knife, scrape out the sticky seeds, and add both the seeds and the pods to the saucepan.
Warm the mixture over medium heat, stirring often, until the sugar dissolves and the dairy reaches about 170°F. The mixture should be steaming and fragrant, but it should not boil. Remove the saucepan from the heat, cover it, and let the vanilla steep for 30 minutes. This slow steep pulls deep flavor from both the seeds and the pods.
Step 3: Whisk the egg yolks
Place 5 large egg yolks in a medium mixing bowl. Whisk for 30 to 45 seconds, until the yolks look smooth, slightly thickened, and a shade lighter. This helps the yolks blend evenly into the custard and reduces the chance of scrambled bits.
After the vanilla dairy has steeped, return the saucepan to medium-low heat and warm it again until it reaches about 160°F to 165°F. It should be hot and steaming, but still not boiling.
Step 4: Temper the yolks
While whisking the egg yolks constantly, slowly ladle in about 1/2 cup of the hot vanilla dairy mixture. Whisk well, then add another 1/2 cup in the same slow, steady way. This gradual warming process is called tempering, and it keeps the yolks smooth instead of cooking too quickly.
Once the yolk mixture is warm, slowly pour it back into the saucepan with the remaining vanilla dairy, whisking as you pour. Scrape the bowl well so all of the yolks make it into the custard base.
Step 5: Cook the custard gently
Cook the custard over medium-low heat, stirring constantly with a heatproof spatula, especially along the bottom and corners of the pan. Cook until the custard reaches 170°F to 175°F on an instant-read thermometer, about 5 to 8 minutes. Do not let it boil; boiling can make the eggs curdle and give the ice cream a grainy texture.
The custard is ready when it lightly thickens and coats the back of a spoon. To check without a thermometer, dip a spoon into the custard, run your finger through the coating, and look for a clean line that does not immediately run back together. A thermometer is still the most reliable method for the smoothest result.
Step 6: Strain and chill the custard
Immediately pour the hot custard through the fine-mesh strainer into the bowl with the reserved 1 cup cold heavy cream. The strainer catches the vanilla pods and any tiny bits of cooked egg. Press gently on the vanilla pods to extract the flavorful cream, then discard the pods.
If using the optional 1 teaspoon pure vanilla extract, stir it in now. Place the bowl of custard over a larger bowl filled with ice water and stir for 5 to 10 minutes, until the custard cools to room temperature. Cover the bowl and refrigerate for at least 6 hours, or preferably overnight, until the custard is 40°F or colder. A very cold base churns into smaller ice crystals and a creamier texture.
Step 7: Slow-churn the ice cream
Set up your ice cream maker according to the manufacturer’s instructions. Stir the chilled custard well; the vanilla seeds may have settled at the bottom. Pour the custard into the frozen bowl while the machine is running. Churn on the standard slow setting, or the lowest speed recommended for ice cream, for 20 to 25 minutes.
The ice cream is ready when it looks thick, creamy, and similar to soft serve. It should mound softly when lifted with a spoon. Avoid churning much longer than needed, because over-churning can create a buttery texture.
Step 8: Freeze until scoopable
Transfer the churned ice cream to the chilled freezer-safe container. Smooth the top, then press parchment paper or plastic wrap directly against the surface to help prevent ice crystals. Cover tightly with a lid and freeze for at least 4 hours, or until firm enough to scoop.
For the best texture, let the ice cream sit at room temperature for 5 to 10 minutes before scooping. Serve in chilled bowls or cones, with the beautiful vanilla bean specks visible throughout every creamy scoop.
Pro Tips
- Do not skip the steeping time: The 30-minute vanilla steep is what gives this ice cream its deep, natural vanilla bean flavor.
- Use an instant-read thermometer: Pull the custard from the heat at 170°F to 175°F. This range thickens the yolks without scrambling them.
- Chill thoroughly before churning: A custard base that is 40°F or colder churns faster and creates a smoother, denser ice cream.
- Keep everything cold: Chill the storage container, work quickly after churning, and transfer the ice cream to the freezer right away.
- Save the used vanilla pods: Rinse and dry them, then tuck them into a jar of sugar to make fragrant vanilla sugar for baking or coffee.
Variations
- Vanilla bean honey ice cream: Replace 1/4 cup of the granulated sugar with 1/4 cup mild honey. Add the honey to the warm dairy mixture and stir until dissolved.
- Vanilla bean bourbon ice cream: Stir 1 tablespoon bourbon into the chilled custard just before churning. This adds warmth and helps keep the texture slightly softer.
- Vanilla bean strawberry ripple: After churning, layer the soft ice cream with 1/2 cup chilled strawberry sauce in the storage container, then gently swirl with a knife before freezing.
Storage & Make-Ahead
Store the finished ice cream in an airtight freezer-safe container with parchment paper or plastic wrap pressed directly onto the surface. It is best within 1 week for the creamiest texture, but it will keep for up to 2 weeks. For make-ahead prep, cook and chill the custard base up to 24 hours before churning. If the custard sits overnight, stir it well before pouring it into the ice cream maker so the vanilla bean seeds are evenly distributed.
Nutrition (per serving)
Calories: 330 kcal | Carbs: 20g | Protein: 4g | Fat: 26g | Saturated Fat: 16g | Fiber: 0g | Sugar: 19g | Sodium: 105mg | Cholesterol: 200mg