Quick Recipe Version (TL;DR)
Quick Ingredients
- 3 lb (1.4 kg) beef flank steak, trimmed
- 1/4 cup + 1 tbsp (60 g) kosher salt
- 2 tbsp (25 g) sugar or light brown sugar
- 1 tsp (6 g) pink curing salt #2 (optional but recommended)
- 8 garlic cloves, smashed
- 2 tbsp crushed red pepper flakes
- 2 tsp freshly ground black pepper
- 2 tsp smoked paprika (optional)
- 2 tsp dried oregano
- 2 bay leaves, crumbled
- Extra-virgin olive oil and lemon wedges, for serving
Do This
- 1. Trim excess surface fat and silverskin from the flank, then pat very dry and weigh it.
- 2. Mix salt, sugar, curing salt (if using), garlic, chili flakes, pepper, paprika, oregano, and bay leaves into a paste.
- 3. Rub cure all over beef, place in a zip-top bag or covered dish, and refrigerate 5–7 days, turning once per day.
- 4. Rinse off cure under cold water, pat completely dry, and place beef on a wire rack over a tray.
- 5. Refrigerate uncovered 3–5 days (up to 7), turning daily, until beef feels firm and has lost about 25–30% of its weight.
- 6. Chill 30 minutes to firm slightly, then slice paper-thin across the grain with a very sharp knife or slicer.
- 7. Serve at cool room temperature, drizzled with olive oil and a squeeze of lemon.
Why You’ll Love This Recipe
- Deep, savory flavor with gentle heat from chili and perfume of garlic and herbs.
- No special curing chamber required: the whole process happens safely in your refrigerator.
- Perfect make-ahead appetizer for boards, antipasti platters, and casual snacking.
- Surprisingly simple: just mix, rub, wait, and slice thin.
Grocery List
- Produce: Garlic, lemons (for serving, optional)
- Dairy: None
- Pantry: Beef flank steak, kosher salt, sugar or light brown sugar, pink curing salt #2 (optional but recommended), crushed red pepper flakes, black pepper, smoked paprika, dried oregano, bay leaves, extra-virgin olive oil
Full Ingredients
For the Cured Beef Flank
- 3 lb (1.4 kg) beef flank steak, well-trimmed of surface fat and silverskin
For the Chili-Garlic Cure
- 1/4 cup + 1 tbsp (60 g) kosher salt (use Diamond Crystal; if using Morton, use 3 tbsp / 54 g)
- 2 tbsp (25 g) sugar or light brown sugar
- 1 tsp (6 g) pink curing salt #2 (Prague Powder #2), optional but strongly recommended for safety and color
- 8 garlic cloves, smashed or finely minced
- 2 tbsp crushed red pepper flakes (adjust to taste)
- 2 tsp freshly ground black pepper
- 2 tsp smoked paprika (optional, for a subtle smoky note)
- 2 tsp dried oregano
- 2 bay leaves, crumbled finely
To Serve
- 2–3 tbsp extra-virgin olive oil, for drizzling
- 1–2 lemons, cut into wedges
- Optional: a handful of arugula, crusty bread, or crackers
Step-by-Step Instructions
Step 1: Trim and Weigh the Beef
Place the beef flank on a clean cutting board. Using a sharp knife, trim away any thick surface fat and any visible silverskin (the shiny, tough membrane). Removing this helps the cure penetrate evenly and makes slicing easier later.
Once trimmed, pat the meat very dry with paper towels. Weigh the beef and write down the starting weight. This is important: you will use this number later to know when the meat has dried enough (aim for about 25–30% weight loss).
Step 2: Mix the Chili-Garlic Cure
In a medium bowl, combine the kosher salt, sugar, pink curing salt #2 (if using), crushed red pepper flakes, black pepper, smoked paprika, dried oregano, and crumbled bay leaves. Stir to evenly distribute the spices.
Add the smashed or minced garlic and use a spoon or your fingers to work it into the salt mixture. You are looking for a slightly damp, sandy paste with the garlic and spices well dispersed throughout. This mixture will both season and preserve the beef.
Step 3: Rub and Refrigerate to Cure (5–7 Days)
Place the dried flank steak in a shallow glass or non-reactive dish, or into a large zip-top bag. Sprinkle the cure mixture evenly over all sides of the meat, massaging it firmly into every surface, including edges and any creases. Make sure no spots are left bare.
If using a dish, pack any loose cure around and under the beef, then cover tightly. If using a bag, press out as much air as possible and seal. Refrigerate at 34–38°F (1–3°C) for 5–7 days.
Once per day, turn the meat over and massage it gently in the accumulating brine. This redistributes the cure and helps it penetrate evenly. The meat will gradually firm up and deepen in color as it cures.
Step 4: Rinse, Dry, and Prepare for Air-Drying
After 5–7 days, the flank should feel noticeably firmer and darker. Remove it from the bag or dish and discard the excess cure. Rinse the beef quickly but thoroughly under cold running water to remove the surface salt and spices.
Pat the meat very dry with plenty of paper towels. This is important: a dry surface helps prevent unwanted bacterial growth and encourages a clean, even drying process.
Set a wire rack over a rimmed baking sheet. Place the cured beef on the rack so that air can circulate all around it. If desired, you can loosely cover the entire tray with a clean piece of cheesecloth to protect it from fridge odors while still allowing airflow.
Step 5: Air-Dry in the Refrigerator (3–7 Days)
Place the rack with the beef in the coldest part of your refrigerator, ideally around 34–38°F (1–3°C). Leave it uncovered or loosely covered so the surface can dry. This step mimics traditional air-drying but in a safer, controlled environment.
Turn the meat once per day so it dries evenly on all sides. After about 3 days, start checking the texture: it should feel quite firm but still slightly pliable in the very center. Weigh the meat again and compare to the starting weight. When it has lost about 25–30% of its original weight, the “carne secca” is ready. This usually takes 3–5 days, but can be up to 7 depending on your fridge and the thickness of the flank.
If at any point you see fuzzy mold, smell anything sour or unpleasant, or notice slimy patches, discard the meat. The aroma should be meaty, garlicky, and pleasantly spicy, never funky or rancid.
Step 6: Chill and Slice Paper-Thin
For the best, most even slices, place the dried beef in the freezer for 20–30 minutes before slicing. You do not want it frozen solid, just slightly firmer. This makes it much easier to shave thin slices.
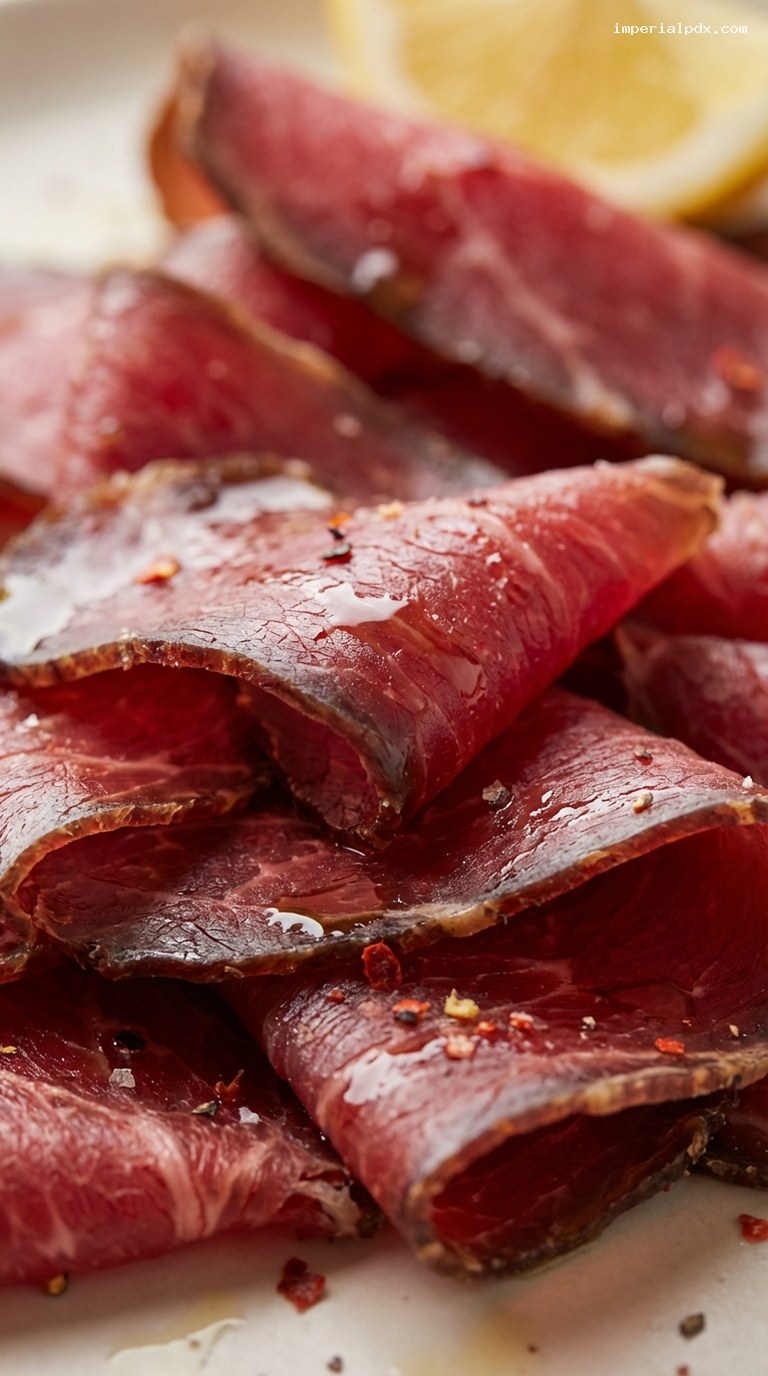
With a very sharp slicing knife or a meat slicer, cut the flank across the grain into paper-thin slices, about 1–2 mm thick. Cutting across the grain shortens the muscle fibers and gives you that ideal chewy-but-tender texture. Stack slices loosely on a plate rather than packing them down; the delicate ribbons look beautiful and are easier to grab.
Step 7: Serve and Enjoy
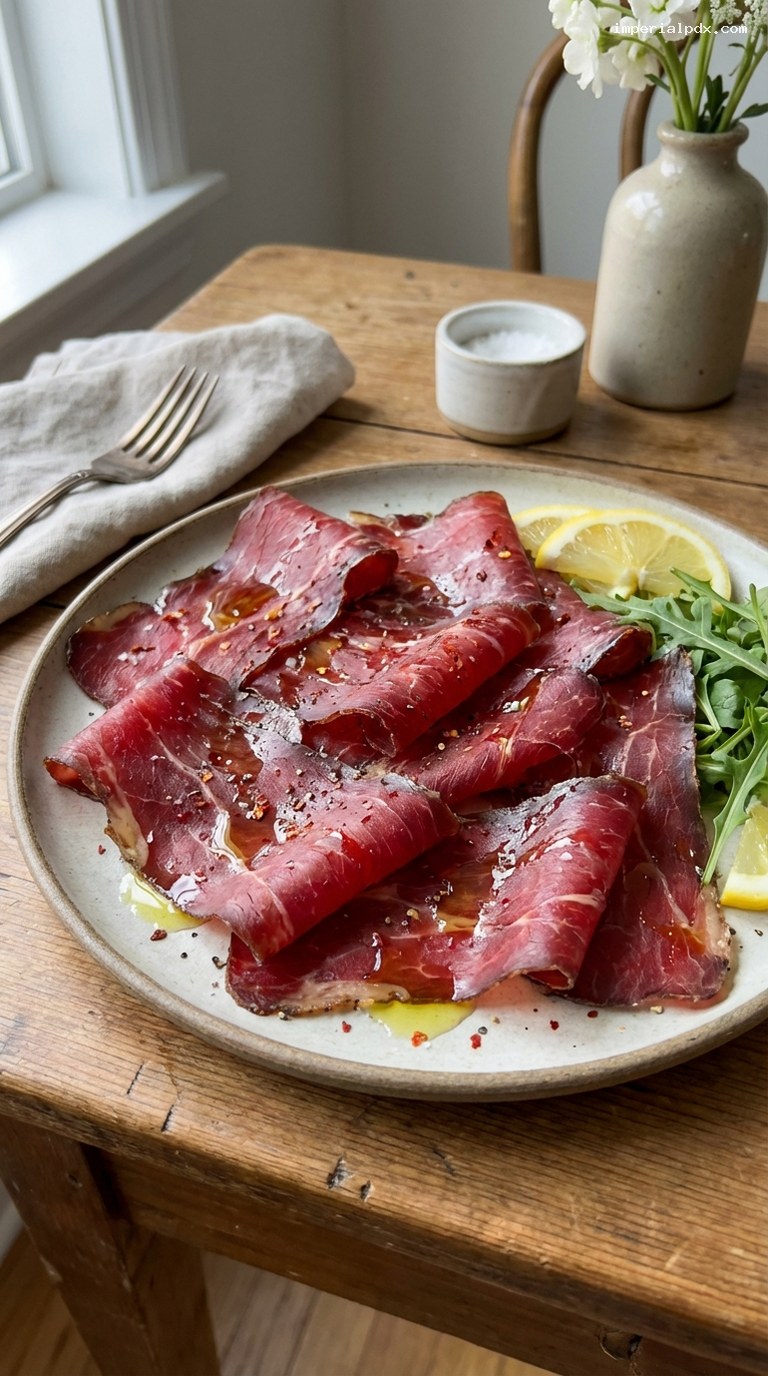
Arrange the shaved carne secca in overlapping layers on a chilled plate or wooden board. Drizzle lightly with extra-virgin olive oil and finish with a squeeze of fresh lemon just before serving. The oil brings out the richness of the beef, while the lemon cuts through the saltiness and adds brightness.
Serve at cool room temperature with crusty bread, crackers, or a simple bed of arugula. Carne secca is perfect on an antipasto platter alongside olives, hard cheeses, and pickled vegetables. Enjoy it as you would prosciutto or bresaola: in small, savoring bites.
Pro Tips
- Weigh before and after: Tracking weight loss is the most reliable way to judge doneness. Aim for about 25–30% loss for a firm yet still slightly pliable texture.
- Keep it cold and dry: Always cure and dry the meat in the refrigerator, not at room temperature. Good airflow (wire rack) and a dry environment are key.
- Use curing salt for safety: Pink curing salt #2 helps inhibit harmful bacteria, improves color, and extends shelf life. Measure it accurately and never exceed the recommended amount.
- Slice as thin as possible: A long, sharp slicing knife, gentle sawing motion, and slightly chilled meat make translucent, melt-in-your-mouth slices.
- Let flavors bloom: After drying, you can wrap the meat and rest it in the fridge for an extra day before slicing. This allows the flavors to marry and mellow.
Variations
- Smoky Chili Carne Secca: Increase smoked paprika to 1 tbsp and add 1 tsp ground cumin to the cure. This gives a deeper, slightly barbecue-like flavor with the same chewy texture.
- Herb-Forward Garlic & Rosemary: Swap the oregano for 2 tbsp finely chopped fresh rosemary (or 2 tsp dried), and reduce chili flakes to 1 tbsp for a more aromatic, less spicy profile.
- Citrus-Chili Twist: Add 1 tbsp finely grated lemon or orange zest to the cure mixture. The citrus perfumes the meat and pairs beautifully with the chili heat.
Storage & Make-Ahead
Once dried and sliced, store carne secca in an airtight container in the refrigerator for up to 7–10 days. Place a small piece of parchment between layers to keep slices from sticking. For longer storage, keep the dried piece whole, tightly wrapped in parchment and then plastic wrap; refrigerate up to 2 weeks and slice as needed.
For even longer keeping, freeze the whole cured piece or tightly wrapped stacks of slices for up to 3 months. Thaw overnight in the refrigerator. Always keep cured meats cold and discard if you notice any off smells, unusual colors, or fuzzy mold.
Nutrition (per serving)
Approximate values per 1 oz (28 g) serving, without olive oil:
Calories: ~90; Protein: ~9 g; Fat: ~6 g; Carbohydrates: ~1 g; Fiber: 0 g; Sodium: ~350–450 mg (will vary with exact drying time and salt absorption). Adding olive oil will increase the fat and calorie content slightly.