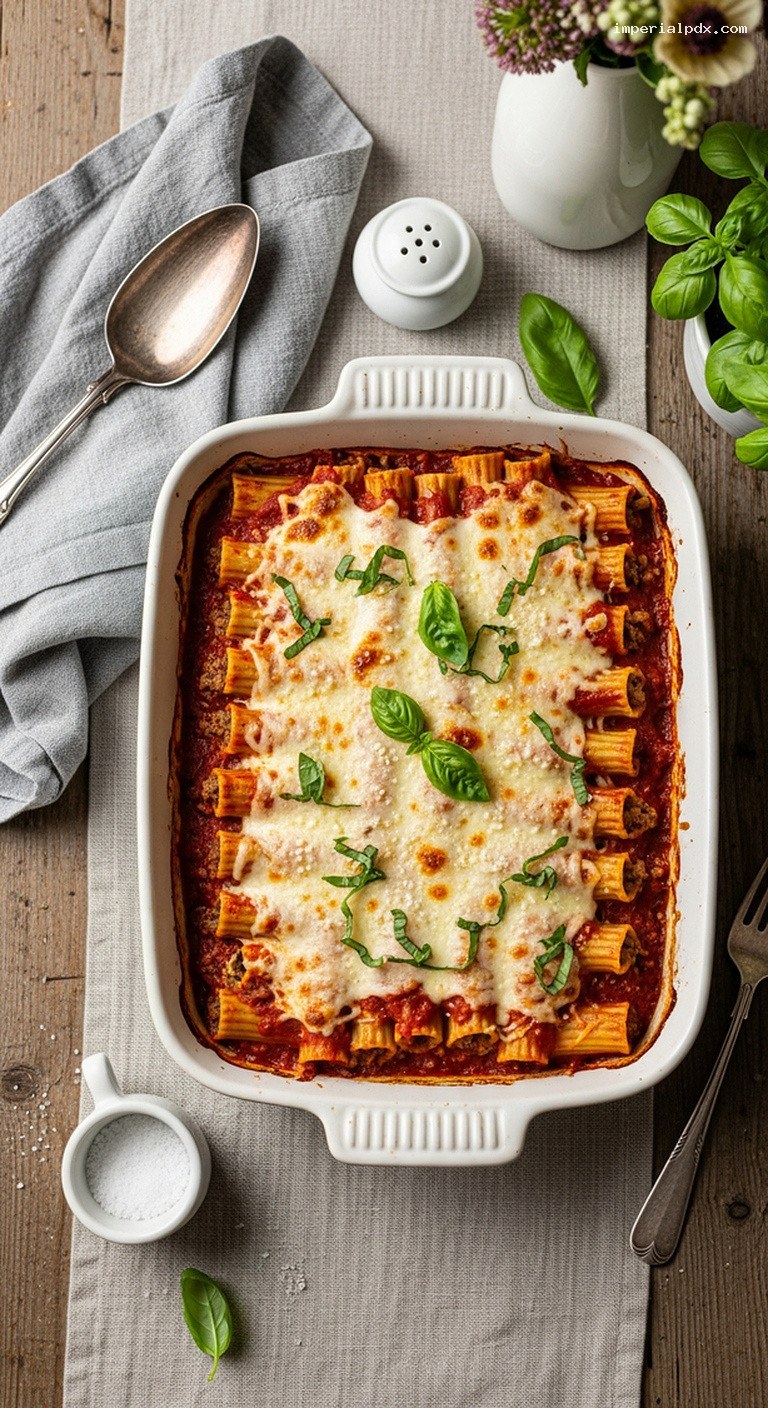
Quick Recipe Version (TL;DR)
Quick Ingredients
- 12 dried manicotti shells (about 8 oz)
- 1 tbsp kosher salt (for pasta water)
- 1 lb (450 g) lean ground beef
- 1 tbsp olive oil
- 1 small yellow onion, finely diced
- 3 cloves garlic, minced
- 1 (15 oz) container whole-milk ricotta cheese
- 2 cups (8 oz) shredded mozzarella cheese, divided
- 1/2 cup grated Parmesan cheese, divided
- 1 large egg
- 1/4 cup plain dry breadcrumbs
- 1 tsp dried Italian seasoning (or mix of oregano and basil)
- 1/4 tsp red pepper flakes (optional)
- 3 cups (about 24 oz) marinara sauce
- Salt and black pepper to taste
- Fresh basil or parsley, chopped, for garnish (optional)
Do This
- 1. Preheat oven to 375°F (190°C). Boil manicotti in salted water for 6–7 minutes until just shy of al dente. Drain and cool on a tray.
- 2. In a skillet, cook onion in olive oil until soft, then add ground beef and brown. Stir in garlic, seasoning, salt, and pepper; cool slightly.
- 3. In a bowl, mix ricotta, 1 1/2 cups mozzarella, 1/4 cup Parmesan, egg, breadcrumbs, and red pepper flakes. Fold in cooked beef.
- 4. Spread 1 cup marinara in a 9×13-inch baking dish. Pipe or spoon filling into cooled manicotti shells and arrange in dish.
- 5. Cover manicotti with remaining marinara, then top with remaining mozzarella and Parmesan. Cover tightly with foil.
- 6. Bake covered for 25–30 minutes, then uncover and bake 10–15 minutes more until cheese is melted and bubbly with golden spots.
- 7. Rest 10 minutes before serving. Garnish with fresh basil or parsley and extra Parmesan if desired.
Why You’ll Love This Recipe
- Classic comfort food: tender pasta tubes stuffed with a rich, creamy beef and ricotta filling.
- Perfect make-ahead dish for family dinners, potlucks, or entertaining.
- Uses simple supermarket ingredients but tastes restaurant-quality.
- Customizable: easy to tweak with extra veggies, different meats, or more cheese.
Grocery List
- Produce: 1 small yellow onion, garlic (3–4 cloves), fresh basil or parsley (for garnish)
- Dairy: Whole-milk ricotta (15 oz), shredded mozzarella (at least 2 cups / 8 oz), grated Parmesan (at least 1/2 cup), 1 large egg
- Pantry: Dried manicotti shells (12, about 8 oz), marinara sauce (about 3 cups / 24 oz), olive oil, plain dry breadcrumbs, kosher salt, black pepper, dried Italian seasoning (or oregano and basil), red pepper flakes (optional)
Full Ingredients
For the Manicotti Shells
- 12 dried manicotti shells (about 8 oz)
- 1 tbsp kosher salt (for the pasta water)
For the Beef and Ricotta Filling
- 1 tbsp olive oil
- 1 small yellow onion, finely diced (about 1/2 cup)
- 1 lb (450 g) lean ground beef
- 3 cloves garlic, minced
- 1 tsp kosher salt (plus more to taste)
- 1/2 tsp freshly ground black pepper (plus more to taste)
- 1 tsp dried Italian seasoning (or 1/2 tsp dried oregano + 1/2 tsp dried basil)
- 1/4 tsp red pepper flakes (optional, for gentle heat)
- 1 (15 oz) container whole-milk ricotta cheese
- 2 cups (8 oz) shredded mozzarella cheese, divided (1 1/2 cups for filling, 1/2 cup for topping)
- 1/2 cup grated Parmesan cheese, divided (1/4 cup for filling, 1/4 cup for topping)
- 1 large egg
- 1/4 cup plain dry breadcrumbs
For Assembly
- 3 cups (about 24 oz) marinara sauce (homemade or store-bought)
- Fresh basil or parsley, chopped, for garnish (optional)
- Extra grated Parmesan, for serving (optional)
Step-by-Step Instructions
Step 1: Preheat the oven and boil the manicotti
Preheat your oven to 375°F (190°C). Lightly grease a 9×13-inch baking dish (or similar 3-quart dish) with a bit of olive oil or nonstick spray and set aside.
Bring a large pot of water to a rolling boil and add 1 tablespoon kosher salt. Gently add the manicotti shells and cook for 6–7 minutes, just until they are pliable but still quite firm in the center (they will finish cooking in the oven). Stir occasionally so they do not stick.
Carefully drain the shells in a colander. To help prevent tearing, rinse briefly under cool water to stop the cooking. Lay the shells out in a single layer on a lightly oiled baking sheet or parchment-lined tray so they do not stick together while you prepare the filling.
Step 2: Cook the beef and aromatics
While the pasta cooks, heat 1 tablespoon olive oil in a large skillet over medium heat. Add the finely diced onion and cook, stirring occasionally, for 4–5 minutes until softened and translucent.
Add the ground beef to the skillet, breaking it up with a spoon or spatula. Cook for 5–7 minutes, stirring occasionally, until the beef is browned and no pink remains. Drain off excess fat if there is a lot in the pan.
Stir in the minced garlic, 1 teaspoon kosher salt, 1/2 teaspoon black pepper, 1 teaspoon dried Italian seasoning, and 1/4 teaspoon red pepper flakes (if using). Cook for 1–2 minutes more, just until fragrant. Remove the skillet from the heat and let the beef mixture cool for about 5–10 minutes so it does not melt the cheese too much when mixed.
Step 3: Make the cheese filling
In a large mixing bowl, combine the ricotta cheese, 1 1/2 cups shredded mozzarella, and 1/4 cup grated Parmesan. Add the egg and 1/4 cup plain dry breadcrumbs. Mix until everything is evenly combined and creamy.
Fold the slightly cooled beef mixture into the ricotta mixture until well distributed. Taste a small amount and adjust seasoning with additional salt and pepper if needed. The filling should be thick, scoopable, and flavorful. If it seems very loose, you can stir in another tablespoon of breadcrumbs to firm it up slightly.
Step 4: Fill the manicotti shells
To make filling easier, you can transfer the beef-ricotta mixture to a large zip-top bag or piping bag and snip off one corner, or simply use a small spoon.
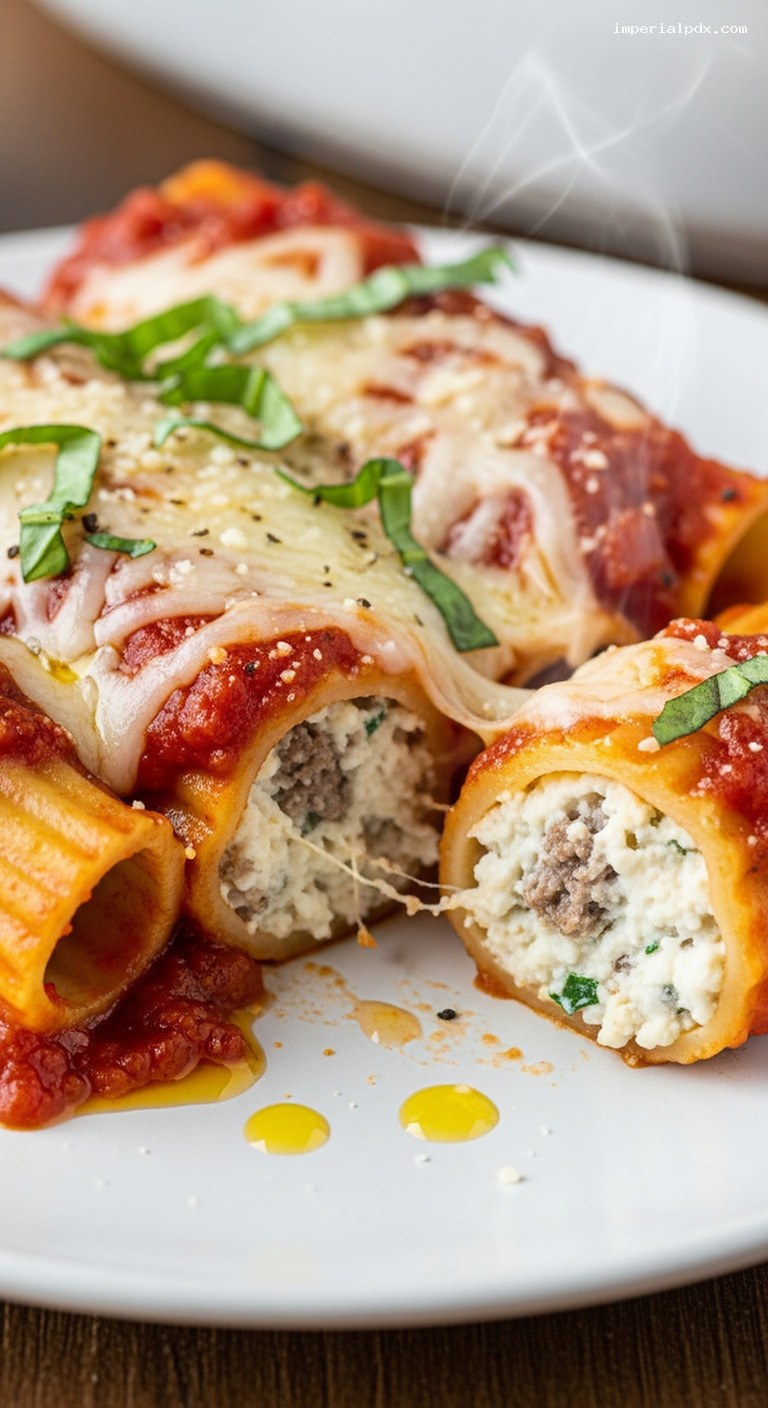
Gently hold a cooled manicotti shell in one hand. Pipe or spoon the filling inside from each end, packing it in so the tube is full but not splitting. Repeat with the remaining shells until all 12 are generously stuffed. If you have a bit of extra filling, you can tuck it around the shells in the baking dish later.
Step 5: Assemble the baking dish
Spread 1 cup of marinara sauce evenly over the bottom of your prepared 9×13-inch baking dish. This prevents sticking and keeps the pasta moist.
Arrange the stuffed manicotti in a single layer on top of the sauce, nestling them closely side by side. If needed, you can angle a few along the edges to fit them all in.
Spoon the remaining 2 cups of marinara sauce evenly over the tops of the manicotti, making sure all the pasta is covered to avoid dried-out edges. Sprinkle the remaining 1/2 cup shredded mozzarella and 1/4 cup grated Parmesan evenly over the sauced manicotti.
Step 6: Bake until bubbly and golden
Cover the baking dish tightly with aluminum foil, tenting it slightly so it does not stick to the cheese. Bake in the preheated 375°F (190°C) oven for 25–30 minutes, until the sauce is hot and the filling is heated through.
Carefully remove the foil and return the dish to the oven. Bake uncovered for another 10–15 minutes, or until the cheese on top is fully melted, bubbly, and starting to brown in spots. If you like a more deeply browned top, you can broil for 1–2 minutes at the end, watching closely so it does not burn.
Step 7: Rest, garnish, and serve
Remove the dish from the oven and let the manicotti rest for at least 10 minutes before serving. This resting time helps the filling set slightly, making the manicotti easier to lift out in neat pieces.
Just before serving, sprinkle with chopped fresh basil or parsley for color and freshness, if desired. Serve hot, with extra grated Parmesan on the table and a simple green salad and garlic bread alongside for a complete, cozy meal.
Pro Tips
- Do not overcook the shells: Slightly undercooked manicotti holds its shape better and will finish cooking in the oven without becoming mushy.
- Cool the beef before mixing: Let the cooked beef mixture cool for a few minutes so it does not melt the ricotta and mozzarella, which could make the filling too runny.
- Use a piping bag: Transfer the filling to a large piping bag or zip-top bag with the corner snipped off for cleaner, faster filling with less shell breakage.
- Cover completely with sauce: Ensure all exposed pasta is covered in sauce to prevent dry, hard edges during baking.
- Let it rest: A short rest after baking makes slicing and serving much easier and keeps the filling from oozing out.
Variations
- Spinach beef manicotti: Stir 1 cup thawed, well-squeezed frozen spinach into the ricotta filling for extra color and veggies.
- Three-cheese manicotti (no beef): Omit the ground beef and increase the ricotta to 20 oz and mozzarella to 3 cups for an ultra-cheesy, vegetarian version.
- Sausage and beef: Use half ground beef and half Italian sausage (casings removed) for a deeper, slightly spicy flavor.
Storage & Make-Ahead
Leftover manicotti keeps well. Allow the dish to cool completely, then cover tightly and refrigerate for up to 4 days. Reheat individual portions in the microwave until hot, or warm the whole dish in a 325°F (165°C) oven, covered, until heated through.
To make ahead, assemble the manicotti completely up to the point of baking. Cover tightly with foil and refrigerate for up to 24 hours. When ready to bake, add 5–10 extra minutes to the covered baking time to account for the cold dish. You can also freeze the assembled, unbaked manicotti (wrapped well in foil and plastic) for up to 2 months; thaw in the refrigerator overnight before baking.
Nutrition (per serving)
Approximate values per serving (1/6 of the recipe, about 2 stuffed manicotti): 620 calories; 34 g protein; 55 g carbohydrates; 28 g fat; 13 g saturated fat; 90 mg cholesterol; 1,250 mg sodium; 4 g fiber; 9 g sugar. Actual values will vary based on specific brands and marinara sauce used.