Quick Recipe Version (TL;DR)
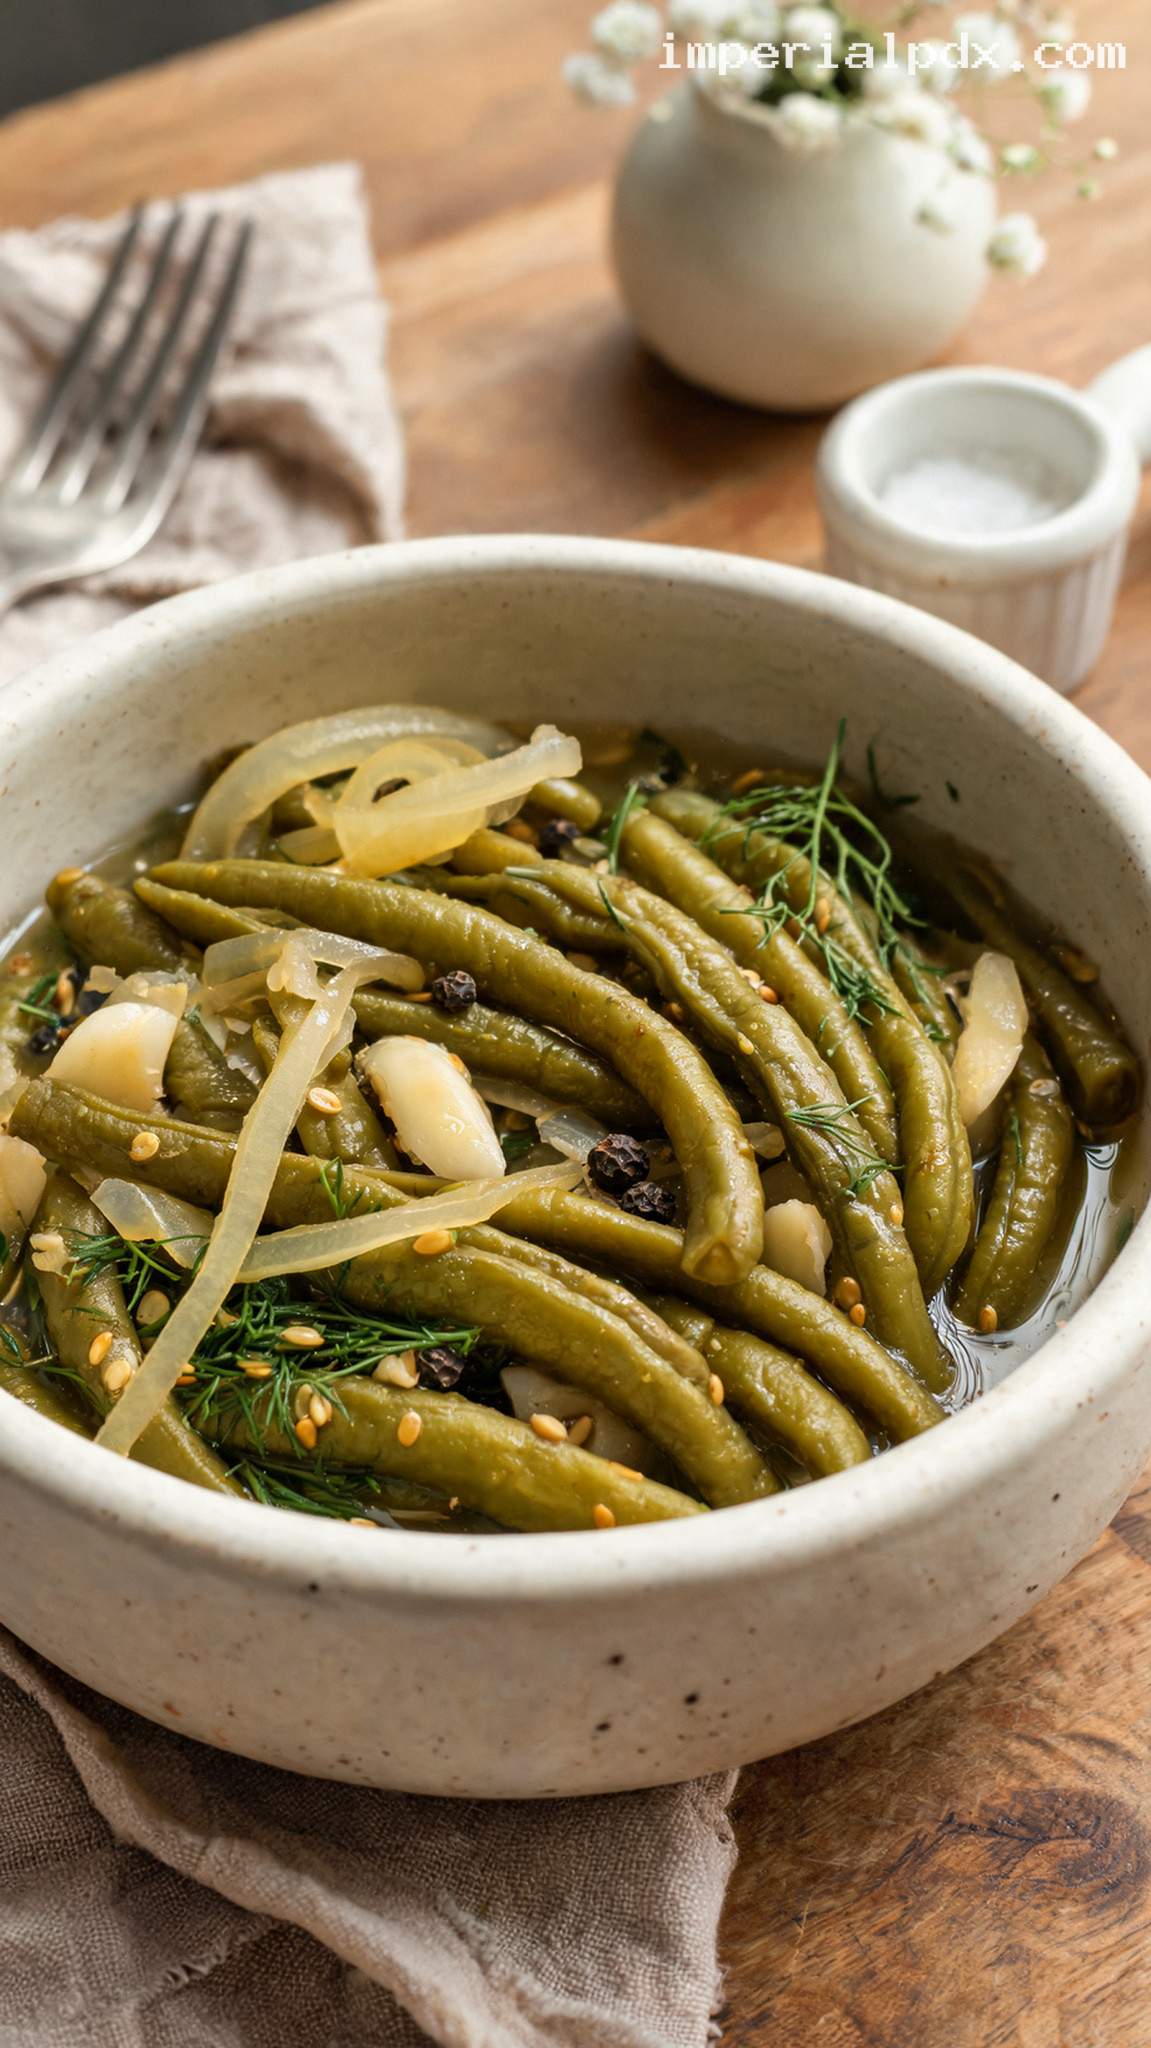
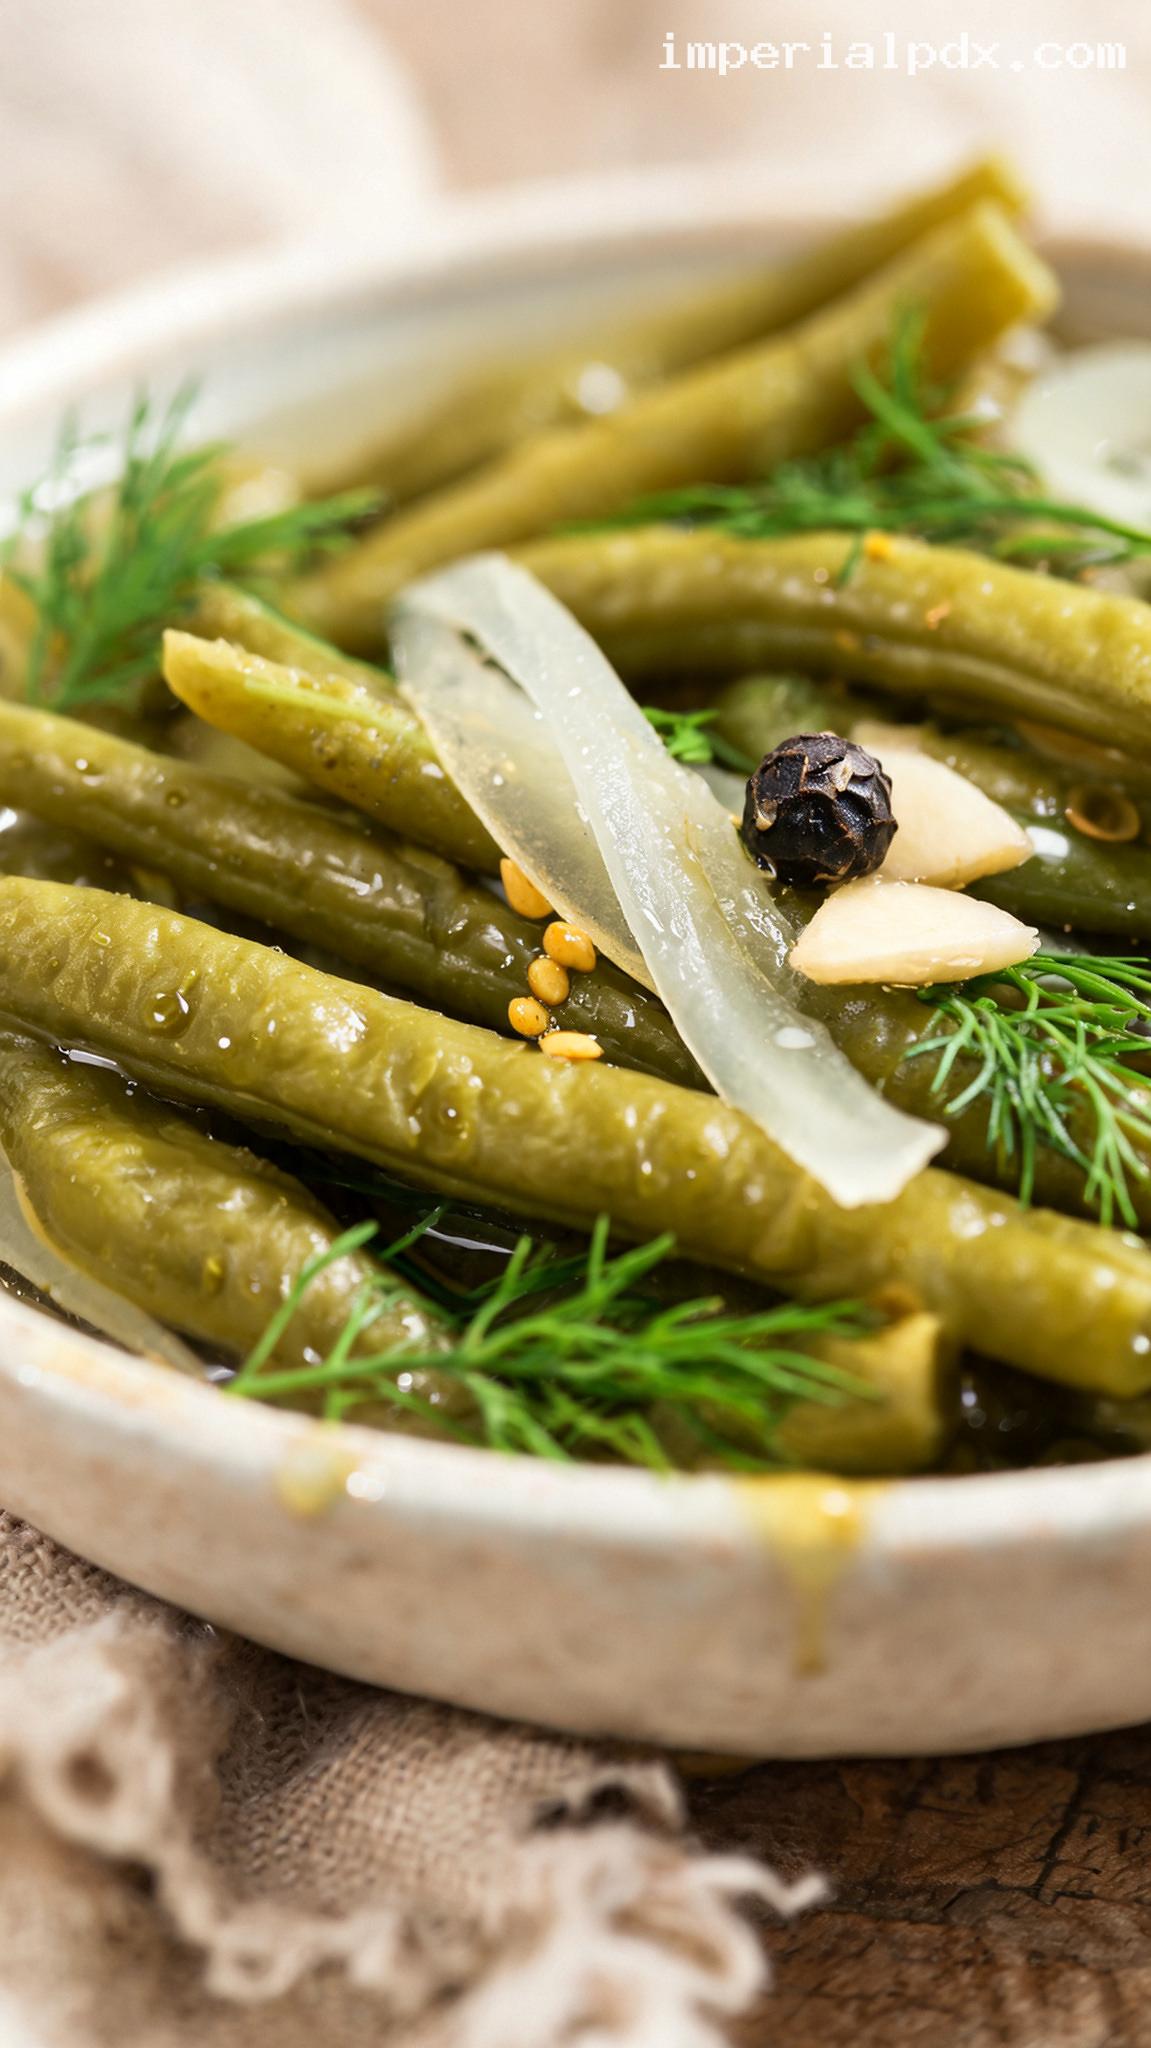
Amish-Style Sweet-and-Sour Pickled Green Beans are crisp, garlicky refrigerator pickles with a pleasantly sweet vinegar bite, fragrant dill, and little pops of mustard seed. This farmhouse-inspired recipe is for refrigerator storage only, not shelf-stable canning.
Quick Ingredients
- 2 pounds (907 g) fresh green beans, weighed after trimming
- 1 small yellow onion, trimmed and thinly sliced, about 4 ounces (113 g)
- 4 garlic cloves, peeled and lightly crushed
- 4 large sprigs fresh dill
- 2 teaspoons yellow mustard seeds
- 1 teaspoon whole black peppercorns
- 2 cups (480 ml) distilled white vinegar labeled 5% acidity
- 2 cups (480 ml) water, for the brine
- 3/4 cup (150 g) granulated sugar
- 1 tablespoon (18 g) pickling salt
Do This
- 1. Wash two heat-safe quart canning jars and their lids. Trim the beans to fit, and prepare an ice bath.
- 2. Blanch the beans in boiling water for 2 minutes, then chill in the ice bath for 3 minutes. Drain thoroughly.
- 3. Divide the onion, garlic, dill, mustard seeds, and peppercorns between the jars. Pack in the beans.
- 4. Bring the vinegar, brine water, sugar, and salt to a boil, stirring until dissolved. Reduce the heat and simmer for 2 minutes.
- 5. Pour the hot brine over the beans, leaving 1/2 inch of headspace and keeping the vegetables submerged. Release trapped air and add more brine if needed.
- 6. Loosely cover and cool for 20 minutes, then secure the lids and refrigerate at 40°F (4°C) or below. Wait at least 48 hours before serving; use within 2 weeks.
Why You’ll Love This Recipe
- A lovely sweet-and-sour balance: Sugar softens the vinegar’s sharpness without hiding the dill, garlic, and mustard.
- A satisfying crunch: Brief blanching followed by an ice bath keeps the beans pleasantly crisp-tender.
- No canning equipment required: These easy refrigerator pickles need only clean, heat-safe jars and a saucepan.
- Plenty of serving possibilities: Enjoy them beside roast chicken, tuck them into sandwiches, or add them to a cheese and charcuterie board.
Grocery List
- Produce: Fresh green beans, 1 small yellow onion, 1 head garlic, and fresh dill.
- Dairy: None needed.
- Pantry: Distilled white vinegar labeled 5% acidity, granulated sugar, pickling salt, yellow mustard seeds, and whole black peppercorns.
Full Ingredients
Vegetables and Aromatics
- 2 pounds (907 g) fresh green beans, weighed after removing the stem ends
- 1 small yellow onion, peeled and trimmed, about 4 ounces (113 g), cut into 1/8-inch-thick half-moons
- 4 medium garlic cloves, about 12 g total, peeled and lightly crushed
- 4 large sprigs fresh dill, each approximately 4 inches long
- 2 teaspoons yellow mustard seeds
- 1 teaspoon whole black peppercorns
Sweet-and-Sour Brine
- 2 cups (480 ml) distilled white vinegar labeled 5% acidity
- 2 cups (480 ml) water
- 3/4 cup (150 g) granulated sugar
- 1 tablespoon (18 g) pickling salt, weighed for accuracy
For Blanching and Chilling
- 3 quarts (2.8 liters) water, for boiling the beans
- 4 cups ice cubes mixed with 4 cups (960 ml) cold water, for the ice bath
Equipment: Two heat-safe, wide-mouth quart canning jars with lids, a large pot, a nonreactive saucepan, a large bowl, a colander, tongs, and a clean nonmetallic utensil for releasing air bubbles.
Step-by-Step Instructions
Step 1: Prepare the jars and vegetables
Wash the jars and lids thoroughly in hot, soapy water and rinse well. Keep the jars warm with warm water while you prepare the ingredients; empty them just before filling. These are refrigerator pickles, so a boiling-water canning process is not part of this recipe.
Rinse the beans and discard any that are soft, slimy, or badly blemished. Remove the stem ends and trim the beans to about 5 inches long, or short enough to stand below the shoulder of your jars. Slice the onion, crush the garlic lightly with the flat side of a knife, and rinse the dill.
Step 2: Blanch and quickly chill the beans
Bring 3 quarts of water to a rolling boil in a large pot. Meanwhile, combine the ice and cold water in a large bowl. Add the beans to the boiling water in two batches, allowing the water to return to a boil before timing each batch for 2 minutes.
Immediately transfer each batch to the ice bath and chill for 3 minutes. The beans should be cool and still have a firm bite. Drain thoroughly. This brief blanching gives them a pleasant crisp-tender texture; they should not be fully cooked or floppy.
Step 3: Layer the flavorings and pack the beans
Set the warm, empty jars on a folded kitchen towel. Place half the onion, 2 garlic cloves, 2 dill sprigs, 1 teaspoon mustard seeds, and 1/2 teaspoon peppercorns in each jar.
Stand the beans upright in the jars, packing them snugly without crushing them. Tuck the onion and dill between the beans where possible. Leave enough room at the top for the vegetables to sit beneath the brine with 1/2 inch of headspace above it.
Step 4: Make the sweet-and-sour brine
Combine the vinegar, 2 cups water, sugar, and pickling salt in a stainless-steel or other nonreactive saucepan. Bring to a boil over medium-high heat, stirring until the sugar and salt dissolve completely.
Reduce the heat to maintain a gentle simmer and cook for 2 minutes. The brine should be clear, with no sugar or salt crystals left on the bottom. Avoid aluminum or unlined copper cookware, which can react with the vinegar.
Step 5: Fill the jars and release trapped air
Carefully pour the hot brine into the warm jars, covering the vegetables and leaving 1/2 inch of headspace. Slide a clean nonmetallic utensil down the inside of each jar to release trapped air, then add more brine if the level drops.
Keep all the vegetables beneath the liquid. A clean, food-safe glass fermentation weight may help if the beans float. Depending on the shape of your beans and how tightly they are packed, you may have a little brine left over; discard it once the jars are filled.
Step 6: Cool briefly and refrigerate
Wipe the rims and set the lids loosely on the jars. Let them stand on the towel for 20 minutes, then secure the lids and move the jars to the refrigerator while they are still warm. Leave space around them so cold air can circulate, and keep the refrigerator at 40°F (4°C) or below.
Do not leave the jars on the counter until completely cool, and do not store them in the pantry. A lid that pulls down as the contents cool does not make this recipe shelf-stable.
Step 7: Let the flavor develop and serve
Refrigerate for at least 48 hours before tasting. The flavor becomes rounder and more pronounced after 3 to 5 days. The beans will gradually shift from bright green toward a natural olive-green color as they pickle.
Lift out portions with clean utensils and drain briefly before serving cold. Arrange them in a shallow bowl with a few pickled onion ribbons, or serve alongside sharp cheddar, country ham, sandwiches, or roasted meats. Keep the remaining beans submerged and refrigerated.
Pro Tips
- Start with young, firm beans: Slender beans of similar thickness pickle more evenly. Avoid oversized beans with tough strings or bulging seeds.
- Watch the blanching time: Set a timer for 2 minutes after the water returns to a boil, then move the beans straight into the ice bath.
- Use properly labeled vinegar: Choose commercial vinegar with 5% acidity. Do not substitute homemade vinegar or dilute the brine with extra water.
- Weigh the salt if possible: Different salts have different crystal sizes. Use 18 g rather than substituting an equal spoonful of coarse kosher salt.
- Keep everything under the brine: Submersion helps the beans pickle evenly and protects their quality during refrigerated storage.
Variations
- Sweet-and-spicy: Add 1/4 teaspoon crushed red pepper flakes to each jar along with the mustard seeds and peppercorns.
- Apple cider version: Replace the distilled white vinegar with 2 cups (480 ml) commercial apple cider vinegar labeled 5% acidity. The brine will have a warmer color and a slightly fruitier flavor.
- Extra-dill version: Add 1/4 teaspoon dill seeds to each jar in addition to the fresh dill for a deeper pickle-shop flavor.
Storage & Make-Ahead
Store continuously in the refrigerator at 40°F (4°C) or below and use within 2 weeks of preparation. For the best flavor, make the beans 3 to 5 days before serving. Always use clean utensils, keep the vegetables submerged, and return the jars promptly to the refrigerator.
Do not freeze; thawed beans lose their appealing crunch. Discard the entire contents of a jar if you notice mold, unexpected bubbling, a swollen lid, an unpleasant odor, or slimy vegetables. Do not taste questionable pickles. This recipe has not been tested for shelf-stable canning. For pantry storage, use a tested pickled-green-bean recipe from a reliable home-preservation source without altering its proportions or processing instructions.
Nutrition (per serving)
Calories: 65 kcal | Carbs: 14.5g | Protein: 1.3g | Fat: 0.3g | Saturated Fat: 0g | Fiber: 1.8g | Sugar: 11.5g | Sodium: 445mg | Cholesterol: 0mg
Nutrition is an estimate for one-sixteenth of the ingredients, including an equal share of the brine. Actual sugar and sodium intake will generally be lower when the beans are drained and the brine is not consumed.