Quick Recipe Version (TL;DR)
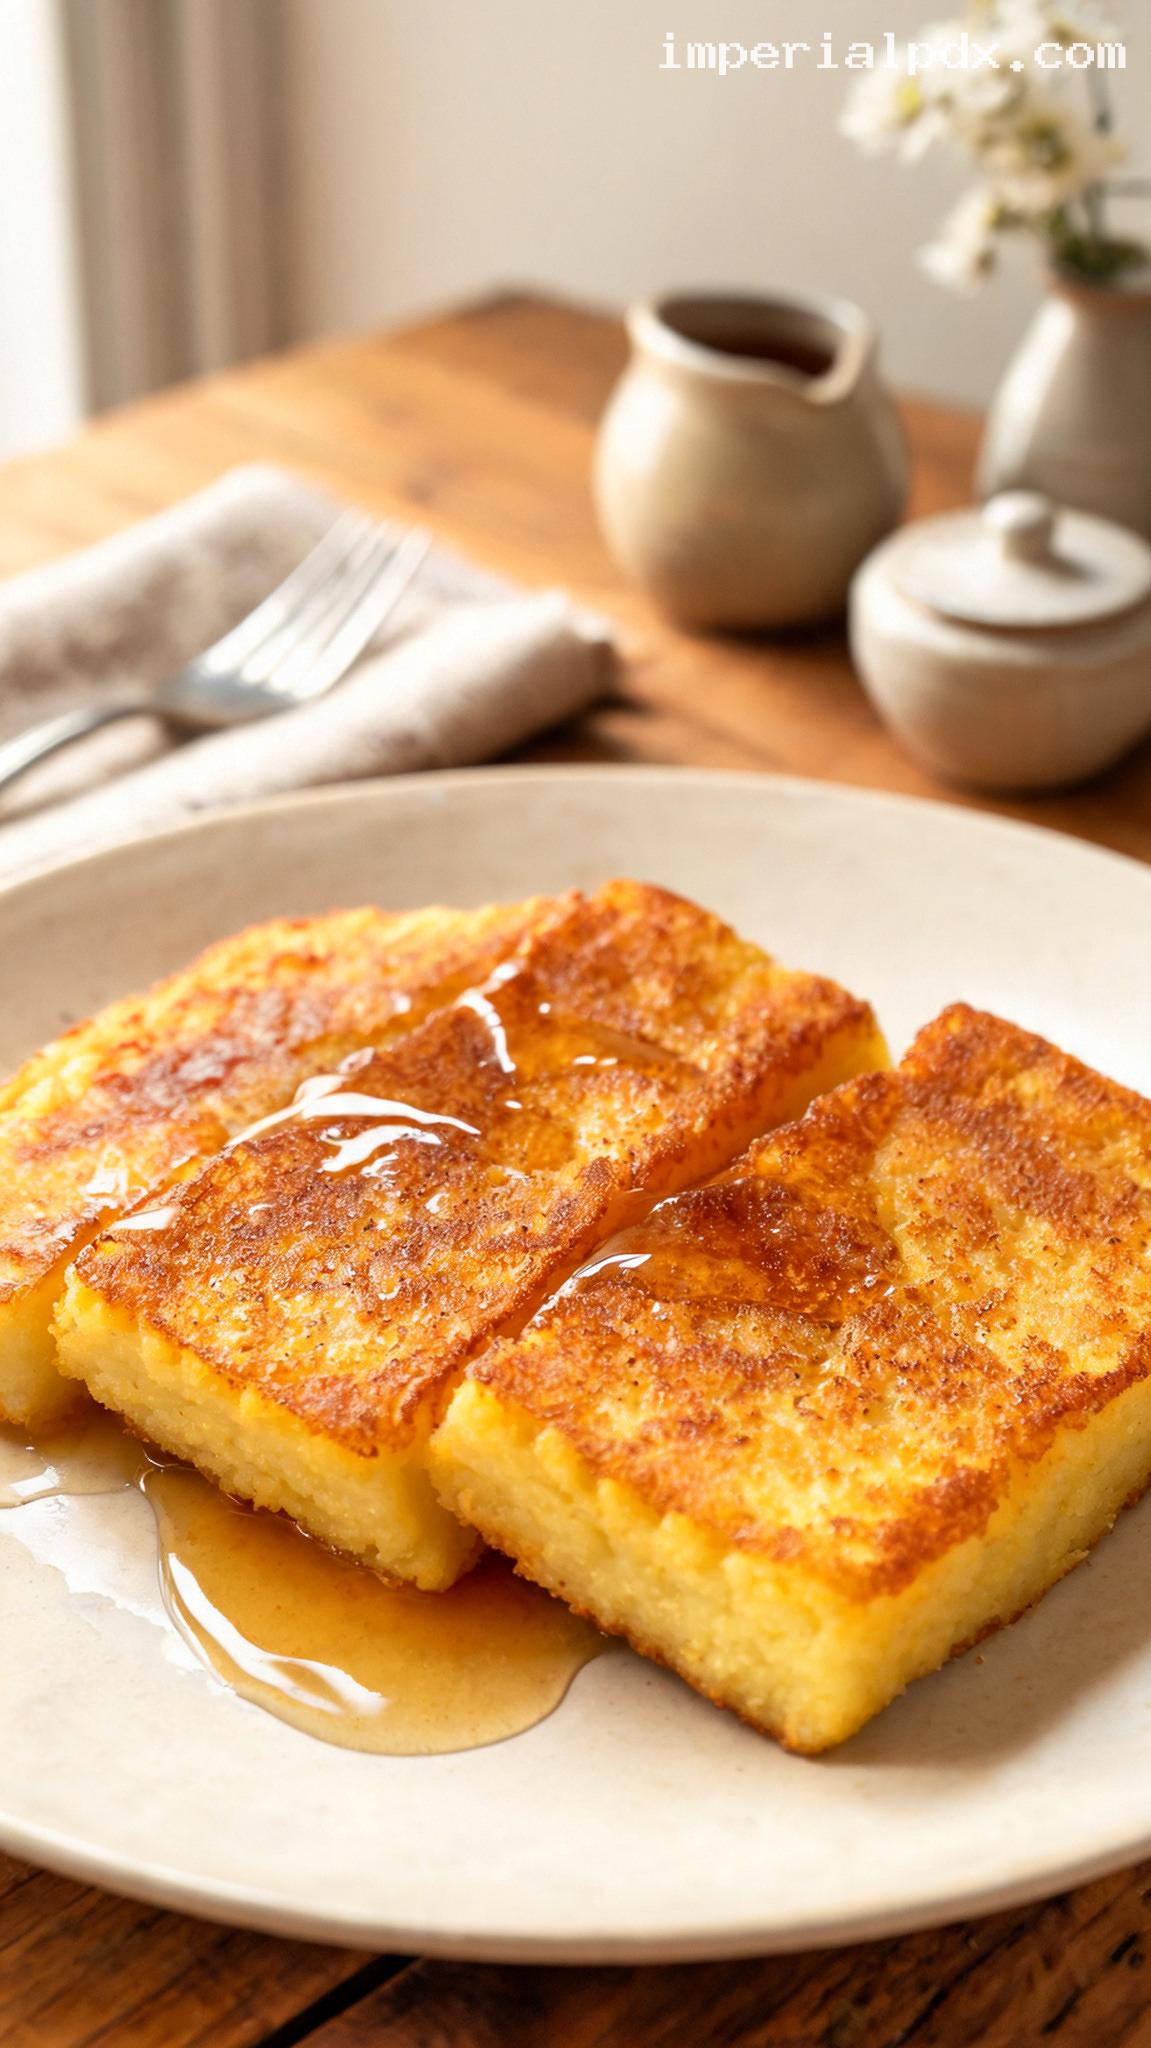
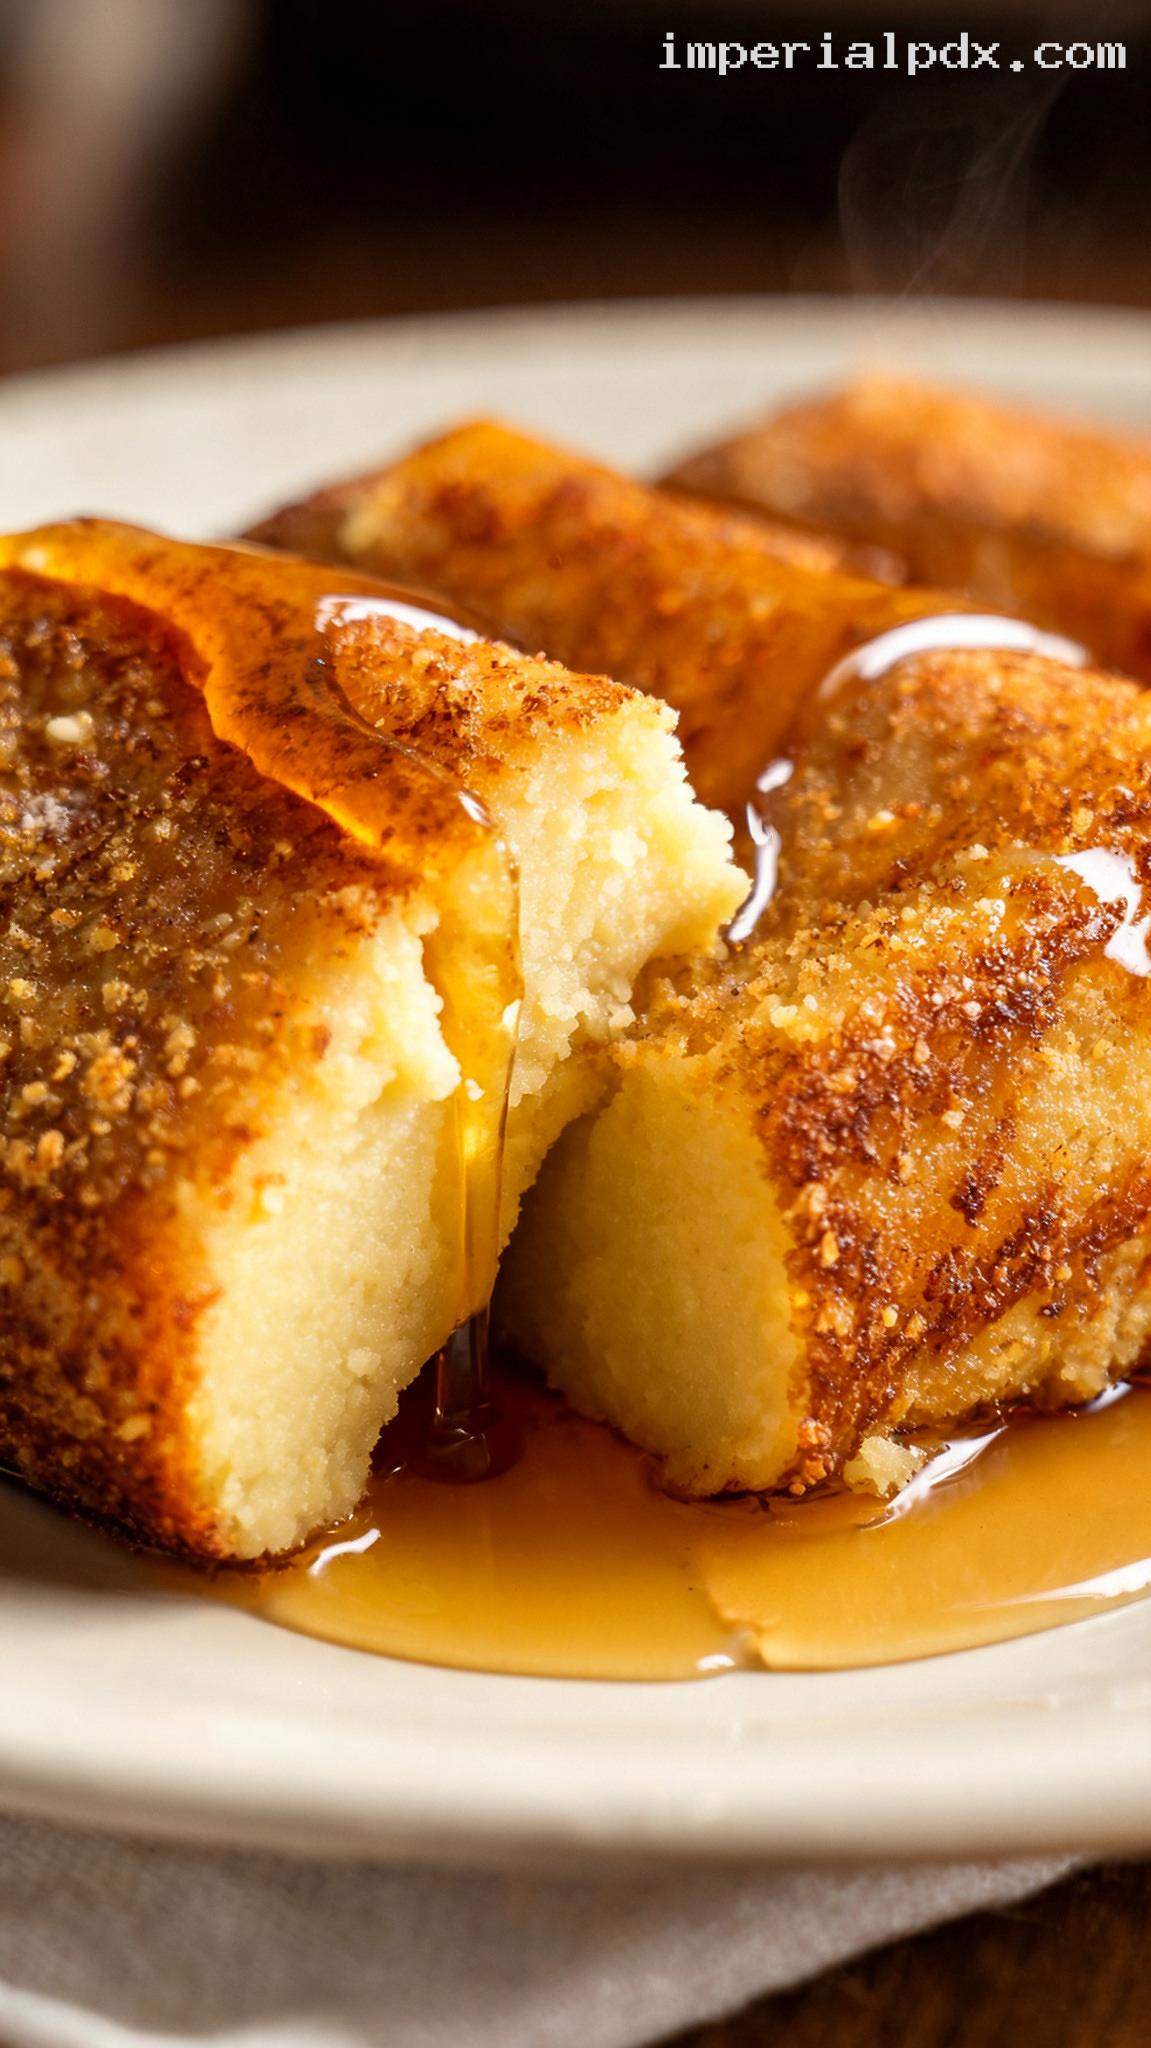
Amish-Style Cornmeal Mush with Fried Buttered Slices turns a few humble ingredients into a comforting farmhouse breakfast: crisp, golden edges, soft cornmeal centers, and a drizzle of maple syrup.
Quick Ingredients
- 1 cup (160 g) regular yellow cornmeal, fine or medium grind
- 4 cups (960 ml) water, divided
- 1 teaspoon (6 g) fine table salt
- 3 tablespoons (43 g) unsalted butter for frying
- 1 teaspoon (5 g) unsalted butter for greasing the pan
- 4 tablespoons (60 ml) pure maple syrup, for serving
Do This
- 1. Grease a 9-by-5-inch loaf pan with 1 teaspoon butter. Whisk the cornmeal with 1 cup cold water.
- 2. Bring the remaining 3 cups water and the salt to a boil. Slowly whisk in the cornmeal mixture.
- 3. Reduce to low heat and cook for 25 minutes, stirring frequently, until thick and creamy.
- 4. Spread in the loaf pan, cool for 30 minutes, then refrigerate for at least 4 hours, until firm.
- 5. Unmold and cut into approximately 12 slices, each 3/4 inch thick.
- 6. Fry in three batches, using 1 tablespoon butter per batch, for 5 minutes per side over medium heat. Serve with 1 tablespoon maple syrup per serving.
Why You’ll Love This Recipe
- Simple pantry ingredients: Cornmeal, water, salt, and butter make a surprisingly satisfying meal.
- A wonderful texture contrast: The butter-fried surfaces turn crisp while the centers stay soft and tender.
- Perfect for preparing ahead: Cook the mush the evening before, then slice and fry it in the morning.
- Sweet or savory: Enjoy it with maple syrup for breakfast or without syrup alongside sausage, ham, or roast meat.
Grocery List
- Produce: None needed.
- Dairy: Unsalted butter; whole milk only if making the creamy variation.
- Pantry: Regular yellow cornmeal, fine table salt, and pure maple syrup.
Full Ingredients
For the Cornmeal Mush
- 1 cup (160 g) regular yellow cornmeal: Use fine- or medium-ground cornmeal, not instant cornmeal or a cornmeal baking mix.
- 4 cups (960 ml) water, divided: 1 cup (240 ml) cold water for the cornmeal slurry and 3 cups (720 ml) for the saucepan.
- 1 teaspoon (6 g) fine table salt: If using kosher salt, measure 6 g by weight because crystal sizes vary.
For Setting and Frying
- 1 teaspoon (5 g) unsalted butter: For greasing the loaf pan.
- 3 tablespoons (43 g) unsalted butter, divided: Use 1 tablespoon for each of three frying batches.
For Serving
- 4 tablespoons (60 ml) pure maple syrup: Allow 1 tablespoon per serving, or omit for a savory meal.
Step-by-Step Instructions
Step 1: Prepare the pan and cornmeal slurry
Grease the bottom and sides of a 9-by-5-inch loaf pan with 1 teaspoon unsalted butter. For easier lifting, you can also line the pan with a parchment strip that extends over the two long sides.
In a medium bowl, whisk together the cornmeal and 1 cup cold water until evenly combined. Starting with a cold slurry helps prevent dry cornmeal from forming lumps when it meets the hot water.
Step 2: Heat the salted water
Pour the remaining 3 cups water into a heavy-bottomed, 3-quart saucepan and add the salt. Bring to a boil over medium-high heat, allowing approximately 5 minutes.
Whisk the cornmeal slurry again because the grains settle quickly. Slowly pour it into the boiling water while whisking continuously. Once everything is incorporated, reduce the heat to low.
Step 3: Slowly cook until thick and creamy
Cook at a gentle simmer for 25 minutes. Stir thoroughly every 1 to 2 minutes with a sturdy wooden spoon or heatproof spatula, scraping the bottom and corners of the saucepan. The mixture should release occasional slow bubbles rather than boil vigorously.
The finished mush should be thick enough that a spoon drawn through it leaves a trail that closes slowly. Taste a small, cooled spoonful: the grains should feel tender, not gritty. If your cornmeal is still gritty after 25 minutes, continue cooking until tender; unusually coarse cornmeal will take longer than the listed cooking time.
Be careful: Thick cornmeal can sputter. Keep the heat low, use a long-handled spoon, and partially cover the saucepan between stirrings if needed.
Step 4: Fill the loaf pan and chill
Immediately scrape the hot mush into the prepared loaf pan. Smooth the top with a lightly dampened spatula and gently tap the pan against a folded kitchen towel to settle the mixture.
Let it cool at room temperature for 30 minutes, then refrigerate for at least 4 hours. Do not wait for it to cool completely on the counter. Cover loosely while it finishes cooling in the refrigerator, then cover tightly once cold. The loaf is ready when it feels firm throughout and holds its shape when lifted. An overnight chill makes slicing especially easy.
Step 5: Unmold and slice
Run a thin knife around any unlined edges of the pan. Lift out the chilled loaf using the parchment, or gently turn it onto a cutting board. Cut crosswise into approximately 12 slices, each 3/4 inch thick.
Use a sharp knife and wipe the blade between cuts. If the surfaces feel damp, blot them gently with a paper towel; excess moisture can make the butter splatter and slow browning.
Step 6: Fry the slices in butter
Heat a 12-inch nonstick or well-seasoned cast-iron skillet over medium heat for 2 minutes. Aim for a skillet surface temperature of approximately 325°F (163°C). Add 1 tablespoon butter and swirl to coat the cooking surface.
When the butter is melted and foaming, carefully add four slices in a single layer, leaving space between them. Fry for 5 minutes on the first side without moving them. Turn gently with a thin, wide spatula and fry for 5 minutes on the second side, until both surfaces are crisp and golden and the centers are hot.
Repeat with the remaining slices in two more batches, adding 1 tablespoon butter for each batch. Reduce the heat if the butter begins smoking or the slices darken too quickly. If any butter burns, wipe out the skillet carefully before starting the next batch.
Step 7: Serve while crisp and warm
Arrange three slices on each of four plates and drizzle each serving with 1 tablespoon maple syrup. Serve immediately while the crust is crisp and the inside is soft.
For a savory plate, leave off the syrup and serve the fried mush alongside sausage, ham, eggs, or roast meat. If you need to hold an earlier batch, place the slices in a single layer on a wire rack over a baking sheet in a 200°F (93°C) oven for no more than 20 minutes.
Pro Tips
- Choose the right cornmeal: Regular fine- or medium-ground cornmeal gives a tender loaf within the listed cooking time. Very coarse grinds need longer cooking.
- Do not rush the chill: Warm mush is delicious in a bowl, but it will not slice and fry neatly. The loaf must be cold and firm.
- Leave the slices alone: Let the first side develop a crust before turning. Moving them too soon can tear the soft centers.
- Avoid crowding: Space between the slices allows moisture to escape, giving you a crisp crust instead of a steamed surface.
- Use a rack when holding batches: Stacking hot slices or covering them tightly traps steam and softens their golden crust.
Variations
- Creamier milk-based mush: Replace 2 cups (480 ml) of the saucepan water with 2 cups (480 ml) whole milk. Keep the 1 cup cold water for the slurry and the remaining 1 cup water in the saucepan. Heat gently, stir frequently, and maintain a low simmer to prevent scorching.
- Savory farmhouse serving: Omit the maple syrup and serve with cooked breakfast sausage, ham, or roast pork. A little gravy spooned alongside the slices makes a hearty meal.
- Soft breakfast mush: Skip the loaf pan, chilling, and frying. Divide the freshly cooked mush among four bowls and top each with 1 tablespoon maple syrup and a small knob of butter, if desired.
Storage & Make-Ahead
Make ahead: Prepare and refrigerate the loaf the day before serving. Keep it covered at 40°F (4°C) or below, and slice it just before frying.
Refrigerate: Store the chilled loaf or unfried slices in an airtight container for up to 4 days after cooking the mush. Refrigerate fried leftovers within 2 hours and use within 3 days, without extending the original 4-day storage window.
Freeze: Freeze chilled, unfried slices in a single layer until firm, then transfer to a freezer-safe container with parchment between layers. Store for up to 2 months. Thaw overnight in the refrigerator and blot dry before frying; the texture may be slightly more delicate after freezing.
Reheat: Place fried slices on a wire rack over a baking sheet and heat in a 375°F (190°C) oven for 12 minutes, turning after 6 minutes. Continue heating if needed until the centers reach 165°F (74°C). Avoid microwaving if you want to preserve the crisp crust.
Nutrition (per serving)
Estimated for one-quarter of the water-based recipe, including the butter and 1 tablespoon maple syrup. Using milk or changing the toppings will alter these values.
Calories: 285 kcal | Carbs: 44g | Protein: 3g | Fat: 11g | Saturated Fat: 6g | Fiber: 3g | Sugar: 13g | Sodium: 585mg | Cholesterol: 26mg