Quick Recipe Version (TL;DR)
Quick Ingredients
- 2.5 lb taro root (kalo), peeled and finely grated (about 6 cups packed)
- 1.5 cups canned full-fat coconut milk, well stirred
- 1.5 cups packed light brown sugar
- 1/4 tsp fine sea salt
- For the pan: banana or ti leaves (optional) or parchment, plus 1 tsp coconut oil
- Optional: 1 tsp vanilla extract
Do This
- 1) Heat oven to 300°F (150°C). Grease and line an 8-inch square pan with banana/ti leaves or parchment. Set a kettle of water to boil.
- 2) Wearing gloves, peel taro, rinse, and finely grate (or use a food processor with a grating disc). Measure 6 packed cups.
- 3) In a large bowl, whisk coconut milk, brown sugar, salt (and vanilla). Stir in taro to make a thick, glossy paste.
- 4) Spread into the pan; smooth the top. Cover tightly with foil. Set the pan inside a larger roasting pan.
- 5) Pour hot water into the roasting pan to halfway up the sides of the inner pan. Bake 3 hours, rotating once; edges should caramelize and center should feel springy-fudgy.
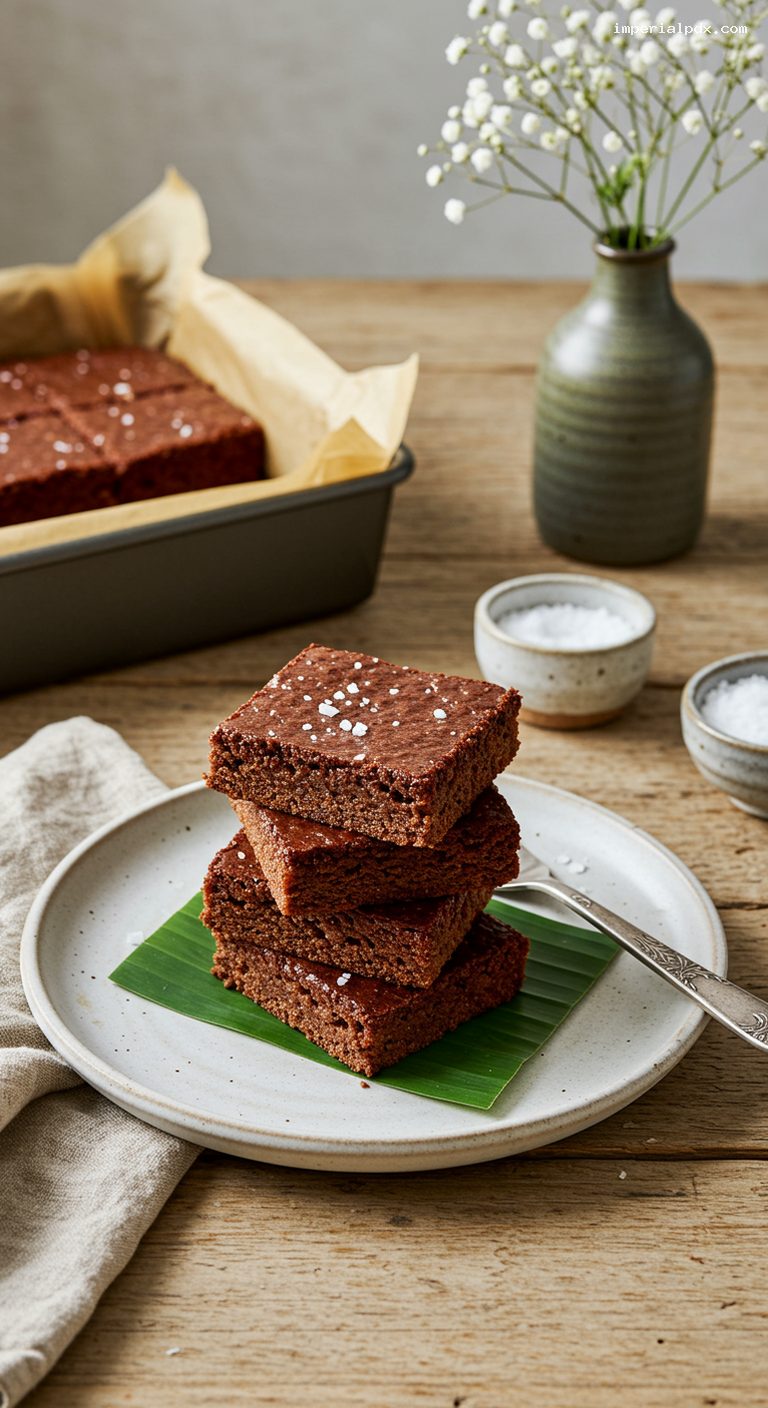
- 6) Cool 1 hour, then chill 2 hours. Cut into 16 squares with a lightly oiled knife. Serve at room temperature.
Why You’ll Love This Recipe
- Classic Hawaiian comfort: deeply coconutty, naturally sweet, and wonderfully chewy-fudgy.
- Hands-off cooking: a slow steam-bake does the work while your kitchen smells amazing.
- Authentic texture with easy substitutes if you don’t have banana or ti leaves.
- Gluten-free and dairy-free by nature—perfect for sharing.
Grocery List
- Produce: 2.5 lb taro root (kalo), banana or ti leaves (optional)
- Dairy: None
- Pantry: 1 can full-fat coconut milk, light brown sugar, fine sea salt, vanilla extract (optional), coconut oil (or neutral oil)
Full Ingredients
Kulolo
- 2.5 lb taro root (kalo), peeled and finely grated (about 6 cups packed)
- 1.5 cups canned full-fat coconut milk, well stirred
- 1.5 cups packed light brown sugar
- 1/4 tsp fine sea salt
- Optional: 1 tsp vanilla extract
For Lining & Pan
- Banana leaves or ti leaves (enough to line the pan; optional but traditional)
- Or: parchment paper
- 1 tsp coconut oil (or neutral oil), for greasing
Step-by-Step Instructions
Step 1: Prepare the pan and heat the oven
Heat the oven to 300°F (150°C). Lightly grease an 8-inch square baking pan with coconut oil. If using banana or ti leaves, briefly pass them over a low flame or dip in hot water to make them pliable, then line the pan, overlapping pieces with slight overhang. Alternatively, line with parchment, leaving a sling for easy removal.
Step 2: Set up the water bath
Place the lined pan inside a larger roasting pan. Put a kettle or pot of water on to boil; you’ll pour this into the roasting pan to create a gentle, moist heat that mimics steaming. This helps prevent the top from drying out and keeps the texture silky and fudgy.
Step 3: Peel and grate the taro
Wear food-safe gloves to prevent skin irritation, as raw taro can be prickly on the hands. Peel the taro, rinse, and pat dry. Finely grate using the fine holes of a box grater, or use a food processor with a grating disc. Measure out 6 packed cups. For the most classic, smooth texture, pulse the grated taro in the processor for 15–20 seconds to refine it into a paste.
Step 4: Mix the kulolo batter
In a large bowl, whisk together the coconut milk, brown sugar, salt, and vanilla (if using) until the sugar is mostly dissolved. Add the grated taro and stir thoroughly until a thick, glossy, uniform paste forms with no pockets of dry sugar.
Step 5: Fill, cover, and set the water bath
Scrape the mixture into the prepared pan and smooth the top. Fold banana/ti leaves over the surface if using, then cover the pan tightly with foil. Pour enough hot water into the outer roasting pan to come halfway up the sides of the inner pan. Carefully transfer to the oven.
Step 6: Slow bake (or steam)
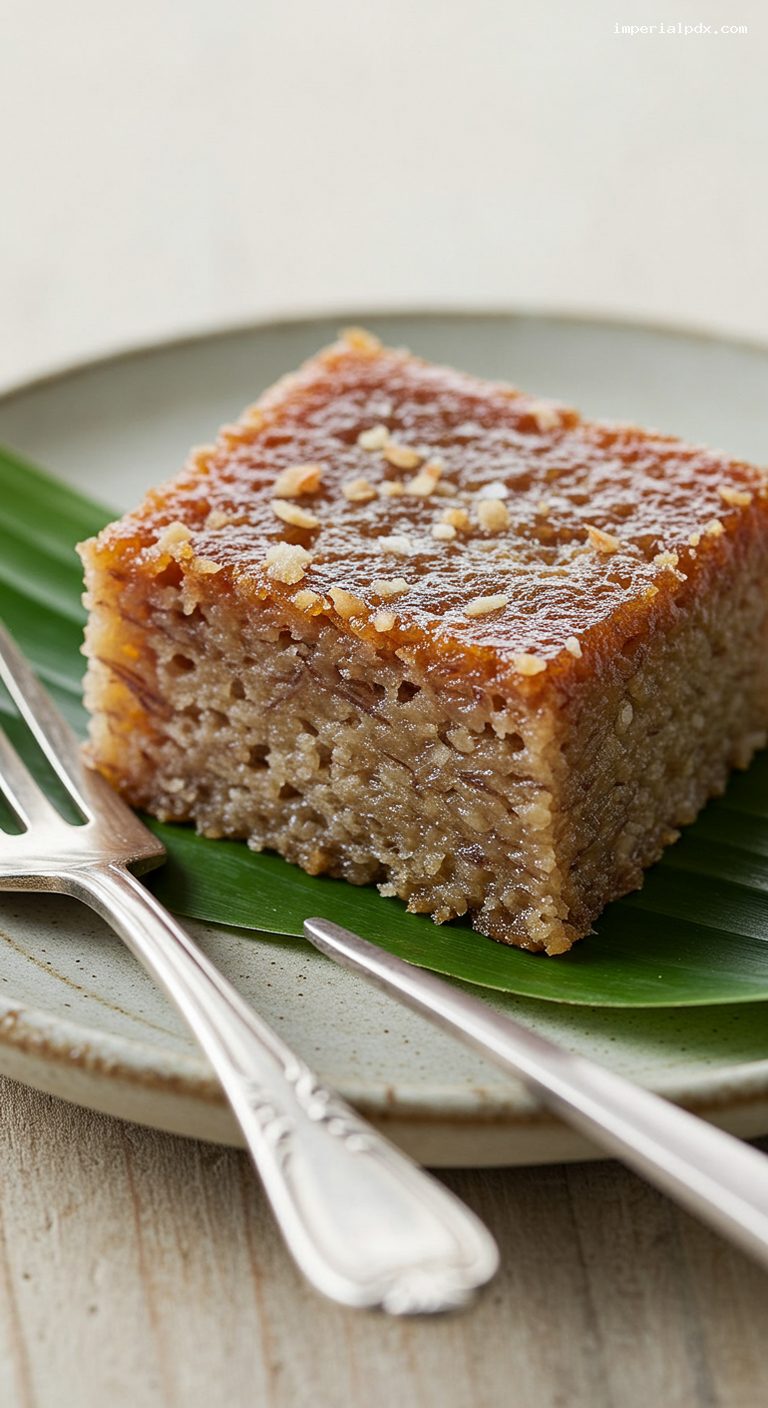
Bake at 300°F (150°C) for 3 hours, rotating the pan halfway. The kulolo is done when the edges are deep brown and caramelized, the center looks glossy but set, and it springs back when gently pressed. A toothpick will emerge sticky but not wet.
Stovetop steaming option: Spoon the mixture into a tightly covered heatproof dish (or wrap in banana/ti leaves and foil). Steam over gently simmering water for 2 to 2.5 hours, checking the water level and replenishing as needed.
Step 7: Cool, chill, and cut
Remove the inner pan from the water bath and uncover. Cool on a rack for 1 hour, then refrigerate at least 2 hours (or overnight) to fully set. Lift out using the leaf/parchment sling. Lightly oil a sharp knife and cut into 16 squares, wiping the blade between cuts for clean edges. Bring to room temperature for 15–20 minutes before serving to soften the chew and bloom the coconut aroma.
Pro Tips
- For the silkiest texture, grate taro finely and pulse to a paste; coarse grating produces a more rustic chew.
- Keep it covered: a tight foil seal prevents a tough skin and helps even cooking.
- Don’t skip the rest: cooling then chilling ensures neat cuts and the signature fudgy bite.
- If the water bath starts to run low, top it up with hot water so it maintains gentle, moist heat.
- Lightly oil the knife before each cut to prevent sticking and ragged edges.
Variations
- Coconut sugar blend: Replace half the brown sugar with coconut sugar for deeper caramel notes and a slightly darker color.
- Leaf-infused aroma: Line and cover completely with banana or ti leaves for subtle, earthy perfume and extra moisture.
- Toasted coconut finish: Sprinkle a tablespoon of finely toasted unsweetened coconut over the top just before serving for a delicate crunch.
Storage & Make-Ahead
Cool completely, then wrap airtight and refrigerate up to 5 days. For longer storage, freeze well-wrapped for up to 2 months; thaw overnight in the refrigerator. To serve, let come to room temperature for 15–20 minutes, or warm briefly (10–15 seconds) in the microwave to revive the soft, chewy texture.
Nutrition (per serving)
Approximate per square (1/16): 210 calories; 4 g fat (3.5 g saturated); 41 g carbohydrates; 1 g protein; 70 mg sodium. Values are estimates and will vary with exact ingredients.