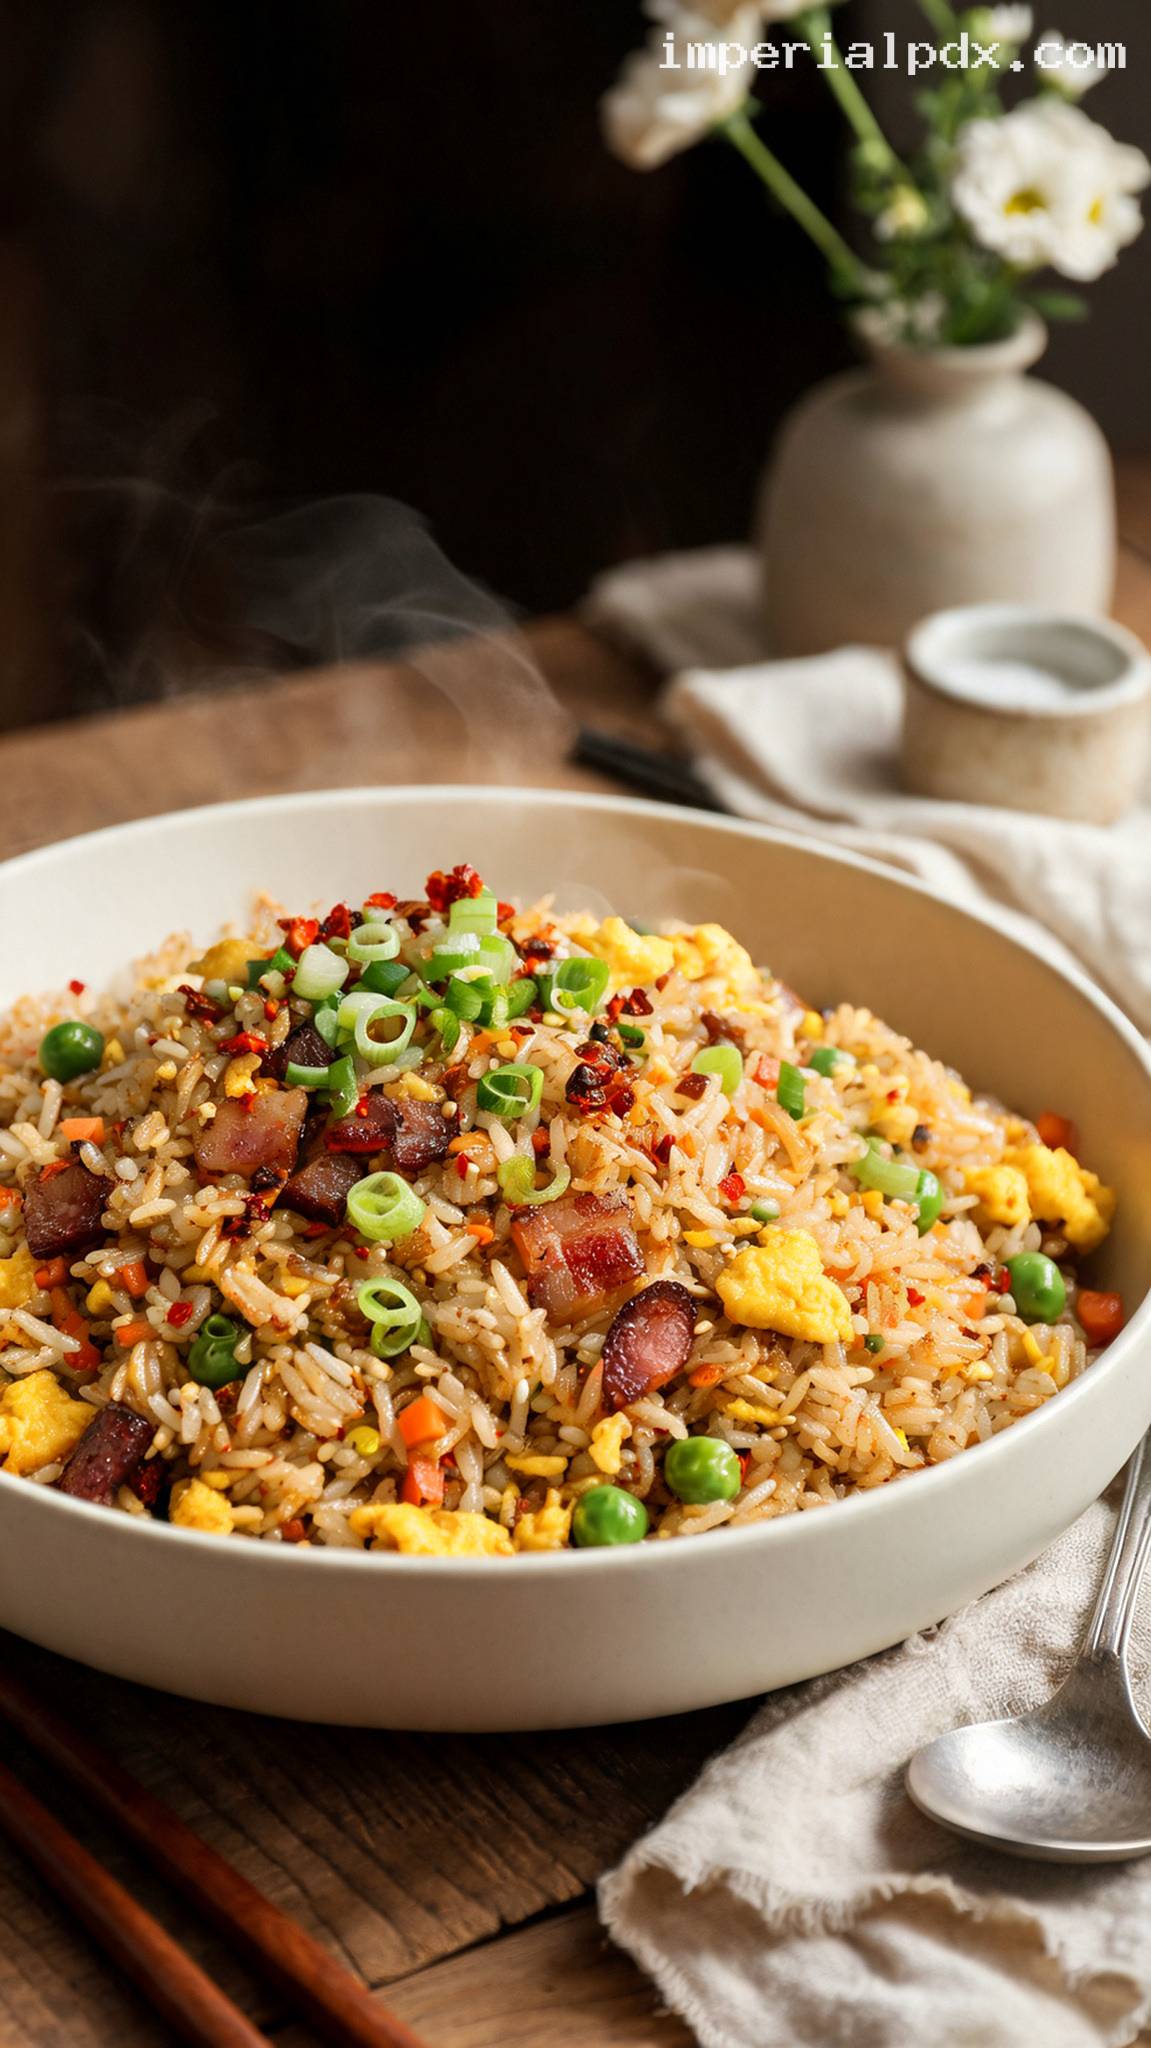
Quick Recipe Version (TL;DR)
Quick Ingredients
- 4 cups cold cooked long-grain white rice
- 6 slices thick-cut bacon, cut into 1/2-inch pieces
- 4 large eggs, beaten
- 1 cup frozen peas
- 1/2 cup finely diced carrot
- 4 scallions, thinly sliced with whites and greens separated
- 3 garlic cloves, minced
- 2 tablespoons low-sodium soy sauce
- 1 1/2 teaspoons toasted sesame oil
- 2 teaspoons chili crisp
- 1/4 teaspoon ground black pepper
Do This
- 1. Break up the cold rice and mix the soy sauce, sesame oil, chili crisp, and pepper in a small bowl.
- 2. Cook the bacon in a large skillet over medium heat for 7 to 8 minutes; transfer it to a plate and reserve 2 tablespoons of drippings.
- 3. Scramble the eggs in the drippings for 60 to 90 seconds, then transfer them to the bacon plate.
- 4. Cook the carrot, scallion whites, and garlic over medium-high heat for 3 minutes.
- 5. Add the rice and stir-fry for 4 to 5 minutes, allowing it to sit briefly between tosses so it can crisp.
- 6. Add the peas and sauce mixture; stir-fry for 2 minutes.
- 7. Fold in the bacon and eggs, heat to 165°F, and finish with scallion greens.
Why You’ll Love This Recipe
- It turns leftover rice into a satisfying breakfast in just 35 minutes.
- Crispy bacon, tender eggs, and lightly crisp rice provide plenty of contrasting texture.
- Peas, carrots, scallions, and garlic make it colorful, hearty, and family-friendly.
- Chili crisp adds gentle heat and savory depth without overwhelming the dish.
Grocery List
- Produce: 1 medium carrot, 1 bunch scallions, and 1 head garlic
- Dairy and Eggs: 4 large eggs
- Meat: 6 slices thick-cut bacon, about 6 ounces
- Frozen: 1 cup frozen green peas
- Pantry: Long-grain white rice, low-sodium soy sauce, toasted sesame oil, chili crisp, and ground black pepper
Full Ingredients
For the Rice
- 4 cups cold cooked long-grain white rice, preferably refrigerated overnight and broken into separate grains
- 1 cup frozen green peas, kept frozen until needed
- 1/2 cup carrot cut into 1/4-inch dice, from about 1 medium carrot
- 4 scallions, thinly sliced, with the white and green portions separated
- 3 garlic cloves, finely minced
For the Bacon and Eggs
- 6 slices thick-cut bacon, about 6 ounces, cut crosswise into 1/2-inch pieces
- 4 large eggs, beaten until evenly blended
For the Sauce
- 2 tablespoons low-sodium soy sauce
- 1 1/2 teaspoons toasted sesame oil
- 2 teaspoons chili crisp, stirred well to include both oil and crunchy solids
- 1/4 teaspoon ground black pepper
Step-by-Step Instructions
Step 1: Prepare the rice and sauce
Use clean hands or a fork to break the cold rice into individual grains, removing any hard or dry pieces. Cold rice is important because it is firmer and less moist than freshly cooked rice, so it fries instead of turning soft or sticky. In a small bowl, stir together the soy sauce, toasted sesame oil, chili crisp, and black pepper. Place the rice, vegetables, sauce, eggs, and bacon near the stove before you begin because the stir-frying moves quickly.
Step 2: Crisp the bacon
Place a large 12-inch skillet or wok over medium heat. Add the bacon to the cold pan, spread it into an even layer, and cook for 7 to 8 minutes, stirring every 1 to 2 minutes, until the bacon is browned and crisp. Use a slotted spoon to transfer the bacon to a paper towel-lined plate. Carefully pour the rendered fat into a heatproof measuring cup, then return exactly 2 tablespoons of bacon drippings to the skillet. Discard or refrigerate any excess drippings for another use.
Step 3: Softly scramble the eggs
Return the skillet to medium heat. Pour in the beaten eggs and let them sit undisturbed for 15 seconds. Use a spatula to gently push the eggs from the outer edge toward the center, forming soft curds. Cook for 60 to 90 seconds, stopping while the eggs still look slightly glossy; they will finish cooking when returned to the rice. Transfer the eggs to the plate with the bacon.
Step 4: Cook the vegetables and aromatics
Increase the heat to medium-high and let the skillet heat for 1 minute, aiming for a surface temperature of about 375°F if checked with an infrared thermometer. Add the diced carrot and cook for 2 minutes, stirring frequently. Add the scallion whites and cook for 30 seconds. Add the minced garlic and cook for another 30 seconds, stirring constantly so it becomes fragrant without browning.
Step 5: Fry and lightly crisp the rice
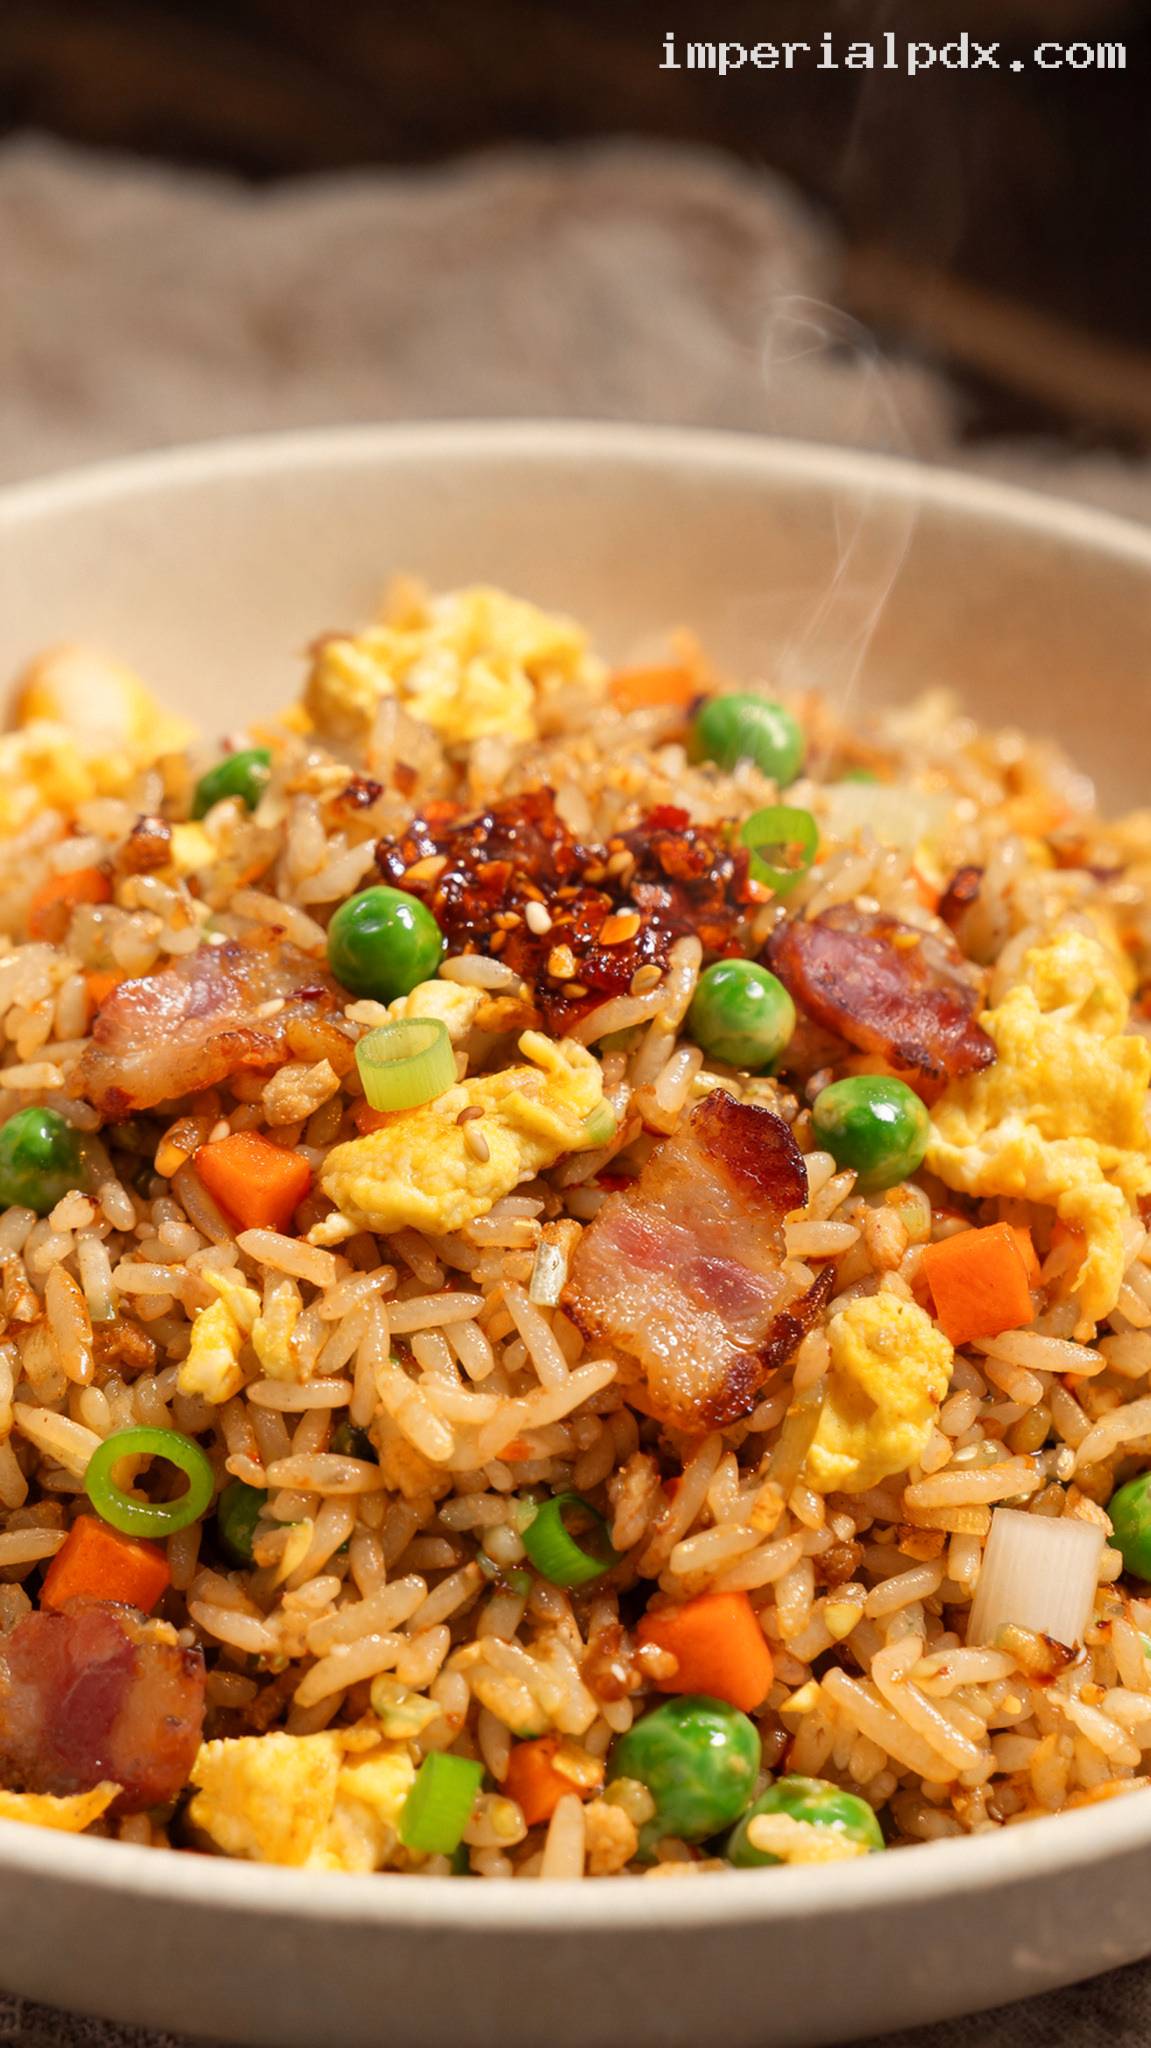
Add the cold rice to the skillet and use the spatula to press out any remaining clumps. Toss the rice with the vegetables, then spread it into an even layer. Cook for 4 to 5 minutes, stirring or tossing every 45 to 60 seconds. Letting the rice remain in contact with the hot pan between tosses gives some of the grains lightly crisp, toasted edges.
Step 6: Add the peas and sauce
Add the frozen peas and stir-fry for 1 minute. Stir the prepared sauce again, pour it around the outer edge of the hot skillet, and immediately toss it through the rice. Cook for 1 additional minute, stirring continuously, until the peas are bright green and the sauce evenly coats the rice. The rice should look glossy but not wet or greasy.
Step 7: Finish with bacon and eggs
Return the crisp bacon and scrambled eggs to the skillet. Break the eggs into bite-size curds and gently fold everything together for 1 minute, taking care not to crush the rice. The finished fried rice should reach an internal temperature of 165°F. Remove the skillet from the heat, fold in three-quarters of the scallion greens, and sprinkle the remaining greens over the top. Serve immediately while the bacon and rice are still crisp.
Pro Tips
- Start with properly chilled rice: Refrigerate cooked rice in a shallow container within 2 hours of cooking. Overnight rice works best, but rice chilled for at least 4 hours will also fry well.
- Use a wide pan: A 12-inch skillet or wok provides enough surface area for the rice to fry rather than steam.
- Keep the heat high after cooking the eggs: Medium-high heat helps evaporate excess moisture and creates toasted edges on the rice.
- Do not add the sauce too early: Frying the rice before adding liquid keeps the grains separate and prevents a soft, steamed texture.
- Taste before adding salt: Bacon, soy sauce, and chili crisp are all salty, so the finished dish usually needs no additional salt.
Variations
- Vegetarian breakfast fried rice: Replace the bacon and drippings with 8 ounces of diced cremini mushrooms and 2 tablespoons of neutral cooking oil. Cook the mushrooms for 6 to 8 minutes before scrambling the eggs.
- Extra-spicy version: Increase the chili crisp to 1 tablespoon and add 1/4 teaspoon crushed red pepper flakes with the garlic.
- Additional protein: Add 1 cup of diced cooked chicken, ham, breakfast sausage, or shrimp during the final 2 minutes of cooking. Make sure added meat or seafood reaches 165°F before serving.
Storage & Make-Ahead
Refrigerate leftovers in a shallow, airtight container within 2 hours of cooking and use them within 4 days. Reheat the fried rice in a lightly oiled skillet over medium-high heat for 4 to 5 minutes, or microwave it in 60-second intervals, stirring between each interval, until it reaches 165°F throughout. For longer storage, freeze individual portions in airtight containers for up to 2 months and thaw them overnight in the refrigerator before reheating. To prepare ahead, cook the rice 1 day in advance, spread it in a shallow container, refrigerate it promptly, and keep it covered once cold. For the best food safety and texture, reheat only the amount you plan to eat and avoid reheating the same portion more than once.
Nutrition (per serving)
Calories: 475 kcal | Carbs: 54g | Protein: 19g | Fat: 20g | Saturated Fat: 6g | Fiber: 4g | Sugar: 4g | Sodium: 850mg | Cholesterol: 205mg