Quick Recipe Version (TL;DR)
Quick Ingredients
- 2 cups (400 g) sushi rice
- 2 1/2 cups (590 ml) water (for cooking)
- 1/2 cup (120 ml) unseasoned rice vinegar
- 2 tbsp (25 g) granulated sugar
- 1 1/2 tsp (9 g) fine sea salt
- 16 oz (450 g) sushi-grade fish, mixed: salmon, tuna, yellowtail, and/or sea bream
- 2 tsp prepared wasabi (or to taste)
- 3 tbsp (45 ml) soy sauce (for brushing)
- 1 cup (240 ml) water + 2 tbsp (30 ml) rice vinegar (for wetting hands)
- Optional for serving: pickled ginger, extra wasabi, toasted nori strips
Do This
- 1) Cook sushi rice: rinse 2 cups rice until water runs mostly clear; cook with 2 1/2 cups water; rest covered 10 minutes.
- 2) Mix seasoning: warm 1/2 cup rice vinegar + 2 tbsp sugar + 1 1/2 tsp salt until dissolved; fold into hot rice.
- 3) Cool rice: spread in a wide bowl; fan/stir gently until about 100°F (38°C), 15–20 minutes.
- 4) Slice fish: keep fish very cold; cut 24 slices about 2 1/2 in (6 cm) long, 1 in (2.5 cm) wide, 1/4 in (6 mm) thick.
- 5) Form rice: wet hands with vinegar water; shape 24 small ovals (about 1 tbsp / 18–20 g each).
- 6) Assemble: dab a tiny dot of wasabi on fish; drape fish over rice; press lightly to adhere.
- 7) Finish: brush fish lightly with soy sauce; serve immediately with ginger and extra wasabi.
Why You’ll Love This Recipe
- It tastes restaurant-level, but the technique is totally doable at home with a sharp knife and a little practice.
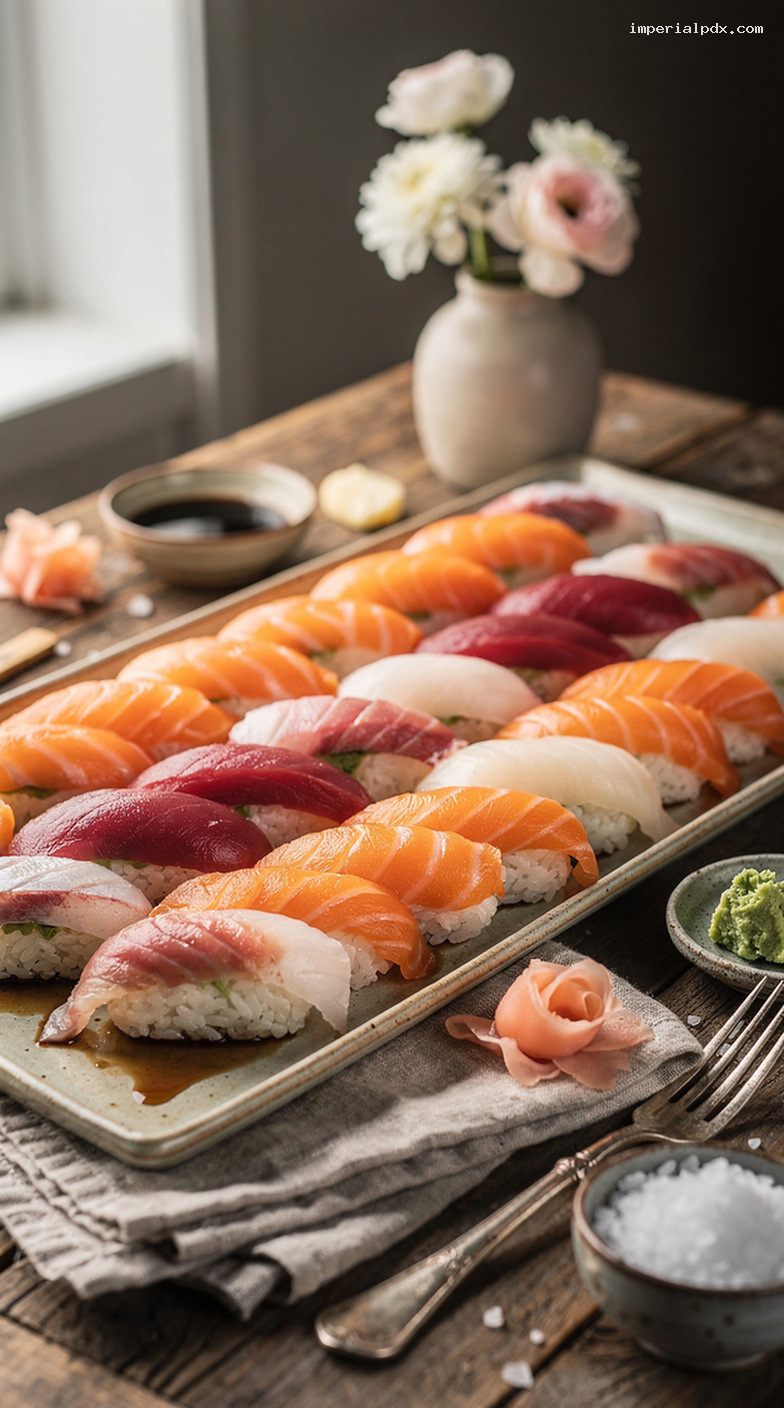
- You can mix and match fish (salmon, tuna, yellowtail, sea bream) for a stunning platter with minimal extra work.
- The rice seasoning is balanced and gently tangy, which makes the raw fish taste even sweeter and fresher.
- Perfect for a special dinner, date night, or a make-your-own nigiri party.
Grocery List
- Seafood: 16 oz (450 g) sushi-grade fish (salmon, tuna, yellowtail, sea bream)
- Produce: Optional: shiso leaves, cucumber (for garnish), microgreens, lemon wedges
- Dairy: None
- Pantry: Sushi rice, unseasoned rice vinegar, granulated sugar, fine sea salt, soy sauce, prepared wasabi, optional pickled ginger, optional nori
Full Ingredients
Sushi Rice
- 2 cups (400 g) sushi rice
- 2 1/2 cups (590 ml) water (for cooking)
Sushi Vinegar Seasoning
- 1/2 cup (120 ml) unseasoned rice vinegar
- 2 tbsp (25 g) granulated sugar
- 1 1/2 tsp (9 g) fine sea salt
Fish Toppings (Choose 2–4 Types)
- 16 oz (450 g) sushi-grade fish total (for about 24 slices), such as:
- Salmon (sake)
- Tuna (maguro)
- Yellowtail (hamachi)
- Sea bream (tai)
Assembly and Serving
- 2 tsp prepared wasabi, plus more to taste
- 3 tbsp (45 ml) soy sauce, for brushing (plus more for dipping if desired)
- 1 cup (240 ml) water + 2 tbsp (30 ml) unseasoned rice vinegar, mixed (for wetting hands and knife)
- Optional: pickled ginger, toasted nori strips, shiso leaves
Step-by-Step Instructions
Step 1: Set up for safe, fresh-tasting nigiri
Food safety note: Use fish that is labeled sushi-grade or specifically intended for raw consumption from a trusted source. Keep fish refrigerated at or below 40°F (4°C) until the moment you slice and assemble.
Clear a clean workspace. Wash hands well. If possible, chill a serving platter in the fridge so the finished nigiri stays cool while you work.
In a small bowl, mix 1 cup (240 ml) water with 2 tbsp (30 ml) rice vinegar. This “hand water” helps prevent sticking and also keeps the rice smelling fresh.
Step 2: Rinse the rice thoroughly
Place 2 cups (400 g) sushi rice in a fine-mesh sieve or a bowl. Rinse under cool running water, gently swishing with your fingers, until the water runs mostly clear (usually 1–2 minutes).
Drain well for 5 minutes. (This helps you hit the right water-to-rice ratio.)
Step 3: Cook the rice and let it steam
Stovetop method: Combine the rinsed rice and 2 1/2 cups (590 ml) water in a medium pot with a tight-fitting lid. Bring to a full boil over high heat (water boiling point is about 212°F / 100°C).
As soon as it boils, immediately reduce to the lowest heat setting, cover, and cook for 18 minutes without lifting the lid.
Turn off the heat and keep the lid on for 10 minutes to steam.
Step 4: Season the rice and cool it to handling temperature
While the rice cooks, make the seasoning: in a small saucepan, combine 1/2 cup (120 ml) rice vinegar, 2 tbsp (25 g) sugar, and 1 1/2 tsp (9 g) fine sea salt. Warm over low heat, stirring, just until dissolved, about 2–3 minutes. Do not boil.
Transfer the hot cooked rice to a wide bowl (or a large, wide shallow dish). Drizzle the seasoning evenly over the rice.
Using a rice paddle or spatula, fold and “cut” the rice gently (scoop and turn) for about 2 minutes to distribute the seasoning without mashing the grains.
Spread the rice slightly and fan it (or stir gently) until it cools to about 100°F (38°C), about 15–20 minutes. Cover with a barely damp clean towel to prevent drying while you slice the fish.
Step 5: Slice the fish cleanly and evenly
Keep the fish cold. If it feels very soft, place it in the freezer for 10 minutes to firm it slightly (do not let it freeze solid). This makes cleaner slices.
Using a very sharp knife, slice against the grain into pieces about 2 1/2 inches (6 cm) long, 1 inch (2.5 cm) wide, and about 1/4 inch (6 mm) thick. Aim for 24 slices total.
If the knife sticks, lightly dip the blade in the vinegar water and wipe it dry between a few cuts. Clean slices look glossy and keep the fish from tearing.
Step 6: Form the rice “logs” (the nigiri base)
Set the bowl of vinegar water next to you. Lightly wet your hands (not dripping wet). Pick up about 1 level tablespoon of rice (about 18–20 g).
Gently compress it into a small oval “log” about 2 inches (5 cm) long. The key is light pressure: it should hold together, but still feel airy, not dense.
Repeat to make 24 rice ovals. If the rice starts sticking, re-wet your fingertips lightly.
Step 7: Add wasabi, top with fish, brush with soy, and serve
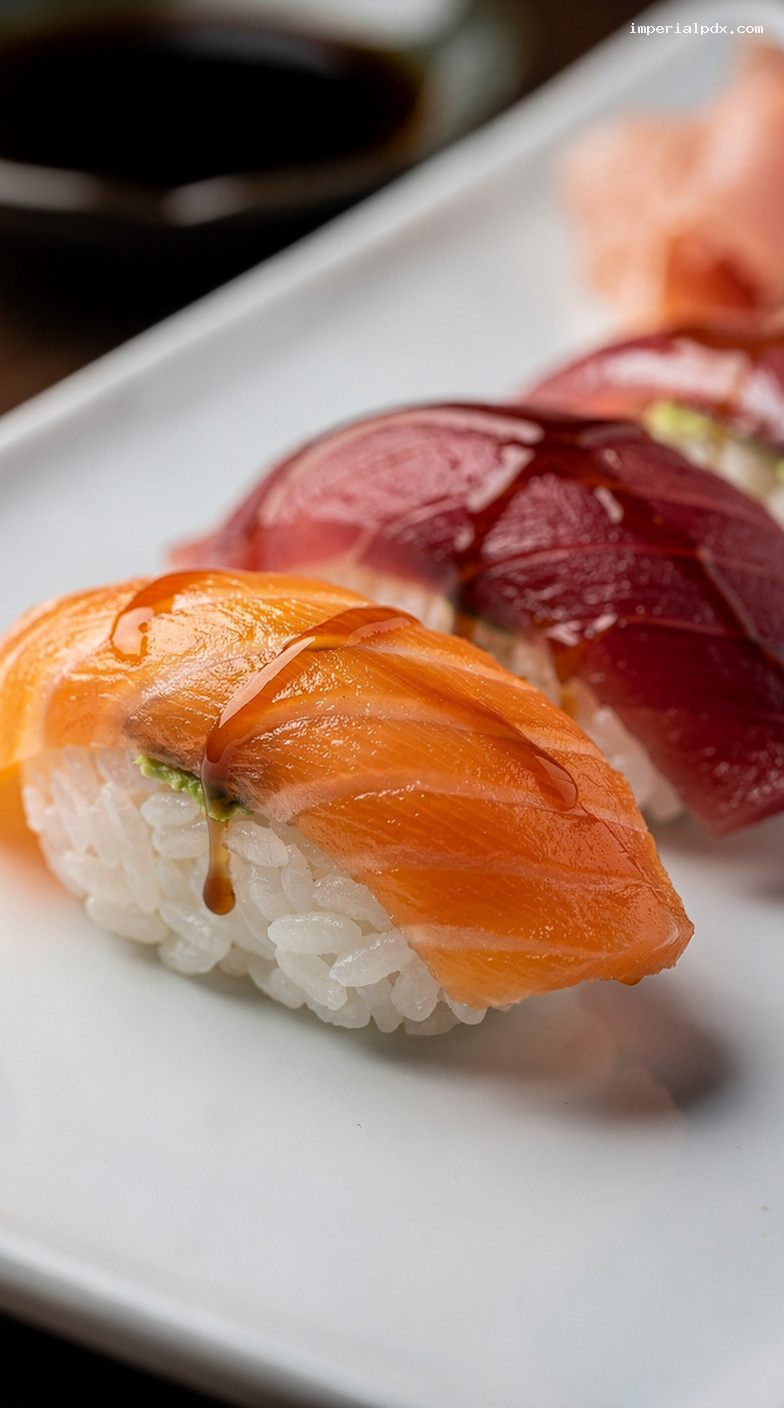
Place a fish slice in your non-dominant hand (or on a clean board). Dab a tiny amount of wasabi (about 1/16 tsp, or to taste) onto the center of the fish. This “hides” under the fish and gives a clean, controlled heat.
Place a rice oval onto the wasabi spot and press the fish and rice together gently. Flip it over so the fish is on top, and lightly shape the sides with your fingers so it looks neat and cohesive.
Arrange on a chilled platter. Using a small brush (or the tip of a spoon), lightly brush the top of each fish piece with soy sauce (about 1–2 drops per nigiri). The fish should look glossy, not soaked.
Serve immediately, ideally within 15 minutes, with pickled ginger and extra wasabi on the side. If you like, add thin strips of toasted nori for a little crunch.
Pro Tips
- Temperature makes or breaks nigiri: Rice should be warm-ish (around 100°F / 38°C) and fish should be cold (around 36–40°F / 2–4°C). This contrast is part of the magic.
- Don’t over-pack the rice: Too tight and it becomes gummy; too loose and it falls apart. Aim for “holds together, but yields when you bite.”
- Slice with one smooth pull: Sawing back and forth tears fish. Start heel-to-tip and pull in one long stroke.
- Go easy on soy: Brushing gives flavor without drowning the fish or making the rice salty and wet.
- Wasabi placement matters: A tiny dab between fish and rice is more balanced than mixing it into soy sauce.
Variations
- Aburi (seared) nigiri: After topping the rice, quickly torch the fish for 3–5 seconds until just lightly browned on top (keep the inside raw). Brush with soy after searing.
- Citrus-salt finish: Skip soy brushing for a few pieces and finish with a tiny pinch of flaky salt plus a drop of lemon or yuzu juice.
- Spicy tuna-style nigiri: Finely chop a portion of tuna and mix with 2 tsp mayo and 1 tsp sriracha; mound on rice (this becomes more like gunkan-style if you wrap with nori).
Storage & Make-Ahead
Nigiri is best eaten the day it’s made, ideally right after assembly. For food safety and texture, avoid storing assembled nigiri for later.
If you want to prep ahead: cook and season the rice up to 2 hours in advance and keep it covered at cool room temperature (do not refrigerate the rice; it gets hard). Keep fish tightly wrapped and refrigerated at or below 40°F (4°C). Slice fish and assemble just before serving.
Nutrition (per serving)
Approximate, based on 1/4 of the recipe (about 6 nigiri): 520 calories, 34 g protein, 78 g carbs, 6 g fat, 2 g fiber, 900 mg sodium. Values vary with fish types and soy sauce amount.