Quick Recipe Version (TL;DR)
Quick Ingredients
- 1 lb 8 oz (680 g) lean ground beef
- 1 tbsp olive oil
- 1 medium onion, finely diced
- 2 carrots, diced small; 2 celery stalks, diced
- 3 cloves garlic, minced
- 2 tbsp tomato paste
- 1/4 cup all-purpose flour
- 1 1/2 cups low-sodium beef broth
- 1 cup whole milk or half-and-half
- 1 tsp Worcestershire sauce; 1 tsp Dijon mustard
- 1 tsp dried thyme; 1/2 tsp dried rosemary; bay leaf
- 1 tsp kosher salt; 1/2 tsp black pepper (plus more to taste)
- 1 cup frozen peas; 1 cup frozen corn
- 1 sheet puff pastry, thawed
- 1 large egg + 1 tbsp water (egg wash)
Do This
- 1. Preheat oven to 400°F (200°C). Grease a 2-quart baking dish or deep 9-inch pie dish.
- 2. Brown ground beef in olive oil over medium-high heat, breaking it up, until no pink remains. Drain excess fat if needed.
- 3. Add onion, carrots, and celery; cook until softened. Stir in garlic and tomato paste; cook 1 minute.
- 4. Sprinkle flour over mixture; cook 1 minute. Slowly stir in broth and milk. Add Worcestershire, Dijon, herbs, salt, and pepper; simmer until thick and creamy.
- 5. Stir in peas and corn; simmer 2 minutes. Adjust seasoning. Remove bay leaf and transfer filling to prepared dish.
- 6. Lay puff pastry over top, trim and crimp edges, cut 4–6 slits for steam. Brush with egg wash and sprinkle with a pinch of salt.
- 7. Bake 25–30 minutes until pastry is deep golden and filling bubbles at edges. Rest 10–15 minutes before serving.
Why You’ll Love This Recipe
- Cozy, classic comfort food: creamy, savory beef and vegetables under a shatteringly flaky pastry lid.
- Weeknight-friendly: uses ground beef and frozen veggies for speed, but still tastes like it simmered all day.
- Flexible and forgiving: easy to swap vegetables or use store-bought puff pastry or pie crust.
- Family-pleasing leftovers that reheat beautifully for lunches and busy nights.
Grocery List
- Produce: 1 medium yellow onion, 2 carrots, 2 celery stalks, 3 cloves garlic, fresh parsley (optional)
- Dairy: Whole milk or half-and-half, 1 large egg, butter (for greasing dish, optional)
- Pantry: Lean ground beef, olive oil, tomato paste, all-purpose flour, low-sodium beef broth, Worcestershire sauce, Dijon mustard, dried thyme, dried rosemary, bay leaf, frozen peas, frozen corn, puff pastry sheet, kosher salt, black pepper
Full Ingredients
Creamy Beef & Vegetable Filling
- 1 tbsp olive oil
- 1 lb 8 oz (680 g) lean ground beef
- 1 medium yellow onion, finely diced (about 1 cup)
- 2 medium carrots, diced small (about 1 cup)
- 2 celery stalks, diced (about 3/4 cup)
- 3 cloves garlic, minced
- 2 tbsp tomato paste
- 1/4 cup (30 g) all-purpose flour
- 1 1/2 cups (360 ml) low-sodium beef broth
- 1 cup (240 ml) whole milk or half-and-half
- 1 tsp Worcestershire sauce
- 1 tsp Dijon mustard (optional but recommended)
- 1 tsp kosher salt, plus more to taste
- 1/2 tsp freshly ground black pepper, plus more to taste
- 1 tsp dried thyme (or 2 tsp fresh thyme leaves)
- 1/2 tsp dried rosemary, crushed (or 1 tsp finely chopped fresh rosemary)
- 1 bay leaf (remove before baking)
- 1 cup frozen peas (no need to thaw)
- 1 cup frozen corn (no need to thaw)
- 1 tbsp chopped fresh parsley, for stirring in at the end (optional)
Crust & Assembly
- 1 sheet puff pastry (about 10 x 10 inches), thawed but still cold
- 1 tbsp butter, for greasing the baking dish (or use nonstick spray)
- 1 large egg
- 1 tbsp water
- Pinch of flaky sea salt or extra kosher salt, for sprinkling on top (optional)
Step-by-Step Instructions
Step 1: Preheat the oven and prep your baking dish
Preheat your oven to 400°F (200°C) with a rack in the center. Lightly grease a 2-quart baking dish or a deep 9-inch pie dish with butter or nonstick spray. This helps prevent sticking and makes serving easier later. Place the dish on a rimmed baking sheet lined with foil or parchment if you like; it will catch any bubbling drips and keep your oven clean.
Step 2: Brown the ground beef
Heat the olive oil in a large, deep skillet or wide saucepan over medium-high heat. Add the ground beef, breaking it apart with a wooden spoon. Cook for 5–7 minutes, stirring occasionally, until the beef is well browned and no pink remains. If there is a lot of excess fat in the pan, carefully spoon some off, leaving about 1–2 tablespoons behind for flavor and to help cook the vegetables.
Step 3: Soften the vegetables and build flavor
Add the diced onion, carrots, and celery to the browned beef. Cook over medium heat for 5–7 minutes, stirring occasionally, until the vegetables are starting to soften and the onions turn translucent. Stir in the minced garlic and cook for 30–60 seconds, just until fragrant.
Add the tomato paste and cook, stirring constantly, for 1 minute. This step caramelizes the tomato paste slightly and deepens the savory flavor of the filling.
Step 4: Make the creamy gravy
Sprinkle the flour evenly over the beef and vegetable mixture. Stir well to coat everything in the flour and cook for 1–2 minutes; this helps remove the raw flour taste and will thicken your sauce later.
Slowly pour in the beef broth while stirring to avoid lumps, then add the milk or half-and-half. Stir in the Worcestershire sauce, Dijon mustard (if using), salt, pepper, thyme, rosemary, and bay leaf. Bring the mixture to a gentle simmer, stirring frequently. Reduce heat to medium-low and simmer for 5–8 minutes, until the sauce has thickened into a rich, creamy gravy that coats the back of a spoon.
Step 5: Add the vegetables and finish the filling
Stir in the frozen peas and frozen corn. Simmer for another 2–3 minutes to heat the vegetables through; they will finish cooking in the oven. Taste the filling carefully and adjust seasoning with additional salt and pepper if needed. The filling should be well seasoned at this stage.
Remove and discard the bay leaf. If using, stir in the chopped fresh parsley for a bright, fresh finish. Turn off the heat and let the filling cool for 5–10 minutes; this brief rest makes it easier to top with pastry without melting the fat in the dough.
Step 6: Assemble the pot pie with a flaky pastry lid
Spoon the warm filling into your prepared baking dish, spreading it into an even layer. Unfold the puff pastry sheet on a lightly floured surface. If needed, roll it gently with a rolling pin to roughly match the shape of your baking dish, about 1/8 inch thick.
Lay the pastry over the top of the filling. Trim any large overhang, leaving about 1/2 inch around the edges. Fold and crimp that overhang gently against the rim of the dish to seal. Using a sharp knife, cut 4–6 small slits in the pastry to create steam vents.
In a small bowl, whisk together the egg and 1 tablespoon water to make an egg wash. Brush the egg wash evenly over the pastry. Sprinkle lightly with flaky salt, if using, for extra flavor and a pretty finish.
Step 7: Bake until golden and let it rest
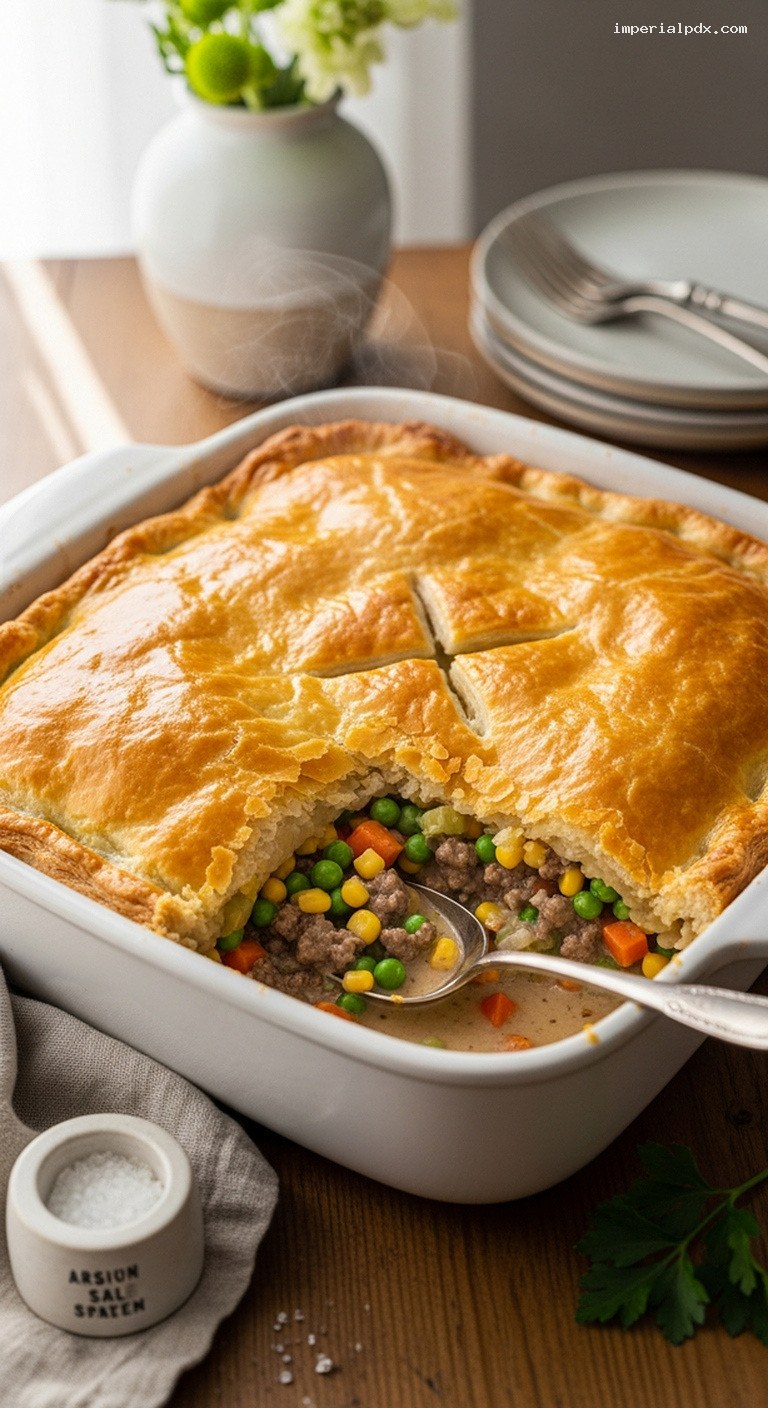
Place the baking dish (still on the rimmed baking sheet if using) into the preheated 400°F (200°C) oven. Bake for 25–30 minutes, or until the puff pastry is deeply golden brown, puffed, and crisp, and the filling is bubbling around the edges.
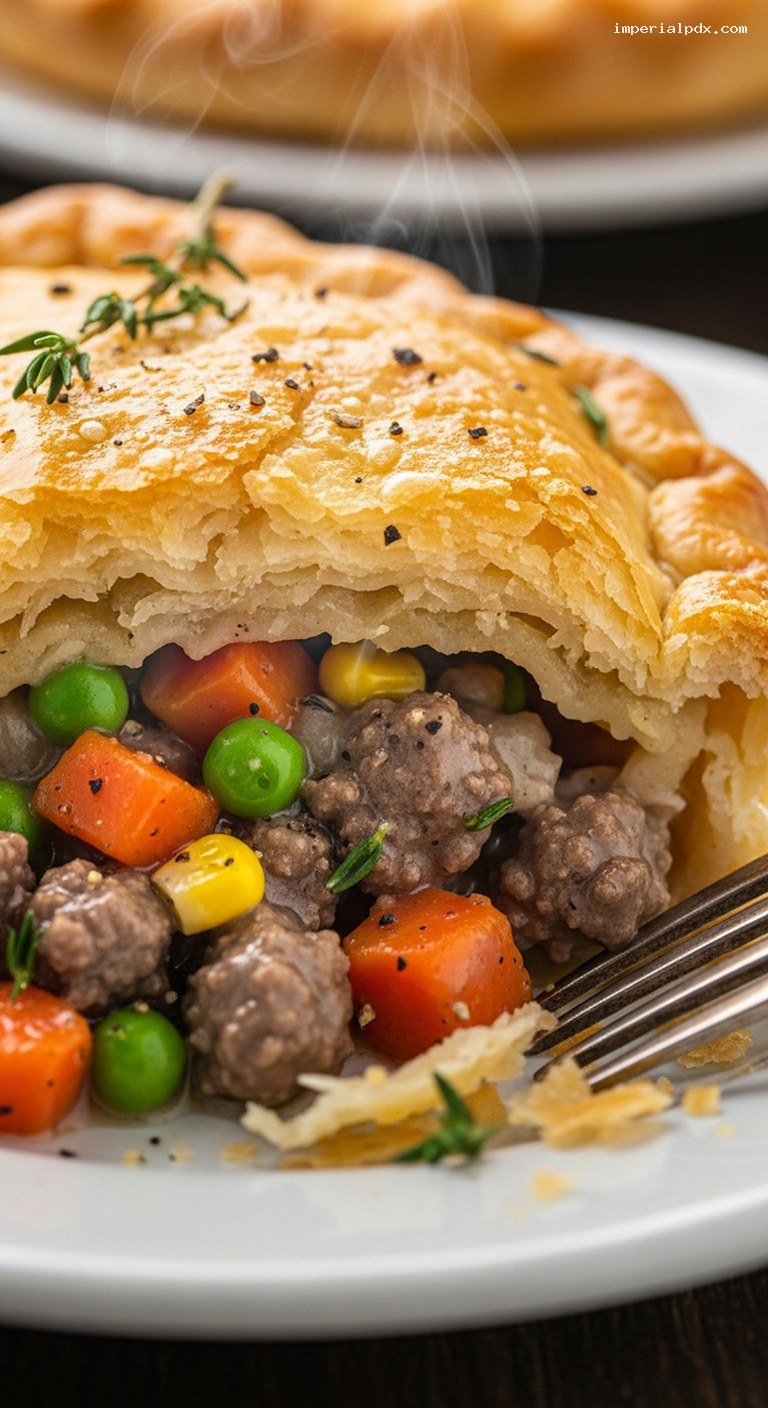
Remove from the oven and let the pot pie rest for 10–15 minutes before serving. This short rest allows the filling to thicken slightly so it will not run all over the plate when you scoop it. Serve warm, scooping down through the crisp pastry to get a generous mix of flaky crust, creamy beef, and vegetables in every portion.
Pro Tips
- Keep the pastry cold: Warm puff pastry will stretch and lose its flaky layers. Keep it in the fridge until the filling is ready, and work quickly when rolling and placing it.
- Adjust the thickness of the filling: If the gravy seems too thick, add a splash of extra broth or milk. If it is too thin, simmer a few more minutes before transferring to the baking dish.
- Season in layers: Taste the filling before it goes under the crust. Well-seasoned filling is the difference between good and great pot pie.
- Use what vegetables you have: Frozen mixed vegetables (like peas, carrots, corn, and green beans) can replace individual peas and corn for an even easier shortcut.
- Protect the edges if needed: If the pastry edges brown too quickly, loosely tent them with foil during the last 5–10 minutes of baking.
Variations
- Cheesy beef pot pie: Sprinkle 1–1 1/2 cups shredded sharp cheddar or Gruyère over the filling before adding the pastry. The cheese melts into the gravy for an ultra-comforting, richer pie.
- Herb and mushroom version: Add 8 oz sliced mushrooms with the onion and carrots, and increase the thyme and rosemary slightly. The mushrooms add a deep, savory flavor and extra heartiness.
- Individual mini pies: Divide the filling among 4–6 oven-safe ramekins and top each with a smaller piece of puff pastry. Bake 20–25 minutes. Perfect for portioning and special occasions.
Storage & Make-Ahead
Let leftover beef pot pie cool completely, then cover the dish tightly or transfer portions to airtight containers. Store in the refrigerator for up to 4 days. Reheat individual servings in the microwave until hot, or in a 350°F (180°C) oven for 15–20 minutes until warmed through and the crust re-crisps.
To make ahead, you can prepare the filling up to 2 days in advance and refrigerate it. When ready to bake, warm the filling slightly on the stove (so it is not ice cold), transfer to the baking dish, top with cold puff pastry, and bake as directed. You can also assemble the full pot pie, wrap it well, and freeze it unbaked for up to 2 months; bake straight from frozen at 375°F (190°C) for 50–60 minutes, covering loosely with foil if the crust browns too quickly.
Nutrition (per serving)
Approximate values for 1 of 6 servings: about 560 calories; 32 g fat; 18 g saturated fat; 37 g carbohydrates; 4 g sugar; 3 g fiber; 31 g protein; 950 mg sodium. Exact values will vary based on specific ingredients and brands used.