Quick Recipe Version (TL;DR)
Quick Ingredients
- 2–2.5 lb (900 g–1.1 kg) fresh pork jowl, skin on
- 3 tbsp (about 36 g) kosher salt (roughly 3% of meat weight)
- 1.5 tsp (4 g) freshly ground black pepper
- 1 tsp dried thyme or 4–5 fresh thyme sprigs
- 1 tsp (4 g) sugar, optional (for balanced flavor)
- Pink curing salt #2 (0.25% of meat weight; about 2.5 g per 1 kg jowl), optional but recommended for safety
Do This
- 1. Trim the pork jowl of glands and excess ragged fat, then weigh it accurately.
- 2. Mix salt, pepper, thyme, sugar (if using), and pink curing salt #2 (if using) in proportion to the meat’s weight.
- 3. Rub the cure all over the jowl, seal in a non-reactive container or bag, and refrigerate 7–10 days, turning daily.
- 4. Rinse off excess cure, pat very dry, weigh again, then tie with butcher’s twine for hanging.
- 5. Hang in a curing chamber at 50–60°F (10–15.5°C) and 65–75% humidity for about 3–5 weeks, until 25–30% weight loss.
- 6. Slice very thinly and serve raw as charcuterie, or cook gently in a pan to render and crisp before using in dishes.
Why You’ll Love This Recipe
- Transforms a humble pork jowl into a deeply flavored, silky, melt-in-the-mouth cured meat.
- Perfect for classic Italian-style dishes like carbonara and amatriciana, or simply as a luxurious charcuterie bite.
- Teaches you the fundamentals of dry-curing at home in a clear, step-by-step way.
- Customizable aromatics: keep it pure with just salt, pepper, and thyme, or add garlic, chili, or bay if you like.
Grocery List
- Produce: Fresh thyme sprigs (or dried thyme from the spice aisle, if preferred)
- Dairy: None for the cure itself (serve later with cheese if adding to a charcuterie board)
- Pantry: Fresh pork jowl (from the butcher counter), kosher salt, freshly ground black pepper, optional sugar, optional pink curing salt #2 (curing salt, not Himalayan salt)
Full Ingredients
For the Cured Pork Jowl (Guanciale-Style)
- 2–2.5 lb (900 g–1.1 kg) fresh pork jowl, skin on, well trimmed of hair and obvious glands
- Kosher salt: use 3% of the meat’s weight
- Example: for a 1,000 g jowl, use 30 g kosher salt (about 2.5 tbsp, but weigh for accuracy).
- Pink curing salt #2 (optional but recommended): 0.25% of the meat’s weight
- Example: for a 1,000 g jowl, use 2.5 g pink curing salt #2 (about 1/2 tsp).
- Important: This is commercial curing salt containing sodium nitrite/nitrate, often labeled Prague Powder #2. It is not Himalayan pink salt.
- Sugar (optional): 0.4% of the meat’s weight
- Example: for a 1,000 g jowl, use 4 g sugar (about 1 tsp) to gently round the flavor.
- Freshly ground black pepper: 0.5% of the meat’s weight
- Example: for a 1,000 g jowl, use 5 g pepper (about 1.5–2 tsp).
- Thyme:
- 2 tsp dried thyme, or
- 4–6 sprigs fresh thyme, leaves stripped
Optional Aromatics (For More Complexity)
- 2 cloves garlic, lightly crushed (remove after curing, before hanging)
- 2 bay leaves, crumbled
- 1/2–1 tsp crushed red chili flakes, if you like a gentle warmth
Helpful Equipment
- Digital kitchen scale (for weighing meat and cure)
- Non-reactive dish or tray (glass, stainless steel, or food-safe plastic)
- Vacuum bag or heavy-duty zip-top bag (or tight-fitting container)
- Butcher’s twine for tying the jowl before hanging
- Clean hook or rack for hanging
- Dedicated curing chamber (often a modified fridge) capable of:
- Temperature: 50–60°F (10–15.5°C)
- Humidity: 65–75% relative humidity
- Hygrometer/thermometer to monitor humidity and temperature
Step-by-Step Instructions
Step 1: Trim and Weigh the Pork Jowl
Start with very fresh, good-quality pork jowl from a trusted butcher. Ask for the skin left on and any stubble removed. At home, set the jowl on a clean cutting board and inspect it carefully. Trim away any visible glands (small, firm, pale nodules), ragged edges, or loose flaps of fat that might dry too quickly.
Pat the jowl dry with paper towels, then weigh it accurately using a digital scale. Write down the exact weight in grams. You will calculate all curing ingredients as a percentage of this weight, which makes the cure properly balanced and repeatable.
Step 2: Mix the Salt, Pepper, and Thyme Cure
In a small bowl, mix together the kosher salt (3% of the jowl’s weight), black pepper (about 0.5% of the weight), and thyme (dried or fresh leaves). If you are using sugar and pink curing salt #2, add them now as well (0.4% sugar and 0.25% pink curing salt #2 by meat weight).
Stir thoroughly so the seasonings are evenly distributed. This ensures that when you rub the cure on the meat, every part gets the right amount. Again, double-check that your “pink salt” is a proper curing salt (Prague Powder #2 or equivalent) and measure it carefully by weight for safety. Never increase the percentage beyond what is specified.
Step 3: Rub the Jowl and Cure It in the Fridge
Place the jowl in a non-reactive dish or a sturdy, food-grade bag. Sprinkle the cure mixture evenly over all surfaces of the jowl, then massage it in thoroughly, paying attention to creases and edges. If using garlic or bay leaves, tuck them around the jowl.
Transfer the jowl and any loose cure to your container or bag. Press out as much air as possible (vacuum-sealing works very well), then seal tight. Lay the jowl flat in the refrigerator at about 34–39°F (1–4°C).
Let it cure for 7–10 days, turning it over once per day and massaging gently to redistribute the brine that forms. The jowl will gradually firm up and feel slightly denser. For a typical 2–2.5 lb jowl, 9 days is usually ideal, but you can go toward the shorter or longer end depending on thickness.
Step 4: Rinse, Dry Thoroughly, and Prepare for Hanging
When the curing time is up, remove the jowl from the bag and discard any aromatics. Rinse it quickly but thoroughly under cold running water to remove excess surface cure. Pat it extremely dry with plenty of paper towels; you want the surface as dry as possible to prevent unwanted surface moisture in the drying stage.
Weigh the jowl again and record this “starting weight for drying.” This number is your reference: you will dry the jowl until it has lost about 25–30% of this weight. For example, if it now weighs 1,000 g, you will aim for a final weight of around 700–750 g.
Using butcher’s twine, tie the jowl in a way that allows it to hang securely: loop twine around the thickest part and tie a strong knot, leaving a hanging loop. Make sure it is well-supported and will not slip out as it dries.
Step 5: Hang and Slowly Dry in a Curing Chamber
Hang the tied jowl in your curing chamber or controlled environment. Ideal conditions are:
- Temperature: 50–60°F (10–15.5°C)
- Humidity: 65–75% relative humidity
- Gentle air circulation, not a direct draft
If you do not have a properly controlled chamber (often a converted fridge with external controllers for temperature and humidity), do not attempt long-term curing; conditions that are too warm or too dry can be unsafe.
Let the jowl hang undisturbed for about 3–5 weeks. Check it once or twice a week: it should gradually become firmer and slightly darker. Occasionally weigh it to track moisture loss. Once it has lost about 25–30% of its post-cure weight, the texture will be dense but still supple, with a silky layer of fat.
Step 6: Assess Doneness, Clean the Surface, and Store
When the target weight loss is reached, remove the jowl from the chamber. The exterior should feel dry and firm, with no sticky or slimy patches. A thin, white powdery mold is normal in traditional curing environments and can be gently wiped off with a cloth lightly moistened with wine vinegar or a 50:50 mix of vinegar and water. Any green, black, or fuzzy mold is undesirable; in that case, it is safest to discard and reassess your curing conditions before trying again.
Wrap the finished guanciale tightly in parchment paper, then in a loose layer of plastic wrap, or vacuum-seal it if your chamber is very clean and the surface is dry. Store in the refrigerator for several months. The flavor will continue to develop and mellow over time.
Step 7: Slice, Serve, and Enjoy
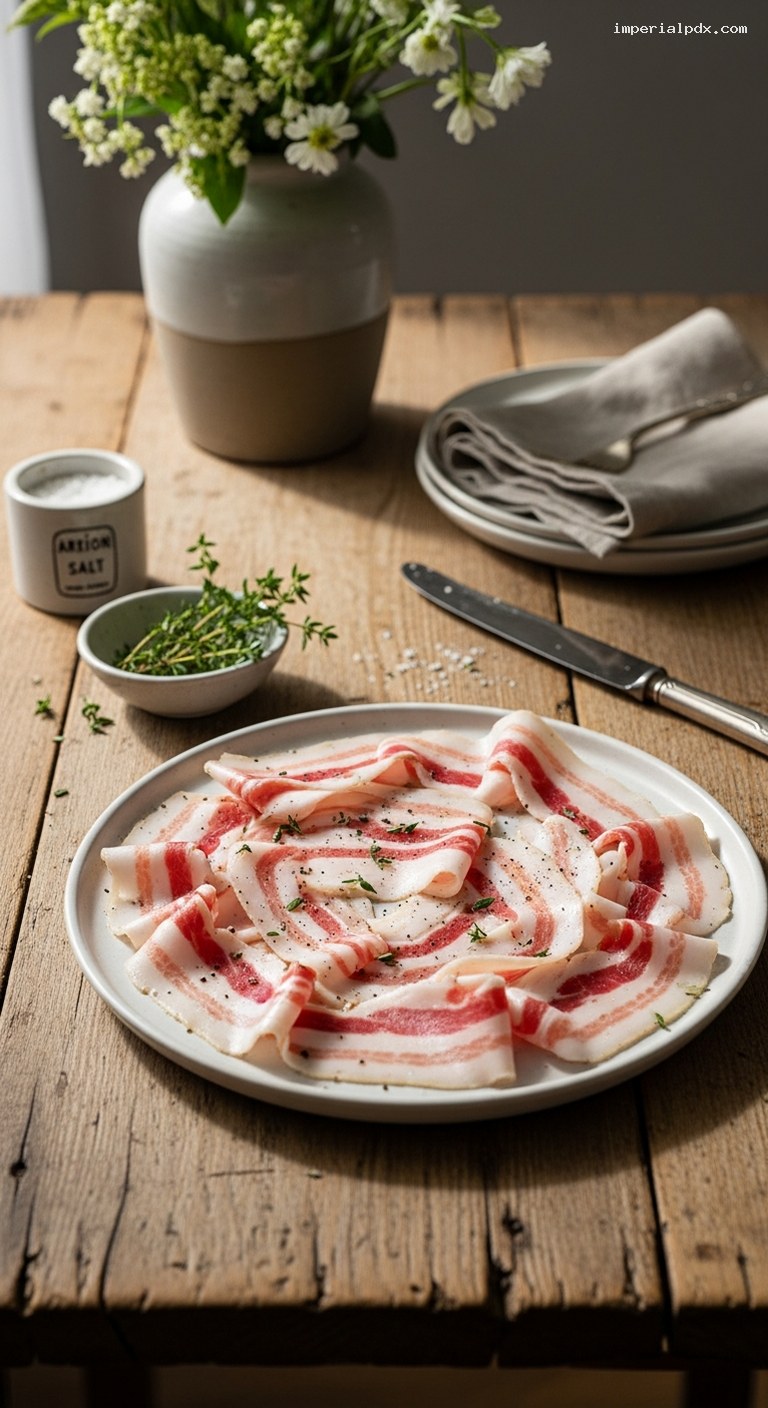
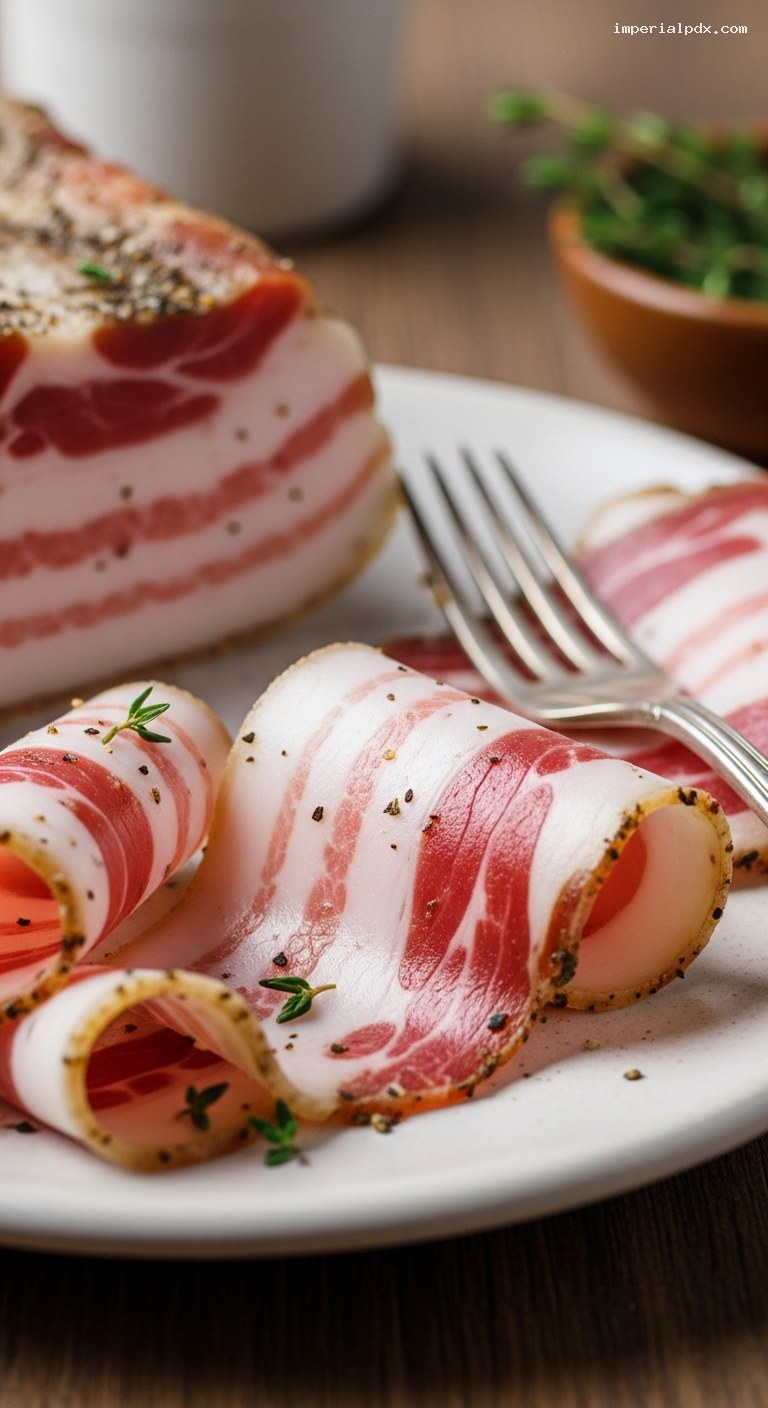
To serve, slice the guanciale across the grain into very thin sheets or lardons, depending on how you plan to use it. For charcuterie-style eating, use your sharpest knife or a slicer to cut almost translucent slices, showing off the creamy white fat marbled with rosy meat. Arrange on a board and let it come to cool room temperature so the fat softens and becomes silky.
For cooking, cut into thin batons or small dice. Start in a cold pan and slowly render over low to medium-low heat until the fat melts, the pieces turn lightly golden, and the edges crisp. Use the rendered fat and crisp bits to enrich pasta sauces, beans, greens, or eggs. The flavor is concentrated, so a little goes a long way.
Pro Tips
- Use weight, not volume: Always weigh both the meat and the curing ingredients. Percentages give reliable, repeatable results and help keep your salt and curing salt levels in the safe range.
- Temperature and humidity matter: A dedicated curing chamber (often a small fridge with external controls) dramatically improves safety and consistency over hanging meat in a random cool room or basement.
- Do not rush the drying: If the outside dries too fast (conditions too dry), you can get a hard outer shell and a soft interior. Aim for moderate humidity and time; this is a slow project, not a quick one.
- Slice just before serving: Thin slices dry out and oxidize quickly. Keep the piece whole and cut what you need for the meal or board.
- Keep it simple: Salt, pepper, and thyme are already a beautiful, classic combination. Try the basic version first before layering on extra flavors.
Variations
- Garlic and bay guanciale: Add 2 lightly crushed garlic cloves and 2 crumbled bay leaves to the cure. Remove all solids before hanging so they do not mold on the surface.
- Chili-kissed version: Add 1/2–1 tsp crushed red pepper flakes to the cure for a gentle warmth that works especially well in tomato-based sauces.
- Herb garden cure: Replace half the thyme with finely chopped rosemary and sage for a more robust, woodsy aroma.
Storage & Make-Ahead
This is, by nature, a make-ahead project. Once cured and dried, the guanciale keeps well wrapped in parchment and then loosely in plastic, or vacuum-sealed, in the refrigerator for 2–3 months. Slice off what you need and rewrap tightly after each use. For longer storage, you can freeze well-wrapped portions for up to 6 months; thaw slowly in the refrigerator before slicing. Always keep it chilled, and discard if you notice off smells, sliminess, or unusual discoloration. Because home environments vary, treat these timeframes as guidelines and prioritize your senses and good food safety judgment.
Nutrition (per serving)
Approximate values per 1 oz (28 g) sliced cured pork jowl (guanciale), served raw or gently cooked: about 130–150 calories, 14 g fat (5–6 g saturated), 4 g protein, 0–1 g carbohydrates, 380–450 mg sodium. Actual nutrition will vary based on the exact fat content of your jowl, how much surface cure is rinsed away, and how thinly you slice it.