Quick Recipe Version (TL;DR)
Quick Ingredients
- Pastry: 3 cups (360 g) all-purpose flour, 1 teaspoon fine salt, 1 cup (226 g) cold unsalted butter, and 1/2 cup (120 ml) ice water, plus up to 2 tablespoons more if needed.
- Apple filling: 8 ounces (227 g) unsweetened dried apple slices, 2 cups (480 ml) water, 1/3 cup (67 g) packed light brown sugar, 1 teaspoon ground cinnamon, 1 teaspoon finely grated lemon zest, 1 tablespoon lemon juice, 1/8 teaspoon fine salt, and 1 tablespoon (14 g) unsalted butter.
- Egg wash: 1 large egg beaten with 1 tablespoon water.
- Light glaze: 1/2 cup (60 g) powdered sugar, 1 tablespoon milk, and 1/4 teaspoon vanilla extract.
Do This
- 1. Chop the dried apples into 1/2-inch pieces and soak in 2 cups water for 20 minutes.
- 2. Cut the cold butter into the flour and salt. Add ice water just until the dough holds together; divide into two disks and refrigerate for 1 hour.
- 3. Simmer the apples in their soaking water with brown sugar, cinnamon, lemon zest, lemon juice, and salt for 25 minutes, until thick. Stir in 1 tablespoon butter and cool for 30 minutes.
- 4. Roll the dough 1/8 inch thick and cut twelve 5-inch circles. Divide the filling among them, using approximately 3 tablespoons per circle.
- 5. Moisten the edges, fold into half-moons, and crimp firmly. Refrigerate for 15 minutes. Heat the oven to 400°F (204°C).
- 6. Brush with egg wash, cut a small vent in each pie, and bake for 30 minutes, rotating and swapping the pans halfway through.
- 7. Cool for 15 minutes. Stir together the glaze ingredients, drizzle lightly over the pies, and let set for 10 minutes.
Why You’ll Love This Recipe
- Concentrated apple flavor: Dried apples, traditionally called schnitz, make a deeply fruity filling with a pleasantly chewy texture.
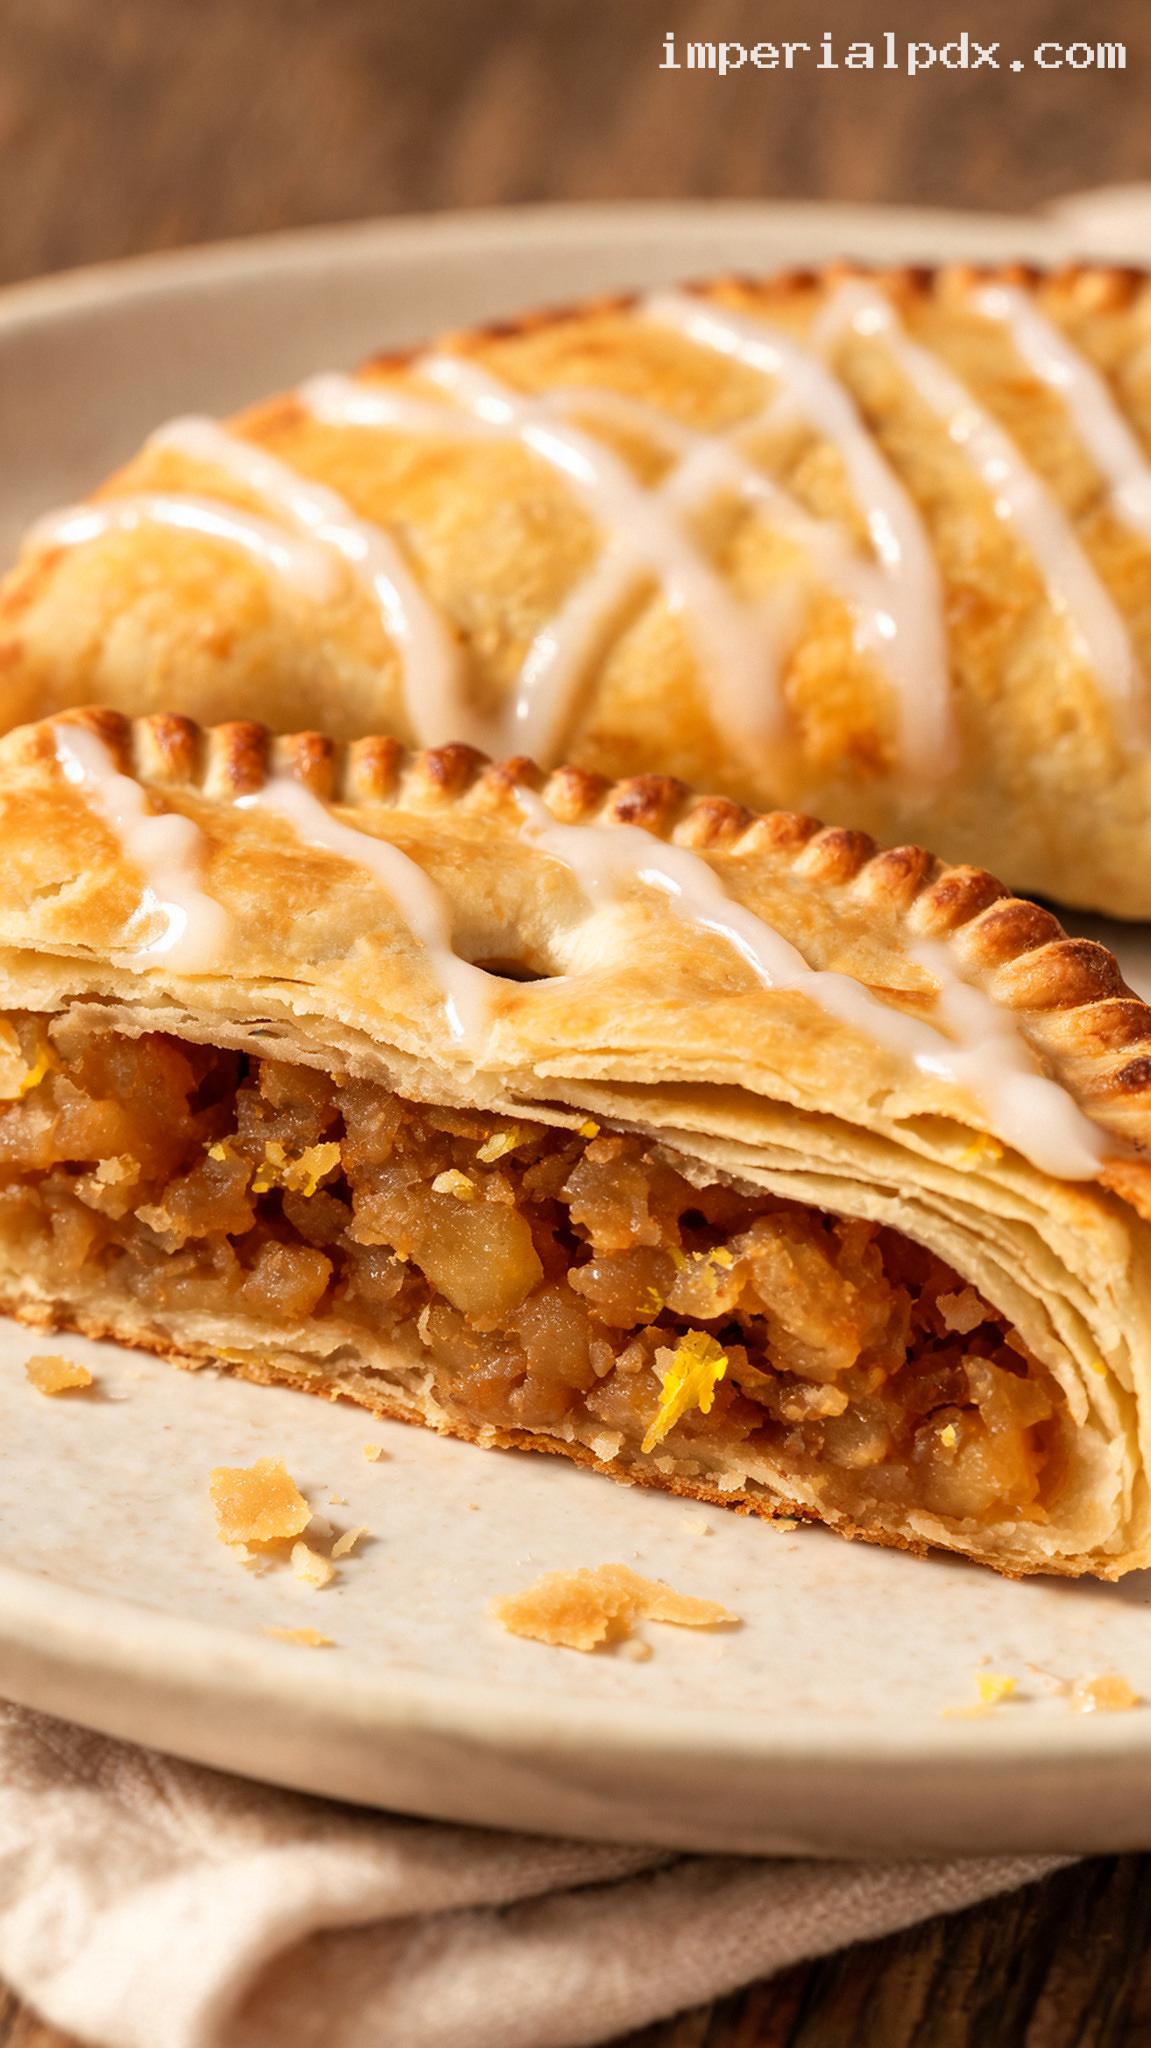
- Flaky, buttery pastry: An easy all-butter dough bakes into crisp layers around the tender filling.
- Just enough sweetness: Brown sugar, cinnamon, and lemon brighten the apples, while a thin glaze adds a delicate finish.
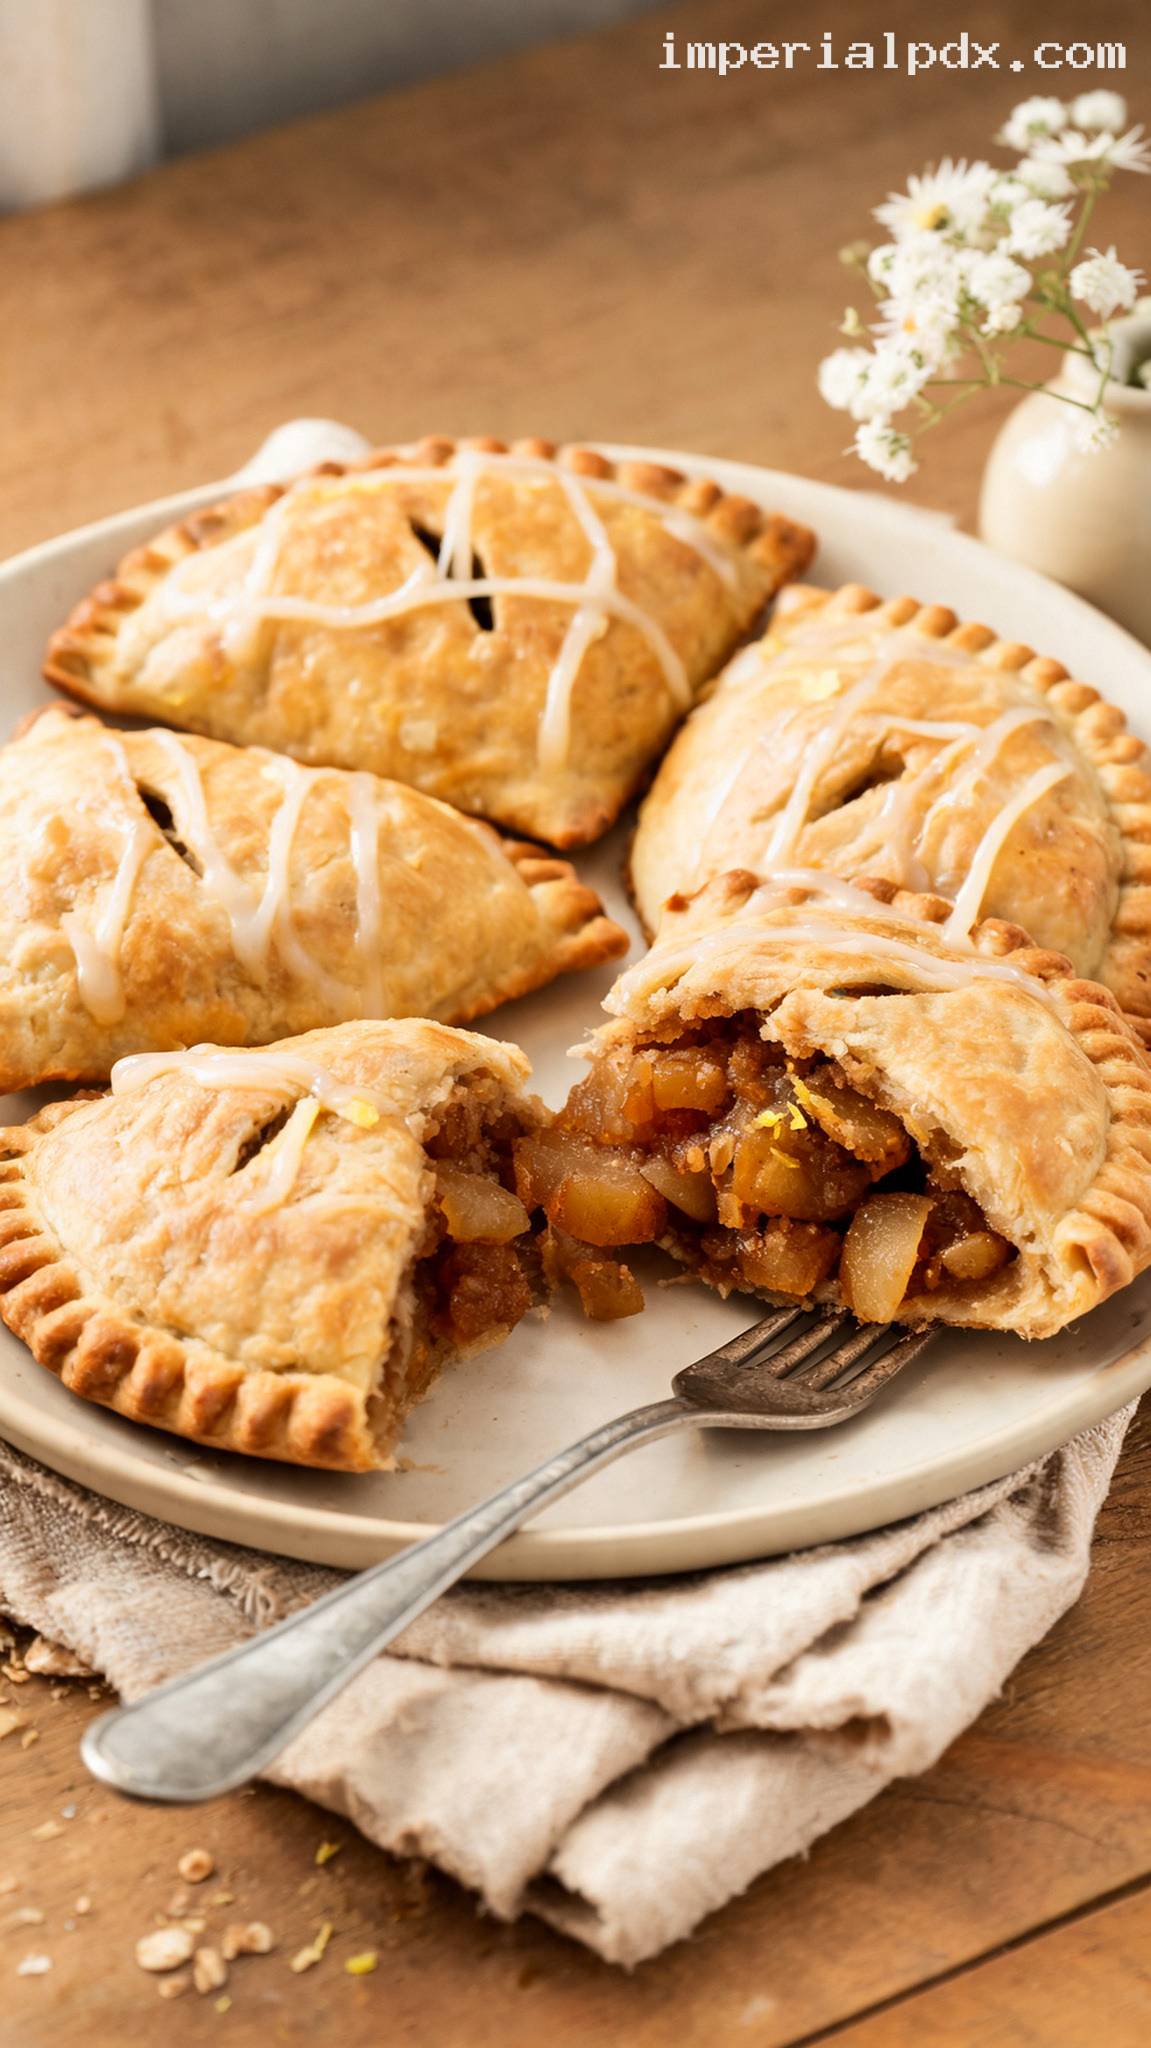
- Made for sharing: These Pennsylvania Dutch–inspired turnovers are easy to pack for picnics, lunchboxes, or an afternoon coffee break.
Grocery List
- Produce: 1 lemon, for zest and juice.
- Dairy: Unsalted butter, at least 1 cup plus 1 tablespoon (240 g total), and milk.
- Eggs: 1 large egg.
- Pantry: All-purpose flour, 8 ounces unsweetened dried apple slices, light brown sugar, powdered sugar, ground cinnamon, fine salt, and vanilla extract.
Full Ingredients
For the Flaky Pastry
- 3 cups (360 g) all-purpose flour, plus 2 tablespoons for dusting the work surface
- 1 teaspoon fine salt
- 1 cup (226 g) unsalted butter, cold and cut into 1/2-inch cubes
- 1/2 cup (120 ml) ice water, plus up to 2 tablespoons more if needed
For the Apple Schnitz Filling
- 8 ounces (227 g) unsweetened dried apple slices, not freeze-dried apples or crisp apple chips
- 2 cups (480 ml) water
- 1/3 cup (67 g) packed light brown sugar
- 1 teaspoon ground cinnamon
- 1 teaspoon finely grated lemon zest
- 1 tablespoon (15 ml) fresh lemon juice
- 1/8 teaspoon fine salt
- 1 tablespoon (14 g) unsalted butter
For Sealing and Egg Wash
- 1 tablespoon water, for moistening the pastry edges
- 1 large egg
- 1 tablespoon water, for beating with the egg
For the Light Vanilla Glaze
- 1/2 cup (60 g) powdered sugar, sifted if lumpy
- 1 tablespoon (15 ml) milk, plus 1 teaspoon more only if needed
- 1/4 teaspoon vanilla extract
Step-by-Step Instructions
Step 1: Chop and soak the dried apples
Cut the dried apple slices into roughly 1/2-inch pieces using a knife or kitchen scissors. Place them in a medium saucepan, add 2 cups water, and let soak for 20 minutes. Keep the soaking water in the pan; it will become part of the flavorful filling.
Use pliable, chewy dried apples rather than crunchy apple chips. Their texture is what gives these hand pies their distinctive, pleasantly chewy center.
Step 2: Make and chill the pastry
While the apples soak, whisk the flour and salt together in a large bowl. Add the cold butter and work it into the flour with a pastry blender or your fingertips. Stop when the mixture contains a combination of coarse crumbs and pea-size butter pieces; those larger pieces help create flaky layers.
Drizzle in 1/2 cup ice water and toss gently with a fork. Squeeze a small handful: it should hold together without feeling wet. If it crumbles apart, add additional ice water 1 tablespoon at a time, using no more than 2 tablespoons extra.
Turn the dough onto the counter and gently press it together without kneading. Divide into two equal portions, flatten into disks, wrap, and refrigerate for 1 hour.
Step 3: Simmer the apple filling until thick
Add the brown sugar, cinnamon, lemon zest, lemon juice, and salt to the saucepan with the apples and soaking water. Bring to a gentle simmer over medium heat, then reduce the heat to medium-low. Simmer uncovered for 25 minutes, stirring every few minutes and more frequently toward the end.
The apples should be tender but still slightly chewy, with almost no free liquid remaining. Drag a spoon across the bottom of the pan: the trail should remain visible briefly rather than immediately filling with watery syrup. If the mixture is still loose, simmer for another 3–5 minutes. If the pan becomes dry before the apples soften, add water 1 tablespoon at a time.
Remove from the heat and stir in 1 tablespoon butter. Gently mash about one-third of the apples with the back of a spoon, leaving the rest in small pieces. You should have approximately 2 1/4 cups of thick filling.
Step 4: Cool the filling and prepare the pans
Spread the filling in a shallow heatproof dish. Let it cool at room temperature for 10 minutes, then refrigerate for 20 minutes. It should be cool to the touch before it goes onto the pastry; warm filling can melt the butter in the dough.
Line two rimmed baking sheets with parchment paper. Position oven racks in the upper and lower thirds of the oven, and preheat to 400°F (204°C).
Step 5: Roll and cut the pastry
Lightly flour your work surface with some of the reserved dusting flour. Roll one dough disk into a sheet about 1/8 inch (3 mm) thick, working from the center outward. Cut out 5-inch (13 cm) circles with a round cutter or a small bowl used as a guide.
Repeat with the second disk. Gather the scraps gently, stack them together, and reroll once to make 12 circles total. Keep finished circles refrigerated while you work. If the dough becomes soft or sticky, chill it for 10 minutes before continuing.
Step 6: Fill, fold, and seal the hand pies
Divide the cooled filling evenly among the circles, placing approximately 3 tablespoons on one half of each circle. Leave a 1/2-inch border around the edge. Lightly moisten the border with water, then fold the bare half over the filling to form a half-moon.
Press gently around the filling to release trapped air, then press the edges together firmly. Crimp with the tines of a fork, taking care not to pierce the filled portion. Transfer six pies to each prepared baking sheet, leaving at least 1 inch between them. Refrigerate the assembled pies for 15 minutes.
Step 7: Brush and bake until golden
Beat the egg with 1 tablespoon water. Brush a thin layer over the tops of the chilled pies, avoiding puddles around the crimped edges. Cut one 1/2-inch slit in the top of each pie to let steam escape.
Bake for 30 minutes. After 15 minutes, rotate each baking sheet front to back and swap the sheets between the upper and lower racks. The pies are ready when the tops are deeply golden, the edges look crisp, and the bottoms are lightly browned. If necessary, bake for an additional 3–5 minutes to reach that color.
Step 8: Cool and lightly glaze
Let the pies rest on their baking sheets for 5 minutes, then transfer to a wire rack for another 10 minutes. Place parchment beneath the rack to catch drips.
Whisk the powdered sugar, 1 tablespoon milk, and vanilla together until smooth. The glaze should fall from the spoon in a thin ribbon. If it is too thick, add up to 1 teaspoon more milk.
Drizzle narrow lines of glaze over the pies rather than coating them completely, so the flaky crust remains visible. Let the glaze set for 10 minutes. Serve slightly warm or at room temperature; for packing, let the pies cool completely.
Pro Tips
- Choose the right dried apples: Unsweetened, softly dried apple slices give the best balance of flavor and chew. Naturally browned dried apples are fine; they will produce a darker filling.
- Trust the filling texture: Different brands absorb water differently. The finished filling should mound on a spoon without dripping liquid; no starch thickener is needed.
- Keep the butter cold: Small visible pieces of butter in the dough are a good thing. Chill the pastry whenever it begins to feel greasy or overly soft.
- Protect the seal: Keep filling and flour dust away from the border. A clean, lightly moistened edge seals much more securely.
- Use a light hand with the glaze: Thin ribbons add sweetness without hiding the golden crust or overwhelming the concentrated apple flavor.
Variations
- Warm spice filling: Add 1/4 teaspoon ground ginger and 1/8 teaspoon ground nutmeg along with the cinnamon.
- Apple-raisin filling: Replace 1 ounce (28 g) of the dried apples with 1 ounce (28 g) raisins. Chop the raisins if large and soak them with the apples.
- Lemon glaze: Replace the 1 tablespoon milk with 1 tablespoon lemon juice and omit the vanilla for a brighter, tangier finish.
Storage & Make-Ahead
Storage: Once completely cool, keep the hand pies in an airtight container at room temperature for up to 1 day, or refrigerate for up to 4 days. Separate layers with parchment. The pastry is crispest on the day it is baked.
Make ahead: Refrigerate the wrapped pastry dough for up to 2 days and the cooked filling in a separate airtight container for up to 3 days. Let firm dough sit at room temperature for 10 minutes before rolling; use the filling cold.
Freeze before baking: Freeze assembled, unglazed pies without egg wash on a parchment-lined tray until solid, then transfer to a freezer-safe container for up to 2 months. Brush with egg wash and bake directly from frozen at 400°F (204°C) for 35–40 minutes, rotating and swapping pans halfway through. Cool and glaze as directed.
Reheat: Warm baked, refrigerated pies in a 350°F (177°C) oven for 10 minutes. For the neatest finish, store pies unglazed when possible and add the glaze after reheating and cooling briefly.
Nutrition (per serving)
Calories: 350 kcal | Carbs: 46g | Protein: 4g | Fat: 17g | Saturated Fat: 10g | Fiber: 3g | Sugar: 22g | Sodium: 240mg | Cholesterol: 59mg
Estimated per hand pie, including glaze, based on 12 servings. Values vary with ingredient brands and the amount of pastry, egg wash, and glaze used.