Quick Recipe Version (TL;DR)
Quick Ingredients
- Chicken: 1 whole chicken, 4 to 4 1/2 pounds, cut into 10 bone-in, skin-on pieces
- Cider brine: 4 cups cold apple cider, 1/4 cup Diamond Crystal kosher salt, 2 tablespoons packed light brown sugar, 6 smashed garlic cloves, 2 teaspoons black peppercorns, 1 teaspoon allspice berries, 2 bay leaves, 4 thyme sprigs, 1 small rosemary sprig
- Dip: 2 cups whole buttermilk, 2 large eggs, 1 tablespoon apple cider vinegar, 1 tablespoon hot sauce
- Dredge: 3 cups all-purpose flour, 1/2 cup cornstarch, 2 teaspoons baking powder, 1 tablespoon paprika, 2 teaspoons garlic powder, 2 teaspoons onion powder, 1 teaspoon dried thyme, 1 teaspoon black pepper, 1/2 teaspoon cayenne pepper, 1 teaspoon kosher salt
- For frying: 6 to 8 cups peanut oil, canola oil, or vegetable oil, enough to fill a Dutch oven 2 inches deep
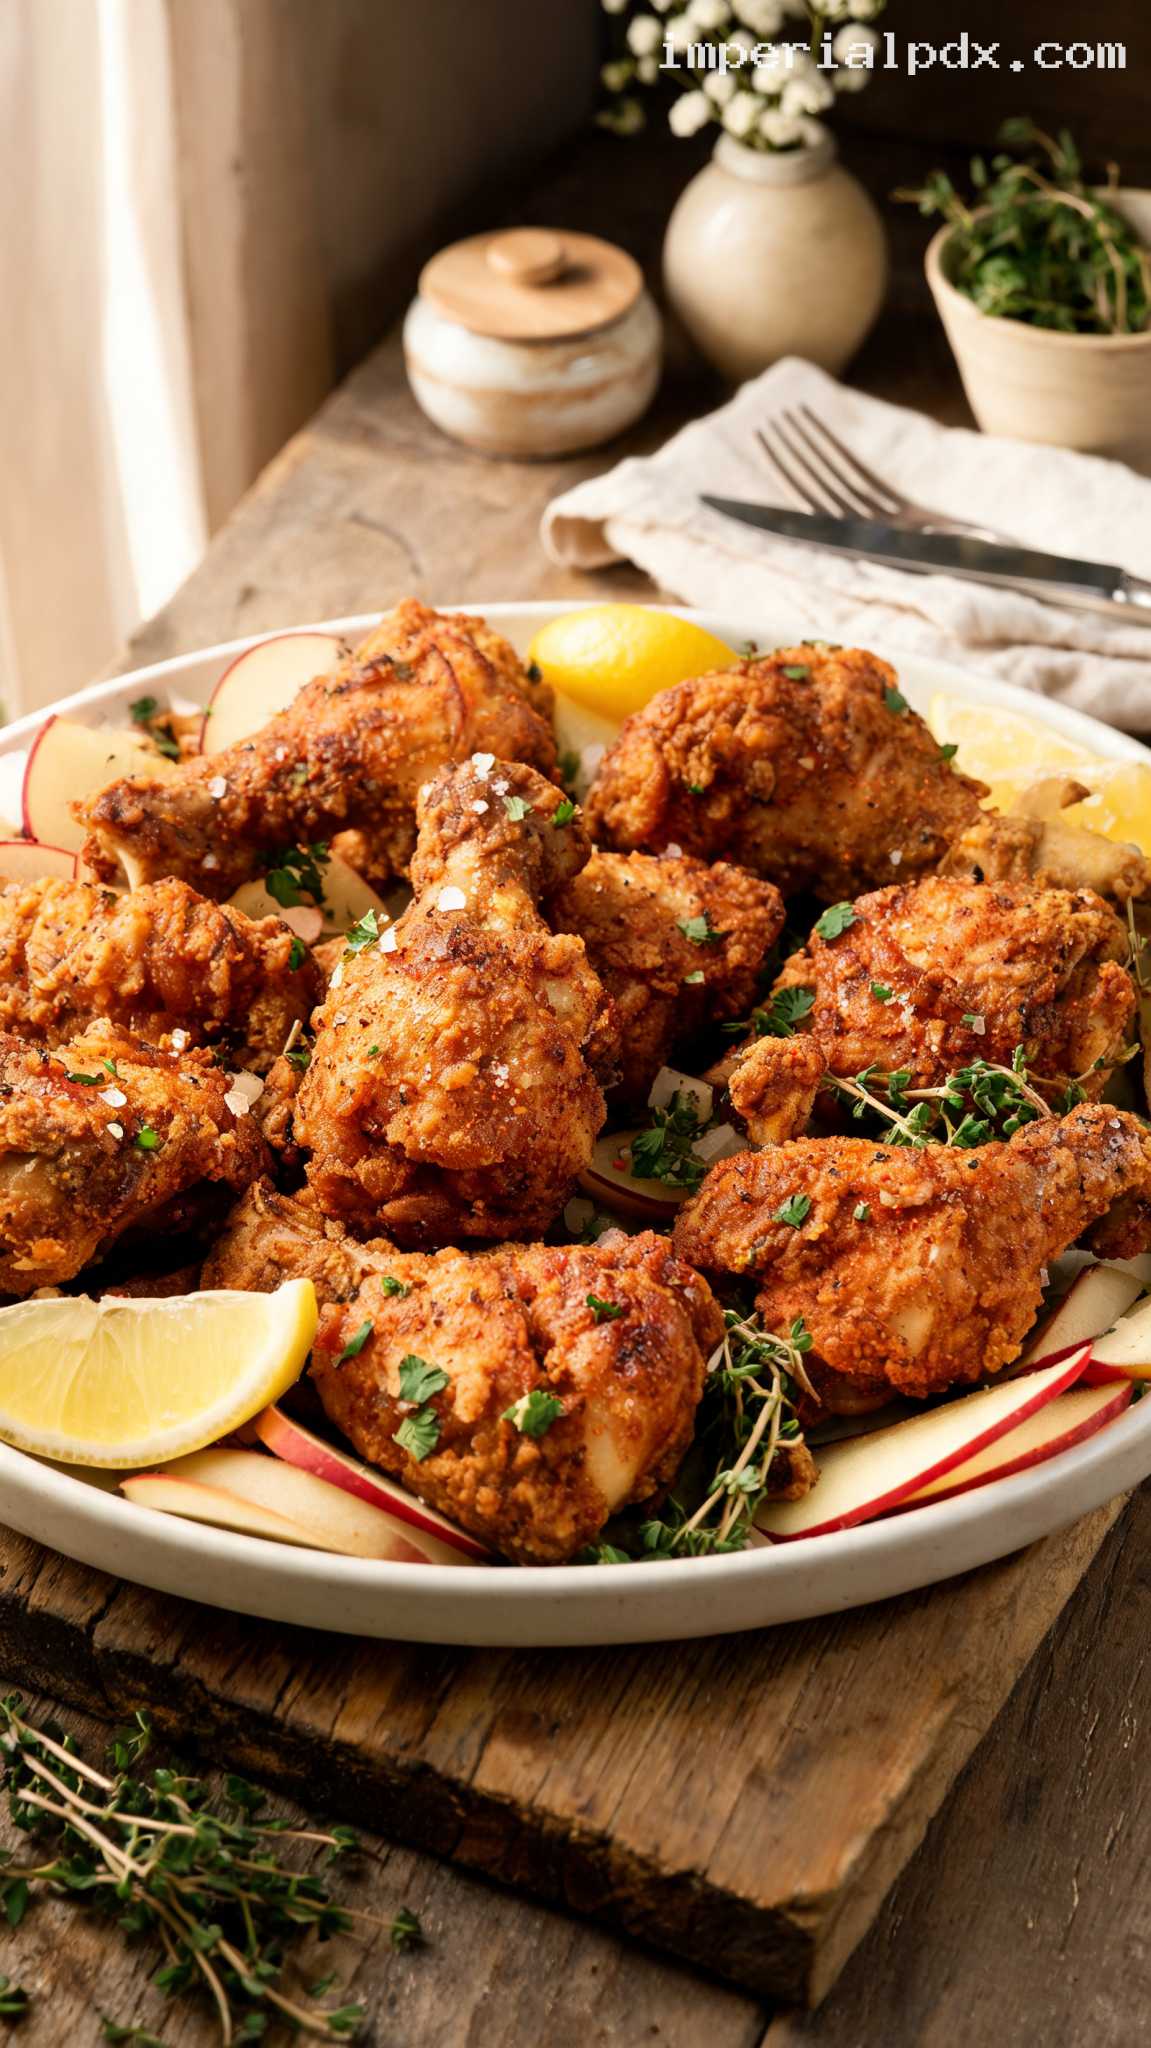
- Optional finish: Flaky salt, chopped parsley, thin apple slices, and lemon wedges
Do This
- 1. Stir together the cold apple cider brine ingredients until the salt and sugar dissolve.
- 2. Add chicken, cover, and refrigerate for exactly 8 hours.
- 3. Drain chicken, pat very dry, and let it sit at room temperature for 30 minutes.
- 4. Whisk the buttermilk dip in one bowl and the seasoned flour dredge in another.
- 5. Dip chicken in buttermilk, dredge in flour, dip again, dredge again, then rest on a rack for 20 minutes.
- 6. Fry in 325°F oil in batches until deeply golden and the internal temperature reaches 165°F for white meat and 175°F for dark meat.
- 7. Drain on a rack, rest 10 minutes, sprinkle lightly with flaky salt, and serve warm.
Why You’ll Love This Recipe
- Seasonal flavor without being sweet: Apple cider gently perfumes the chicken with a mellow, autumnal fruitiness while salt, garlic, herbs, and spices keep it savory.
- Juicy, tender meat: The cider brine seasons the chicken all the way through and helps it stay moist during frying.
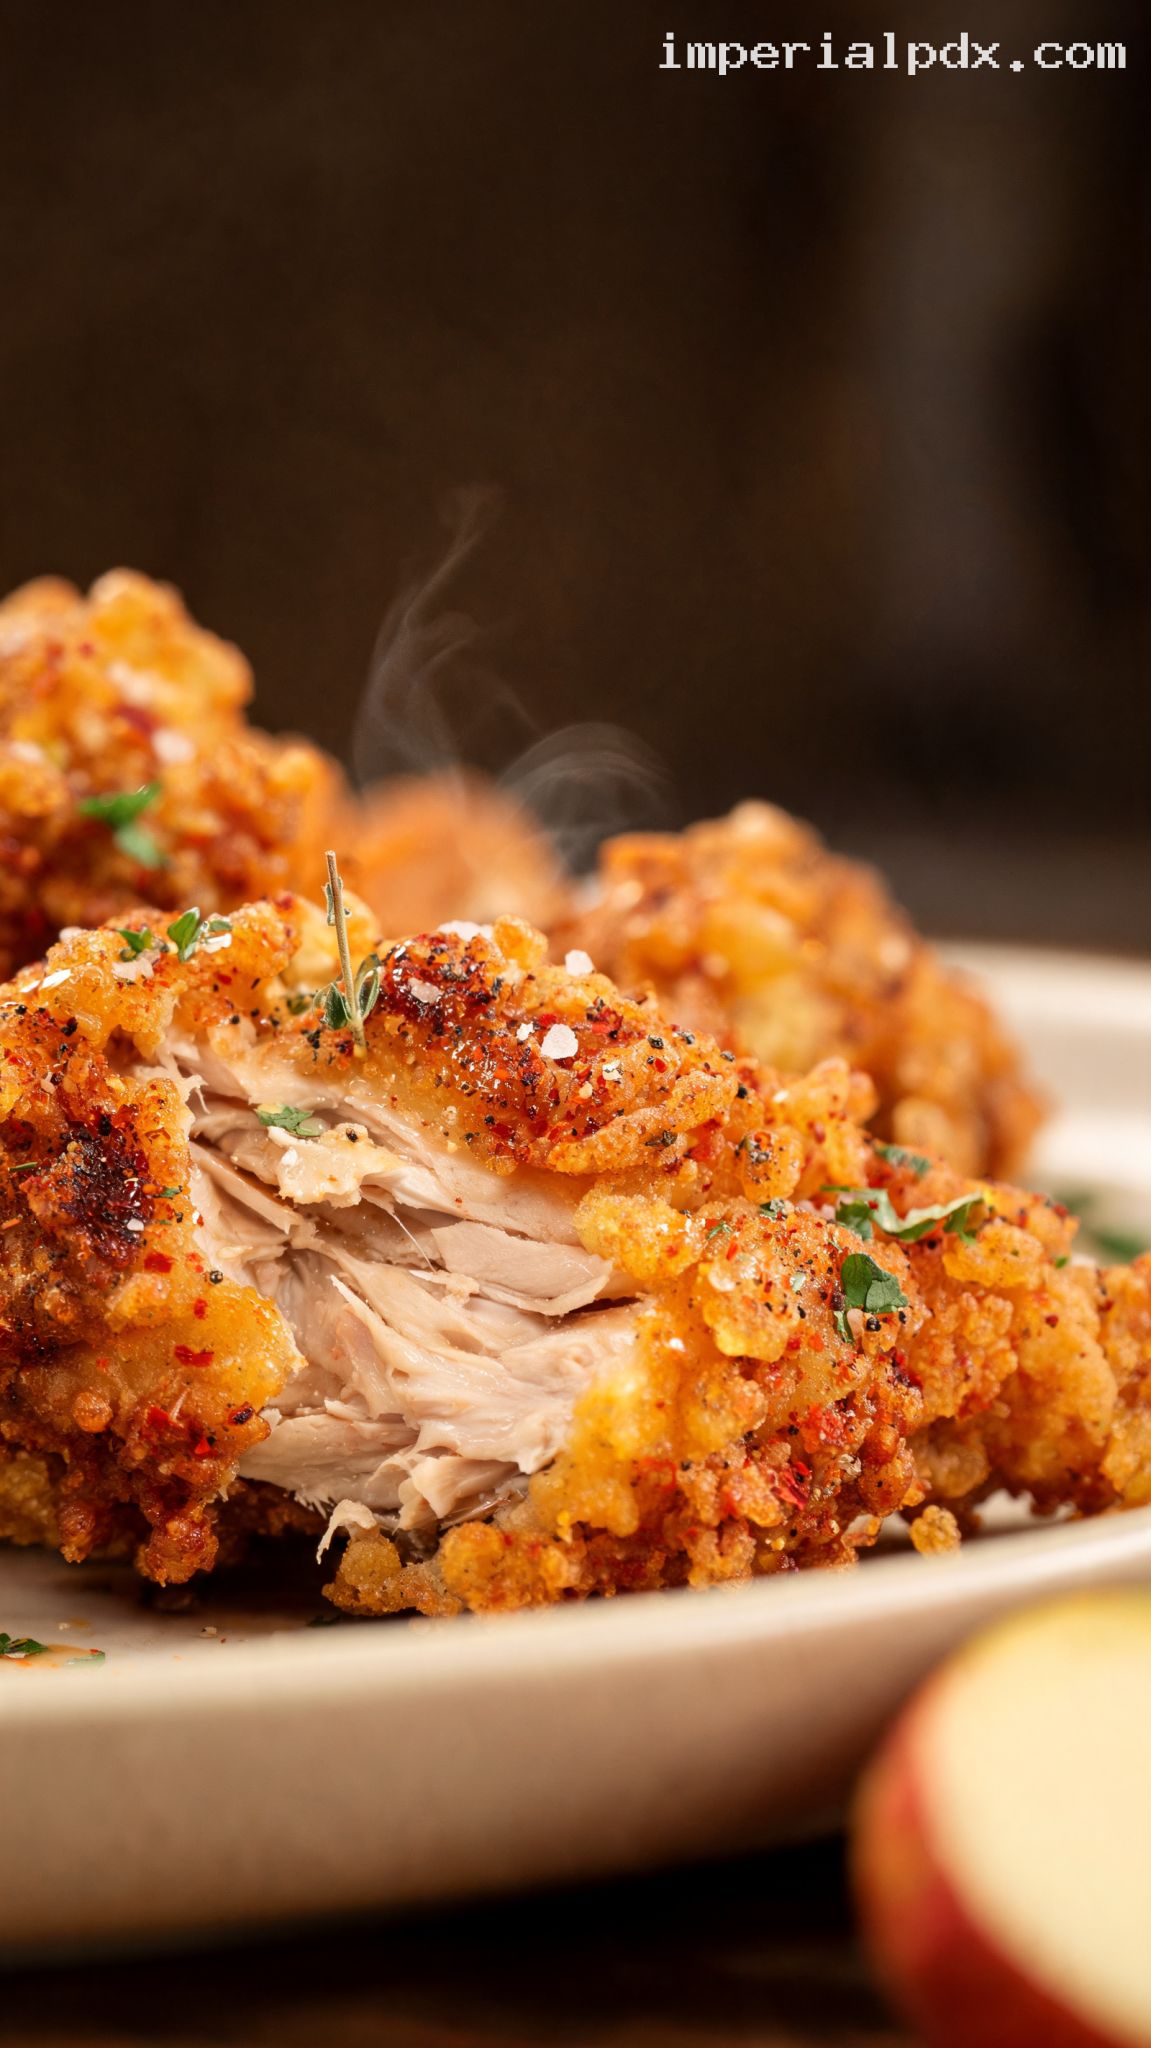
- Extra-craggy crust: A double dip in buttermilk and seasoned flour creates a crisp, golden coating with lots of crunchy ridges.
- Comforting but special: It feels like classic fried chicken with a cozy seasonal twist, perfect for Sunday dinner, fall gatherings, or a hearty weekend meal.
Grocery List
- Produce: 1 head garlic, fresh thyme, fresh rosemary, optional fresh parsley, optional apples for garnish, optional lemons for serving
- Dairy: Whole buttermilk, large eggs
- Pantry: Apple cider, Diamond Crystal kosher salt, light brown sugar, black peppercorns, allspice berries, bay leaves, hot sauce, apple cider vinegar, all-purpose flour, cornstarch, baking powder, paprika, garlic powder, onion powder, dried thyme, ground black pepper, cayenne pepper, peanut oil or canola oil, optional flaky salt
- Meat: 1 whole chicken, 4 to 4 1/2 pounds, cut into 10 bone-in, skin-on pieces, or 4 to 4 1/2 pounds assorted bone-in, skin-on chicken pieces
Full Ingredients
For the Chicken
- 1 whole chicken, 4 to 4 1/2 pounds, cut into 10 bone-in, skin-on pieces: 2 drumsticks, 2 thighs, 2 wings, and 2 breasts each cut crosswise into 2 pieces
For the Apple Cider Brine
- 4 cups cold apple cider, preferably unfiltered
- 1/4 cup Diamond Crystal kosher salt, or 3 tablespoons Morton kosher salt
- 2 tablespoons packed light brown sugar
- 6 garlic cloves, smashed and peeled
- 2 teaspoons whole black peppercorns
- 1 teaspoon whole allspice berries
- 2 bay leaves
- 4 fresh thyme sprigs
- 1 small fresh rosemary sprig, about 4 inches long
For the Buttermilk Dip
- 2 cups whole buttermilk
- 2 large eggs
- 1 tablespoon apple cider vinegar
- 1 tablespoon hot sauce
For the Seasoned Flour Dredge
- 3 cups all-purpose flour
- 1/2 cup cornstarch
- 2 teaspoons baking powder
- 1 tablespoon sweet paprika
- 2 teaspoons garlic powder
- 2 teaspoons onion powder
- 1 teaspoon dried thyme
- 1 teaspoon freshly ground black pepper
- 1/2 teaspoon cayenne pepper
- 1 teaspoon Diamond Crystal kosher salt, or 3/4 teaspoon Morton kosher salt
For Frying and Serving
- 6 to 8 cups peanut oil, canola oil, or vegetable oil, enough to fill a large Dutch oven or heavy pot 2 inches deep
- Flaky salt, for finishing, optional
- 2 tablespoons chopped fresh parsley, optional
- 1 crisp apple, thinly sliced, optional for serving
- 1 lemon, cut into wedges, optional for serving
Step-by-Step Instructions
Step 1: Make the cider brine
In a large nonreactive bowl, deep food-safe container, or 2-gallon zip-top bag set inside a bowl, combine the cold apple cider, kosher salt, brown sugar, smashed garlic, peppercorns, allspice berries, bay leaves, thyme, and rosemary. Stir for 1 to 2 minutes, until the salt and brown sugar are fully dissolved. Because the cider is already cold, there is no need to heat the brine.
Step 2: Brine the chicken
Add the chicken pieces to the brine, turning them so every piece is submerged. Cover tightly and refrigerate for exactly 8 hours. Keep the chicken at 40°F or below the whole time. If using a bag, squeeze out excess air before sealing and place the bag in a bowl in case of leaks.
Do not brine longer than 12 hours; after that, the texture can become overly soft and the chicken may taste too salty. The ideal brine time for this recipe is 8 hours, which gives the meat gentle cider flavor and excellent seasoning.
Step 3: Drain, dry, and temper the chicken
Remove the chicken from the brine and discard the brine. Do not reuse it. Pat each chicken piece very dry with paper towels, including around the bones and under any loose skin. Set the chicken on a wire rack placed over a rimmed baking sheet and let it sit at room temperature for 30 minutes while you prepare the coating. Dry chicken grabs the dredge better, and slightly taking off the refrigerator chill helps it fry more evenly.
Step 4: Prepare the dip and seasoned flour
In a wide shallow bowl, whisk together the buttermilk, eggs, apple cider vinegar, and hot sauce until smooth. In a second wide shallow bowl, whisk together the flour, cornstarch, baking powder, paprika, garlic powder, onion powder, dried thyme, black pepper, cayenne, and kosher salt. Use your fingers or a fork to break up any clumps so the seasoning is evenly distributed.
Step 5: Double-dredge the chicken
Working with one piece at a time, dip the chicken into the buttermilk mixture and let the excess drip back into the bowl. Press it into the seasoned flour, turning and packing the flour onto every surface. Dip it once more into the buttermilk, then return it to the flour for a second coating. Press firmly so the crust forms rough, craggy edges. Place the coated chicken back on the wire rack.
Once all the pieces are coated, let them rest on the rack for 20 minutes. This short rest hydrates the flour and helps the crust cling to the chicken instead of falling off in the oil.
Step 6: Heat the oil
Pour oil into a large Dutch oven or heavy-bottomed pot to a depth of 2 inches. Clip on a deep-fry thermometer and heat the oil over medium heat to 325°F. Meanwhile, heat the oven to 200°F and place a clean wire rack over a rimmed baking sheet; this will hold the first batches while you finish frying. Never fill the pot more than halfway with oil, and keep the thermometer tip suspended in the oil without touching the bottom of the pot.
Step 7: Fry the chicken in batches
Carefully lower 3 to 4 pieces of chicken into the 325°F oil, starting with the dark meat if your pot is roomy enough. Fry without crowding, turning every 3 to 4 minutes with tongs, until the crust is deep golden brown and crisp. Maintain the oil between 300°F and 325°F; adjust the heat as needed after adding chicken, since the temperature will drop.
Approximate frying times are 12 to 15 minutes for thighs and drumsticks, 10 to 13 minutes for breast pieces, and 8 to 10 minutes for wings. The chicken is done when an instant-read thermometer inserted into the thickest part of the meat, away from the bone, reads 165°F for breast pieces and wings and 175°F for thighs and drumsticks. Transfer finished pieces to the clean rack and place them in the 200°F oven while frying the remaining batches. Let the oil return to 325°F between batches.
Step 8: Rest and serve
When all the chicken is fried, let it rest on the rack for 10 minutes before serving. This helps the juices settle and keeps the crust crisp. If desired, sprinkle very lightly with flaky salt and chopped parsley. Serve warm with thin apple slices and lemon wedges for a bright, fresh contrast to the savory cider-brined crust.
Pro Tips
- Use real apple cider, not apple juice: Unfiltered cider has more body, gentle tartness, and deeper apple flavor, which makes the brine taste more seasonal and less sugary.
- Pat the chicken very dry: Moisture on the surface can make the coating slide off and can cause extra splattering in the oil.
- Trust a thermometer: The crust color tells part of the story, but an instant-read thermometer is the best way to guarantee juicy, safely cooked chicken.
- Keep the oil steady: If the oil is too cool, the crust absorbs oil and tastes heavy. If it is too hot, the outside browns before the inside cooks. Aim for 325°F, with a working range of 300°F to 325°F while frying.
- Drain on a rack, not paper towels: A wire rack lets steam escape so the underside stays crisp instead of softening.
Variations
- Maple-cider fried chicken: Add 1 tablespoon pure maple syrup to the buttermilk dip and finish the fried chicken with a tiny pinch of flaky salt. This gives a gentle maple note without turning the chicken sweet.
- Spicy cider-brined chicken: Increase the cayenne in the dredge to 1 teaspoon and add 1 teaspoon crushed red pepper flakes to the brine.
- Herby autumn fried chicken: Add 1 teaspoon finely chopped fresh sage to the flour dredge and serve with roasted apples or a crisp cabbage slaw.
Storage & Make-Ahead
Make-ahead brining: The chicken can be placed in the cider brine up to 8 hours before cooking. For best texture, do not exceed 12 hours. After brining, the chicken can be drained, patted dry, covered loosely on a rack, and refrigerated for up to 4 hours before coating.
Storing leftovers: Refrigerate cooled fried chicken in an airtight container for up to 3 days. For the crispiest reheating, place the chicken on a wire rack set over a baking sheet and warm in a 375°F oven for 15 to 20 minutes, or until heated through to 165°F. Avoid microwaving if possible, as it softens the crust.
Freezing: Fried chicken can be frozen after cooking. Cool completely, wrap pieces individually, and freeze in a freezer-safe bag for up to 2 months. Reheat from frozen on a rack in a 375°F oven for 30 to 35 minutes, or until hot in the center and crisp on the outside.
Nutrition (per serving)
Calories: 690 kcal | Carbs: 48g | Protein: 43g | Fat: 36g | Saturated Fat: 8g | Fiber: 2g | Sugar: 9g | Sodium: 1180mg | Cholesterol: 175mg